EUR | €
 SEK | kr
 NZD | $
 CAD | $
 EUR | €
 AUD | $
 USD | $
 GBP | £
TRAVEL EDIT

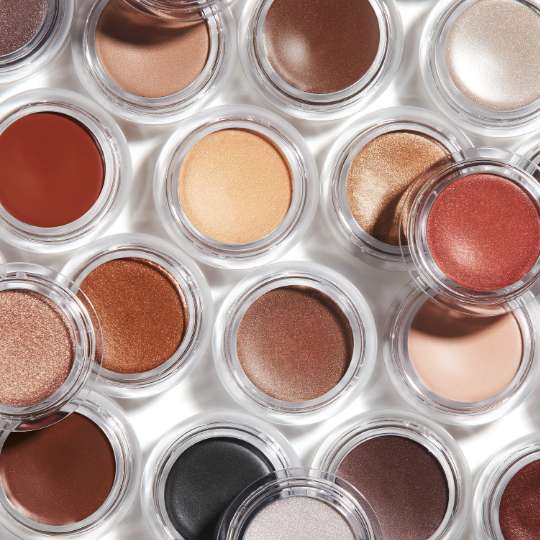
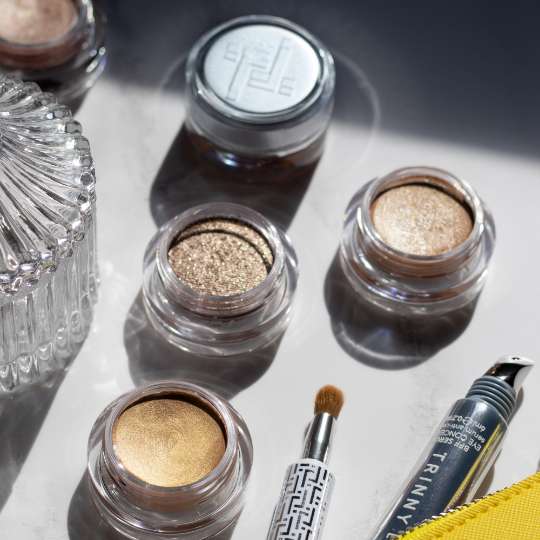
 5 shades
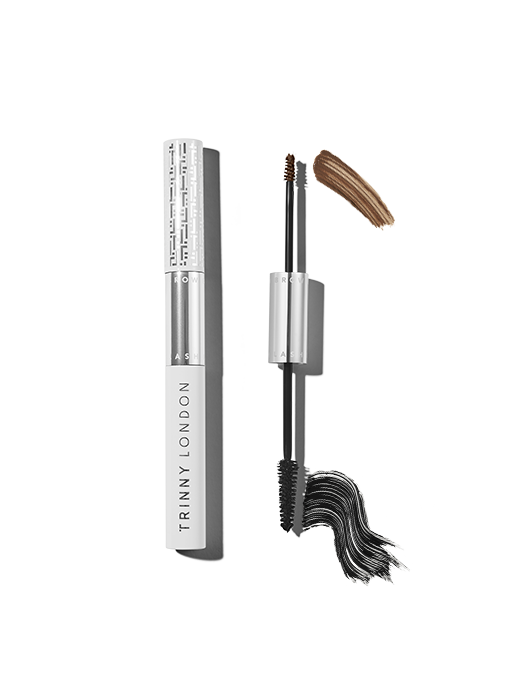
Lash2Brow is the time-saving, two-in-one product we all need in our makeup bags. One end is a lengthening mascara, and the other a tinted brow gel, helping you to achieve longer lashes and defined brows in just a couple of swipes.
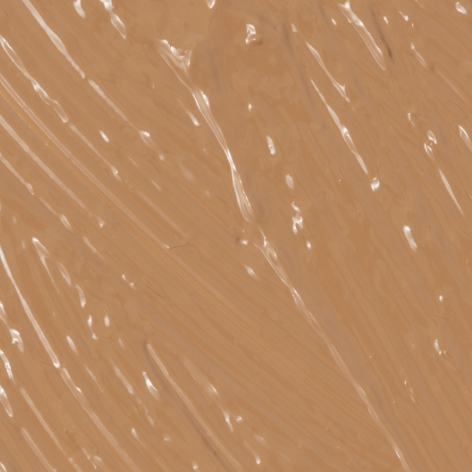
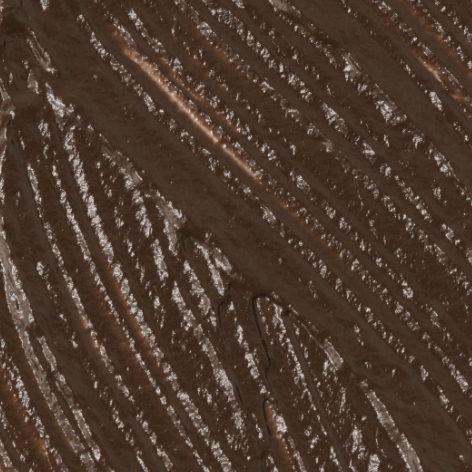
There are five different shades available: latte, which is a light fawn, cappuccino, which is a cool taupe, chestnut, which is a neutral brown, chocolate, which is a warm brown and espresso, which is a deep brown. The mascara is true black across all colour combinations, giving lashes depth and intensity.
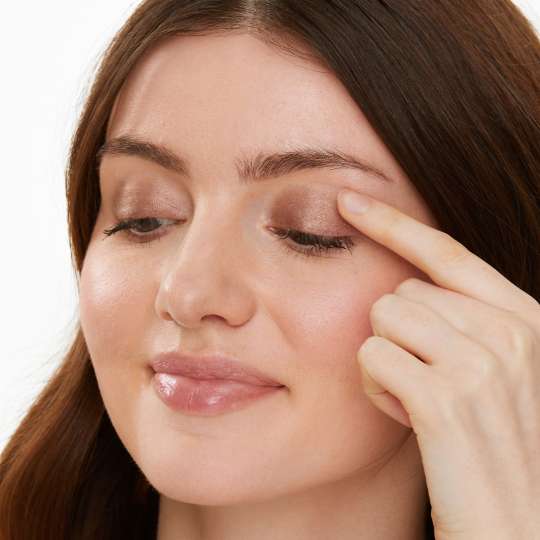
Everyone can benefit from the lash and brow-boosting impact of Lash2Brow. “Brows finish off a look,” says Katie Levy, Pro Makeup Artist at Trinny London. “They create a frame around your eyes and give you that really polished, groomed finish. Without your brows, the rest of your face could actually feel quite lost. You don’t need to do a full-on brow, just brushing them upward with a little bit of colour really completes the look.”
Follow these techniques to get the most of your Lash2Brow…
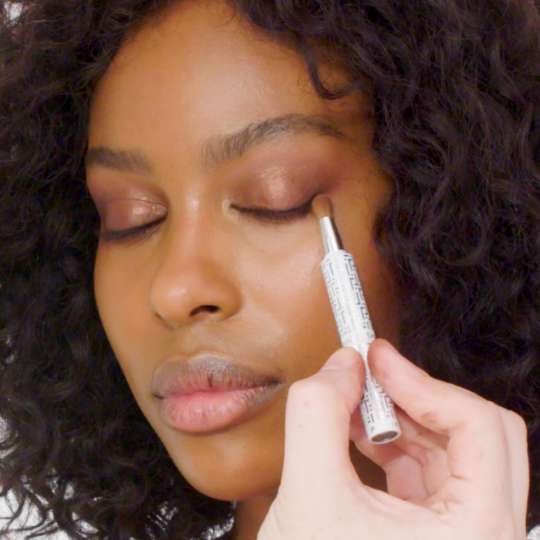
Step 1
Brush onto the upper lashes from root to tip. A pro makeup tip is to twist the brush at the root, before wiggling through to the end of the lashes.
Step 2
Repeat the process for another coat or two, depending on the intensity you’re looking for. It’s best to do this when the first coat is still wet.
Step 3
Remove the excess from the wand and then use the very tip to apply to the lower lashes.
Step 1
Use a clean spoolie to brush your brows upwards. Then, looking in the mirror, tilt your head backwards so you can clearly see the shape of your brows and where any gaps are.
Step 2
Starting at the outer edge of the brow and brush backwards towards the start. This will stop you from making the start of the brow too heavy, and allow you to create a more natural look. Make sure you touch the skin with the wand, coating it with colour as well as the hairs.
Step 3
With the remaining product on the brush, start from the front of the brow and brush and blend the brows upwards out towards the outer corner.
Step 4
If you have a scar in your brow or very sparse areas, you might want to add an additional step. Take a small angled brush (like the one in your T-Kit) and wiggle onto the brow brush until it’s coated with colour. Then, brush in soft, hair-like strokes where needed.
Not sure which shade of Lash2Brow is right for you? You need to use our Match2Me tool. It takes into consideration your skin tone, hair and eye colour in order to deliver a personalised selection of shades perfectly tailored to your colouring. If you want a quicker fix, and don’t have time to complete your profile, the below is a good guide:

Shop the article
5 shades