EUR | €
 SEK | kr
 NZD | $
 CAD | $
 EUR | €
 AUD | $
 USD | $
 GBP | £


TRAVEL EDIT
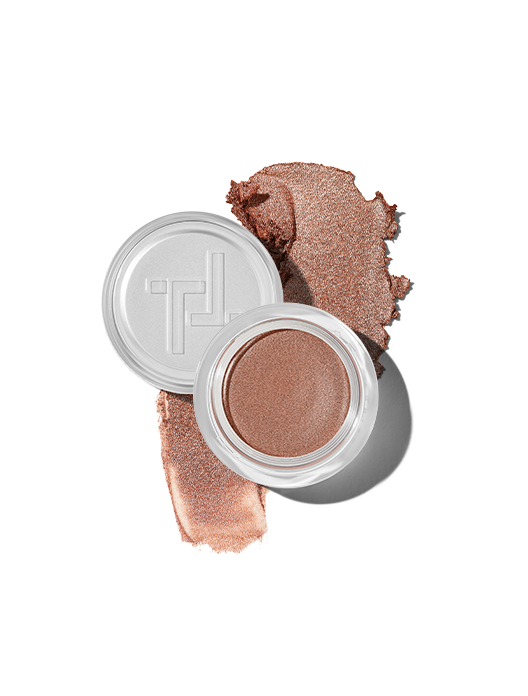
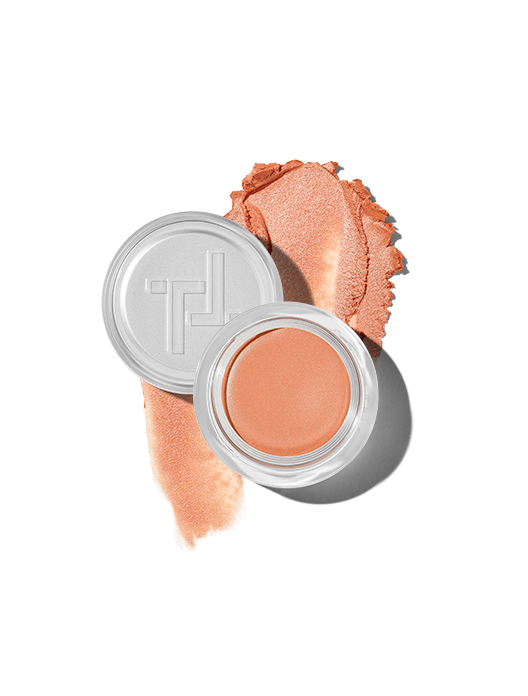
 21 shades
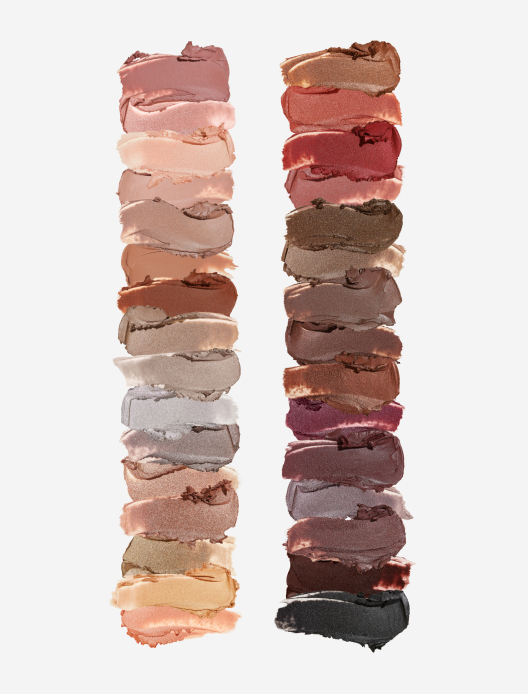
We know the scenario well: you’re in the mood for a look that will make your eyes come alive but you only have five minutes and five fingers on your side. Thankfully, you’re already armed with every tool you need – if you can finger paint, you can create a beautiful eye shadow look.
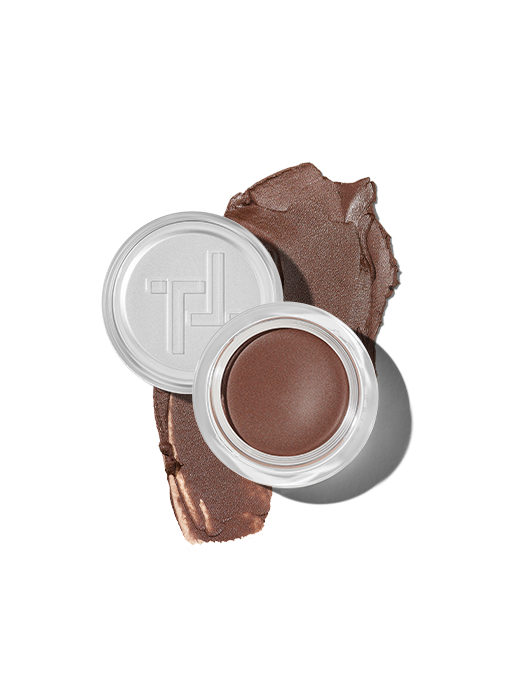
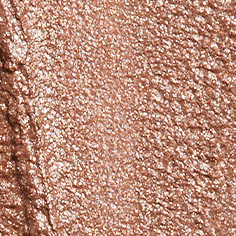
When you take a finger-first approach to your makeup, eyeshadow’s rather laborious connotations melt away – especially when you opt for a cream-based formulation. While cream eyeshadows can be applied with a brush, they really come into their own when you have your fingers to hand. Soft, smooth and malleable, cream eyeshadows glide onto eyelids like skates on an ice rink. They don’t flake and crumble like their powdery counterparts, so it’s simple to swipe and go, and mid-day touch-ups are a breeze too.
Better yet, applied with your fingertips, cream eyeshadows warm to your body temperature, making it even easier for the colour to melt seamlessly into the skin for a satisfyingly fuss-free finish. So take your cues from formative days spent finger painting on classroom floors and give your eyes a whole new look with your most under-utilised makeup tool.
Like any great masterpiece, you need to consider your canvas. To help your eyeshadow look better and last longer, it’s important to prepare your lids. A mattifying balm (like Trinny London Face Finish) creates a smooth base so your eyeshadow glides on more evenly and has something to grip on to. It will also zap any excess eyelid oiliness so your eyeshadow won’t slip and slide throughout the day. “The trick is to apply your primer all the way up to your eyebrow,” explains Katie Levy, Pro Makeup Artist at Trinny London. “If you stop at your lid, then you’re applying eyeshadow to two different textures which can make blending really tricky.” Just think of how easy it is to cycle on the pavement compared to a boggy field – you want to give yourself a smooth ride so that your eye makeup looks (and feels) effortless.
Applying eyeshadow to different textures will affect its finish too: when you apply cream eyeshadow directly to your skin (especially if your lids are on the oilier side) the colour will likely migrate and look a little patchy. Eyeshadow primer adds a nice grip so your cream-based pigments won’t slip and slide, and the colour will be richer and more vibrant too.
If dry eyelids are your bugbear then cream eyeshadows are your best friend. Unlike powder eyeshadows, they won’t exacerbate dryness, and the creamy texture means you won’t need a heavy layer of moisturiser just to keep your lids feeling comfortable. Instead, a touch of lightweight under-eye concealer helps to hydrate and even out any discolouration.
Uneven tone on your eyelids? Not content with preventing your eyeshadow from budging and smudging, priming is also a great way to colour-correct. Whether it’s prominent veins or hyperpigmentation, we’re not all blessed with lids that are uniform from lash to crease. Thankfully it’s easy to even out any discolouration with a touch of concealer – long-lasting concealers are ideal for oily skin, while hydrating formulations are a quenching saviour for drier complexions.
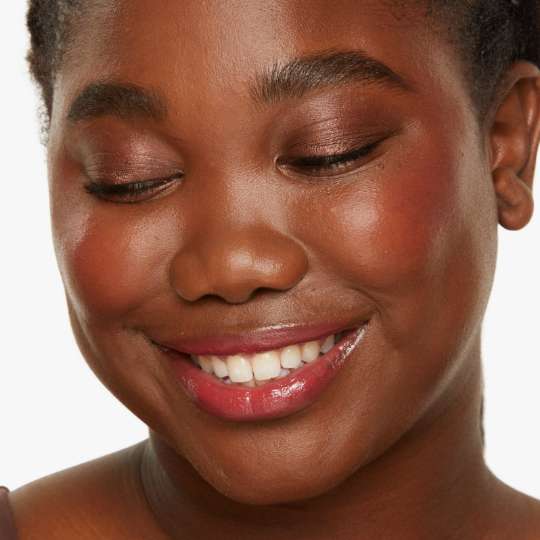
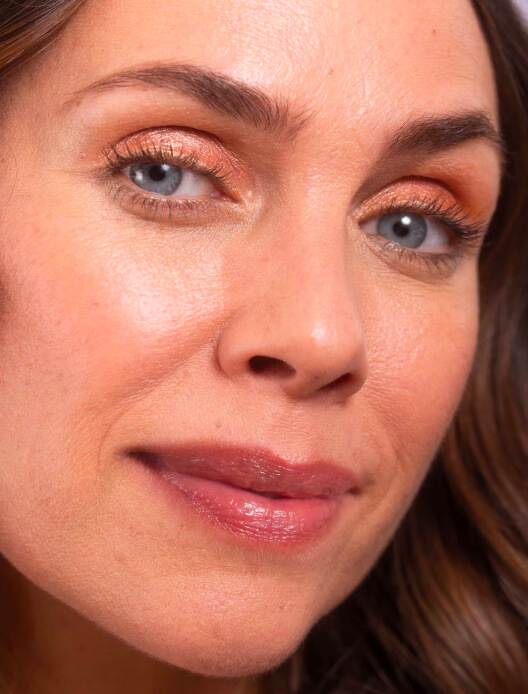
Busy morning? No time to master a cut crease? Not entirely sure what a cut crease is? We’ve got you. When time is of the essence, one eyeshadow shade is all you need. For a fresh and natural look that says “I woke up feeling bright-eyed and bushy-tailed” a wash of colour works wonders. You’ll still look like you, just with a little added polish – and you only need five minutes. No one needs to know that in reality, you dashed out the door with barely a second to tie your laces…
Step 1
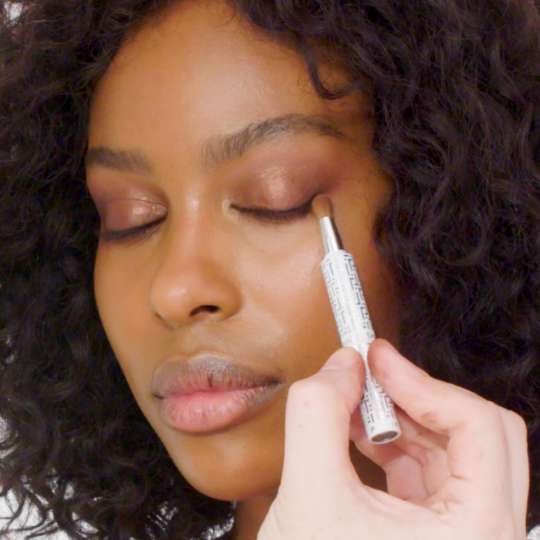
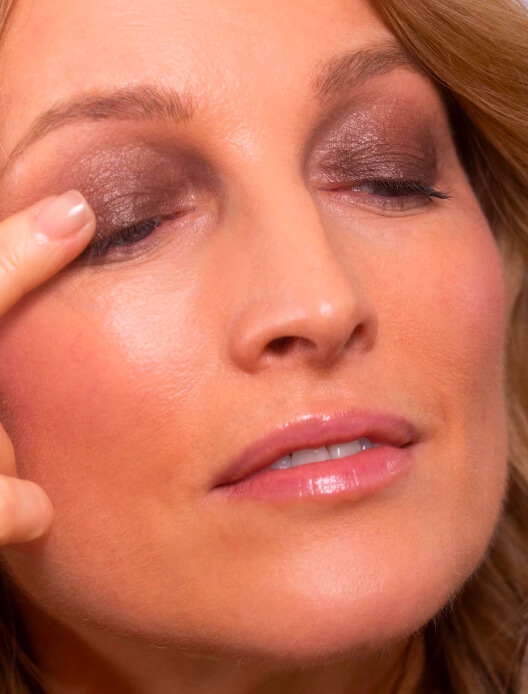
First things first, before you apply any eyeshadow, tilt your head back so you can still the entire real estate of your eyelid. “Looking down into the mirror means that you can get your eyeshadow right to the lash line and there won’t be any gaps,” explains Katie.
Step 2
Use a clean finger to pick up a little eyeshadow from the pot and work it into the back of your hand. Using the back of your hand as a palette ensures that you don’t apply too much colour to your lid at once. “If you go in too heavy, with too much eyeshadow, it’ll be much harder to blend,” says Katie. “It’s much easier to add more colour than take away any excess.”
Step 3
Apply one thin layer across your lid, making sure to get all the way to your lash line, and blend with a clean finger (your ring finger is best as it has the gentlest touch). Continue building up thin layers, allowing time for each layer to settle, until you have the depth of colour you’re after. If you go in all guns blazing with one thick coat of eyeshadow, you’ll be more likely to encounter dreaded creasing later in the day.
Dashing from desk to dinner? Once you’ve mastered your simple daytime look it becomes a base to build something a little more dramatic upon. Even if just the words “smoky eye” tend to provoke light anxiety, it’s refreshingly easy to dial up the drama with your fingers.
Step 1
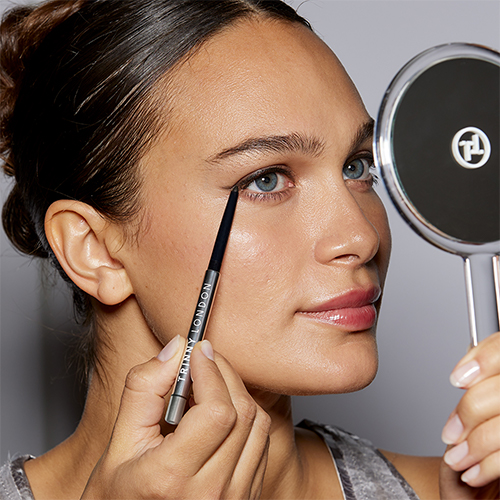
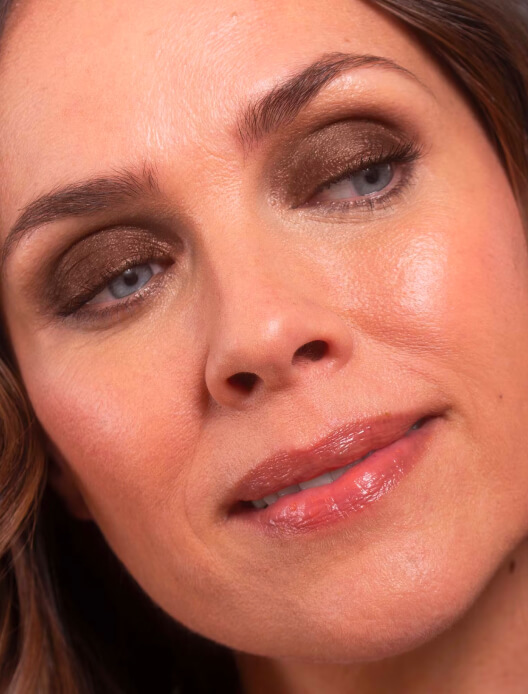
Look straight forwards into the mirror, use your pinky finger to feel where the outer corner of your socket is, and layer your deeper shade here. Wherever you place your deeper eyeshadow shade is where the colour will be the most intense.“Be really careful about placement,” advises Maryam Ahmed, Pro Makeup Artist at Trinny London. “Looking straight on into the mirror makes sure that your eyeshadow won’t slip below the lower lash line and look messy.”
Step 2
Take a clean finger (again, your ring finger is best) and gently pat side to side to blend out the deeper shade and create a smoky look. “As you blend, you want all of your eyeshadow to stay between the outer corner of your eye and your brow line so that your eyes look lifted,” explains Maryam. If your eyeshadow ventures beyond these barriers, your smoky eye is at risk of looking a little messy. If you do end up colouring outside the lines, don’t panic – take some concealer and use it to clean up any fallout.
Step 3
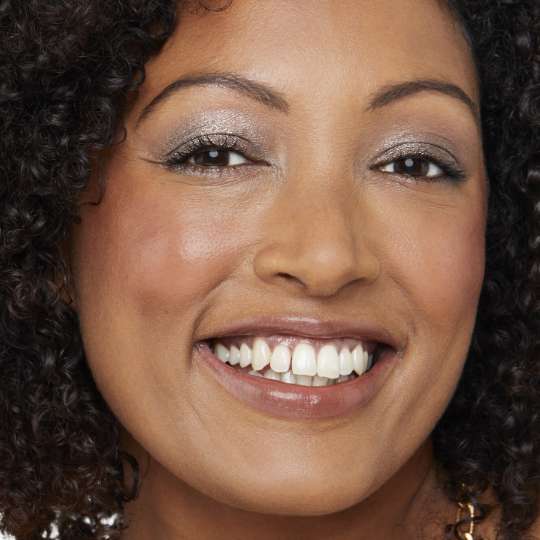
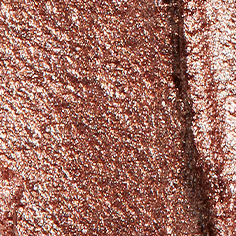
For more intensity along your lashline, use your pinky finger to apply the deeper shade here, and a clean finger to blend it out. Finally, if you feel like you’re missing a bit of razzle-dazzle, use your pinky finger again to add a touch of shimmer in the inner corner of your eyes for instant brightening. In the case of how to apply eyeshadow to hooded eyes, the same rules apply, just focus more on the outer edges of the eye than the lid.
With a rainbow spectrum of shades to choose from, it’s tricky to know where to begin. It’s important to remember that there are no hard-and-fast rules, you can (and should) wear any eyeshadow shade that makes you feel good. However, there are certain colours that will make your eyes look their best. So what are the specific hues destined to make your eyes pop? Whether you’re staying soft and subtle for the daytime or dialling things up post-5pm, these eyeshadow shades can truly make all the difference…
Think back to the colour wheel and opt for shades that sit directly opposite blue to make your eyes really stand out. “Hues with tints of red and yellow, like orange, copper, and warm, brownish tones are perfect for emphasising your blue eyes,” explains Katie.
Grey eyes and blue eyes are cool-toned cousins, so opt for a similar spectrum of shades – like fine wine and great cheese, grey pairs perfectly with hues directly across the colour wheel. “Neutral browns and peaches are both great options,” says Katie.
For Katie, any contrasting eyeshadow shade with red hues will do your green eyes justice (think back to the colour wheel). “Maroon, amethyst, coral-orange, or pinkish-red will accentuate green eyes,” she explains. “Rose gold is also a good option because the slightly red undertone of this gold shade allows green eyes to shimmer.”
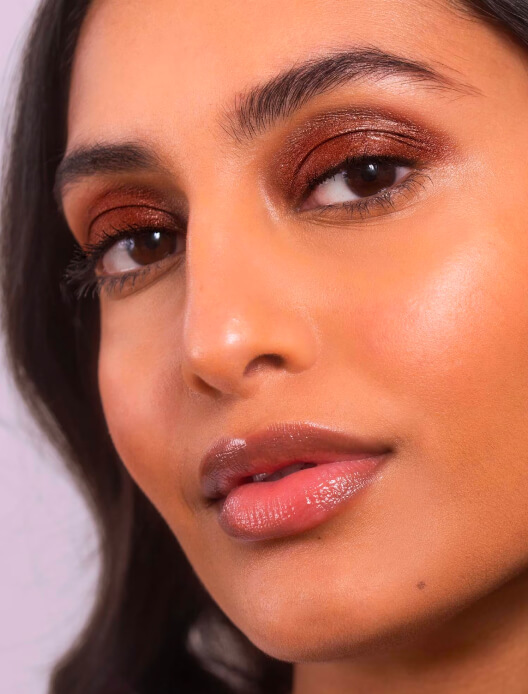
The ultimate shape-shifters, hazel eyes are a little hypnotic; browns meld with green and gold so your eyes can look different depending on the lighting. This means the palette really is your playground, “browns, golds and greens will instantly enhance the richness of hazel,” says Katie. “Bronzes are dreamy for bringing out the warmth and purples provide a gorgeous contrast to your eye colour.”
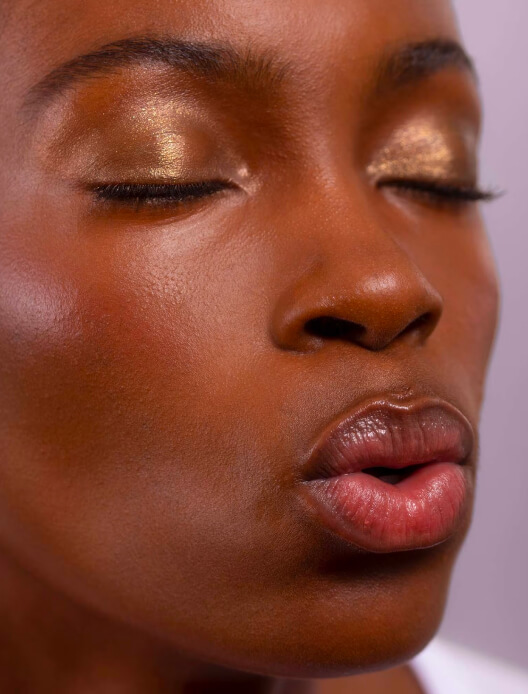
To really make your eyes sparkle, gold shades with brown eyes are a winning combination – think copper, bronze, rose gold, and shimmery yellow. Remember that brown is neutral, so opting for contrasting shades is another easy way to bring out the best of your eyes. “With rich brown eyes, the contrast of shades like cobalt blue, teal and turquoise will make your eyes instantly pop,” explains Katie.
Shop the article
21 shadesRead, watch and be inspired...