 6 shades
Just as everyone’s eyes aren’t the same colour, the shape of our eyes varies too. The phrase hooded eyes refers to an eye shape where excess skin folds down from the brow bone to the lash line, concealing your eyelid. You may have always had hooded eyes, or they might have made an appearance as you travelled down the path of life.
Not sure if you have hooded eyes? Look at them in the mirror – if you can’t see your lids, or the majority of them are obscured, chances are your eyes are hooded.
There is a common misconception that eyeshadow and eyeliner is a no-go if you have hooded eyelids. While it is true that application needs to be more considered, as very little, if any, of your lid will be showing when your eyes are open, the process of applying eyeshadow is no more complex. It’s just all about making sure that your hard work buffing and blending, lining and defining, doesn’t go unnoticed by focusing your efforts in the area above the lid and below the brow. “When working with hooded lids, the aim is to use your eye makeup to make your eyes look bigger, brighter and more open,” says John Corcoran, Pro Makeup Artist at Trinny London.
There is absolutely no reason why someone with hooded eyes couldn’t use either cream or powder formulas. It is ultimately down to personal preference, and which you prefer working with.
However, there are benefits of cream over powder in general. Firstly, cream eyeshadow can be applied seamlessly with either a brush or your fingers. The movable texture makes them easy to blend, which is a welcome benefit for eyeshadow novices and experts alike. There is also less potential for fallout with a cream formula. Powders, by their very nature, are powdery, increasing the likelihood of pigment travelling from the lid and peppering your under eye and cheeks. The pigment is more contained in a cream, so you don’t have to worry about this happening.
Powder can also cling to, and therefore amplify, any patches of dryness, or settle into fine lines. Cream shadows won’t do this, and therefore offer a softer, more flattering look.
There are no hard-and-fast rules, and whether you apply your cream eyeshadow with brushes or your fingers is completely down to you. That being said, it also depends on how hooded your lids are, as in some cases your fingers might be too wide to place the product where it’s needed. A tapered brush, therefore, will come in handy by helping you to get to those hard-to-reach areas. If you have hooded eyes, a clever technique is to create a fake crease in the space below the brow, which requires a fair amount of precision. You’ll be able to create tighter shading when using a narrow shadow brush compared to your fingers.
Before you even begin applying your eyeshadow, make sure you have a good set up where you can see your eyes straight on. Remember to focus mostly on the areas of your eye that you can see when your eyes are open, as this is what will be on show the majority of the time. You’ll need two eyeshadows, one lighter, and one darker, as well as an eyeshadow brush.
Ensure your lids are clean and free from any product or moisturiser. If needed, you can prep the lids with a wash of a mattifying primer.
Using either your fingers or a brush, apply eyeshadow across your eyelid, focusing on the inner corners to brighten. The lighter the shadow you choose, the brighter your eyes will look.
Next, use the slightly darker shade to create a faux crease. Using a small eyeshadow brush, take the colour from just beneath the start of the brow, across and out towards the outer edge of the brow. You want the line to be relatively flat, curving up slightly at the end. This will add definition and lift to the eye area.
As a final step, you can use the pointed end of your brow mascara wand to, depending on the shape of your brows, add in or amplify the arch. This will again draw the eye area upwards, making it appear bigger and brighter.
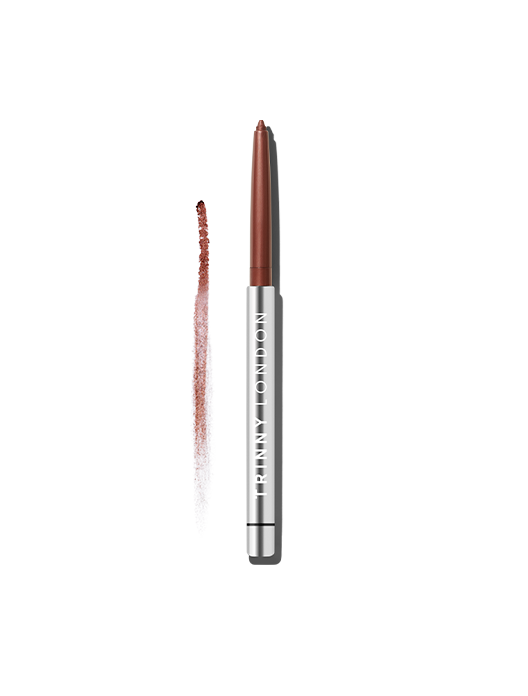
If you’d like to wear an eyeshadow, finish your look before reaching for your eyeliner. Then glide Line2Define along your upper or lower lash line to define your eyes.
If you want to dial up the drama and create a smoky look, blend and smudge Line2Define with your preferred tool (we like to use our T-Kit 3-in-1 brush set).
For a more defined, eye-catching look, glide Line2Define along your waterline to make your eyes pop.
For added luminosity, apply Levy (our champagne shimmer hue) along your lash line, inner corner, waterline or under the brow for instant brightening.
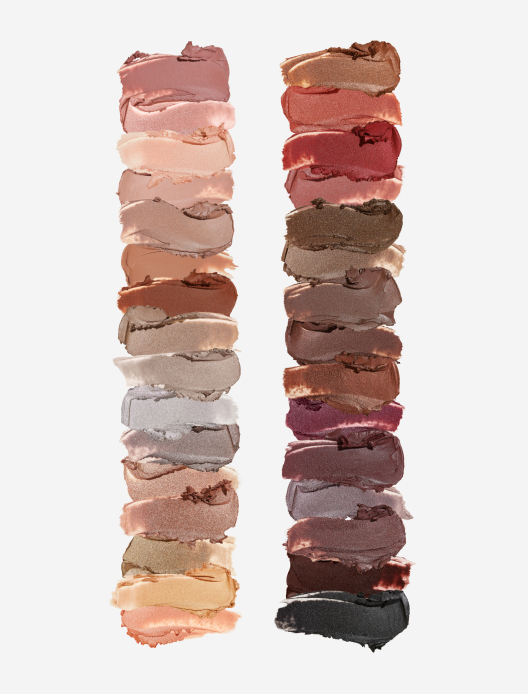
Not sure what Eye2Eye or Line2Define shades will suit you best? Complete your Match2Me to find your most complementary shades.
Shop the article


 6 shades
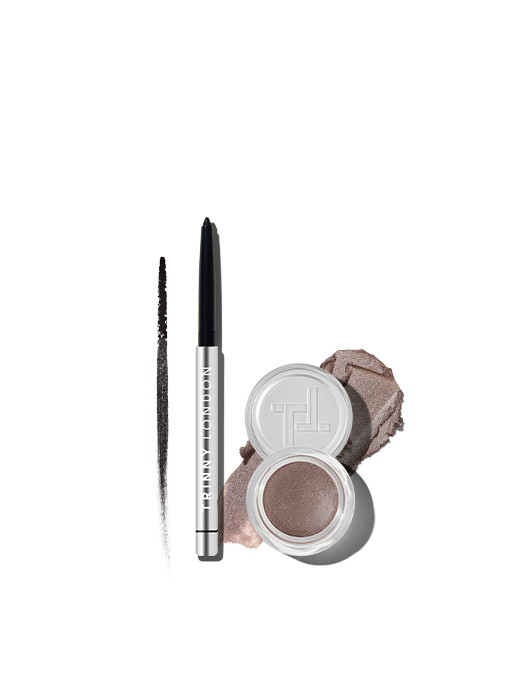
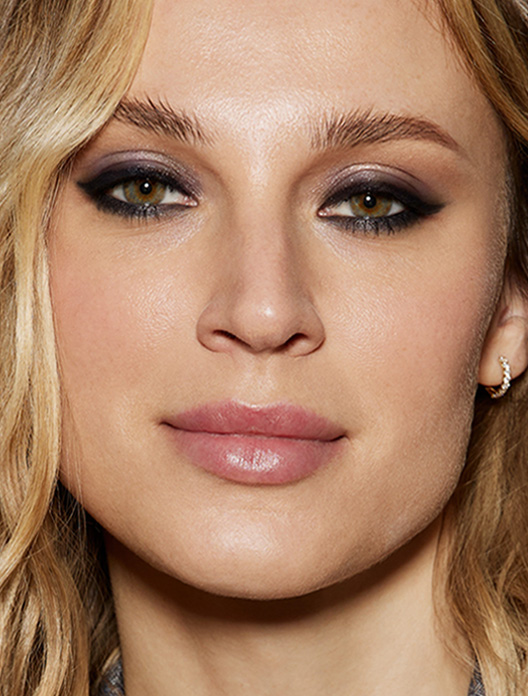
Black eyeliner and pewter bronze eye shade for a modern smoky eye
Choose shade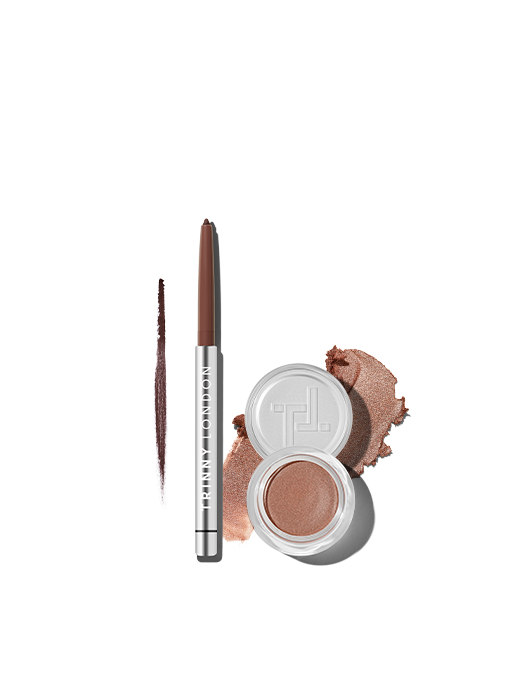
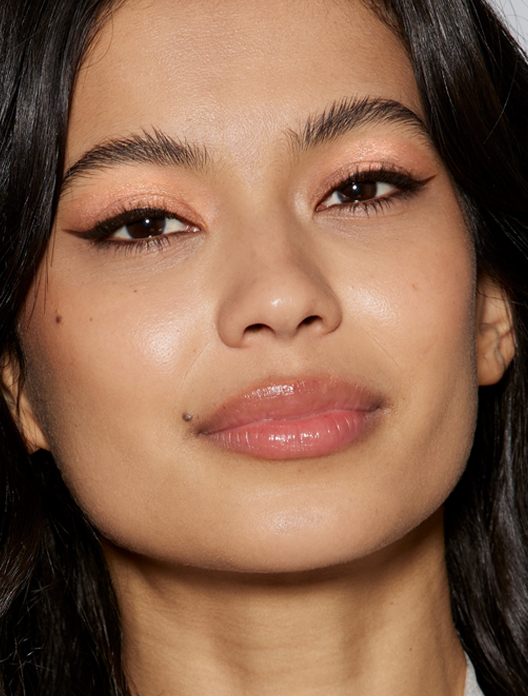
Rich brown eyeliner and rose gold eye shade for a soft and subtle finish
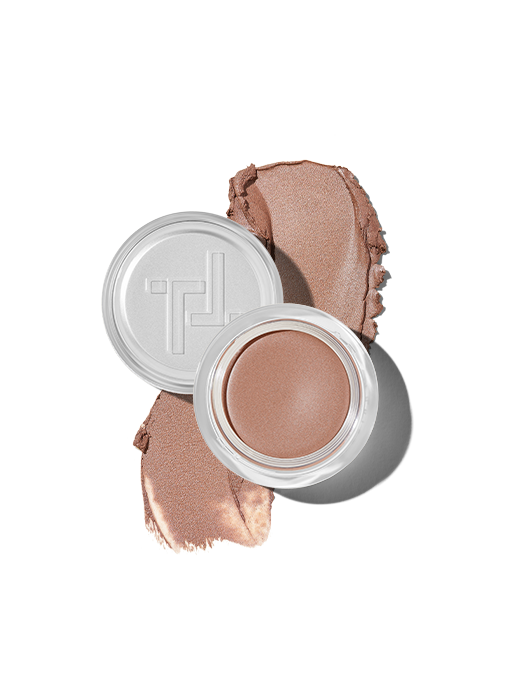
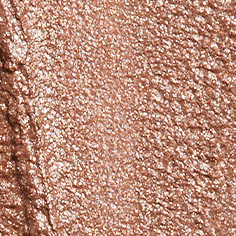
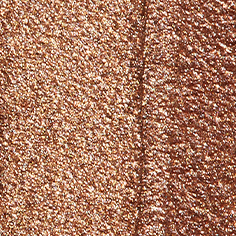
 23 shades