EUR | €
 SEK | kr
 NZD | $
 CAD | $
 EUR | €
 AUD | $
 USD | $
 GBP | £

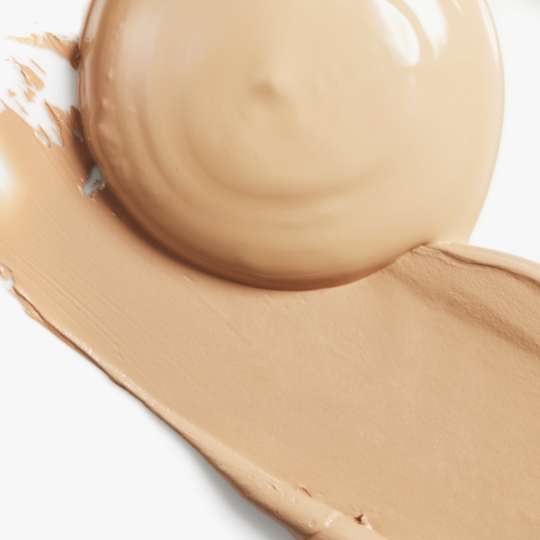
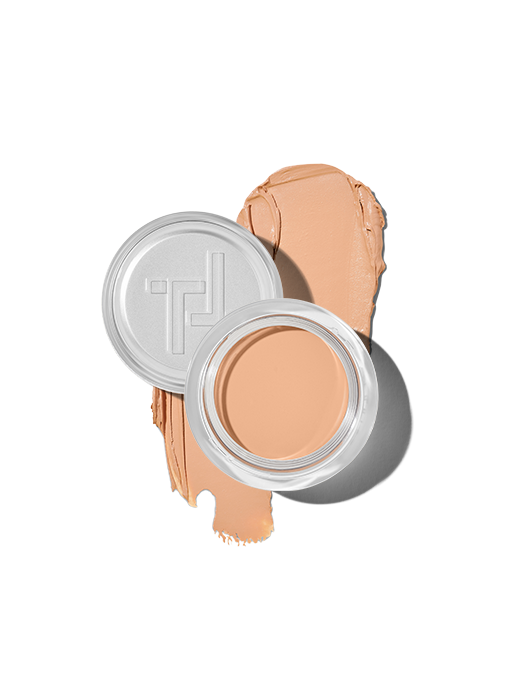
 18 shades
Okay, so maybe it isn’t a secret as such, but one of the best tips for learning how to apply foundation like a makeup artist is very simple: don’t overdo it. If you’re looking for full coverage, it’s tempting to load up on foundation straight away, however this could lead to a cakey finish – so take it slow and work in light layers. “It’s up to you how much coverage you want and where you need it,” explains Katie, Pro Makeup Artist at Trinny London. “Heavy coverage all over your face when it’s not needed can tend to look too heavy”. Sometimes, less is more.
Although it may seem obvious, one of the easiest ways of ensuring a natural-looking, seamless base is finding your perfect shade. Good thing we have a shortcut – head over to our Match2Me tool to find your perfectly matched hue (as well as your most complementary eye, lip and cheek shades) based on your unique combination of skin tone, hair and eye colour.
The key to seamless makeup starts with a great (and consistent) skincare routine. Not only will this create the perfect base for your makeup, but a relaxing skincare routine is the perfect excuse for a moment of ‘me time’. “Makeup will sit better if your skin is prepped and more hydrated.” advises Katie.
It isn’t just the skincare you apply just before your foundation that counts, but your overall regime. At night, we recommend a double cleanse. The first cleanse removes all makeup, SPF and pollution from your skin, while the second cleanse helps clear out your pores. The result? Clean, nourished skin. Next up, a liquid exfoliant. It may sound scary, but this simple step will whisk away any dead skin cells, leaving you fresh and glowing. Serums will target any specific skin concerns that can affect how makeup sits or appears on your skin, while a good moisturiser will keep your complexion hydrated – like a tall, refreshing glass of water for your skin.
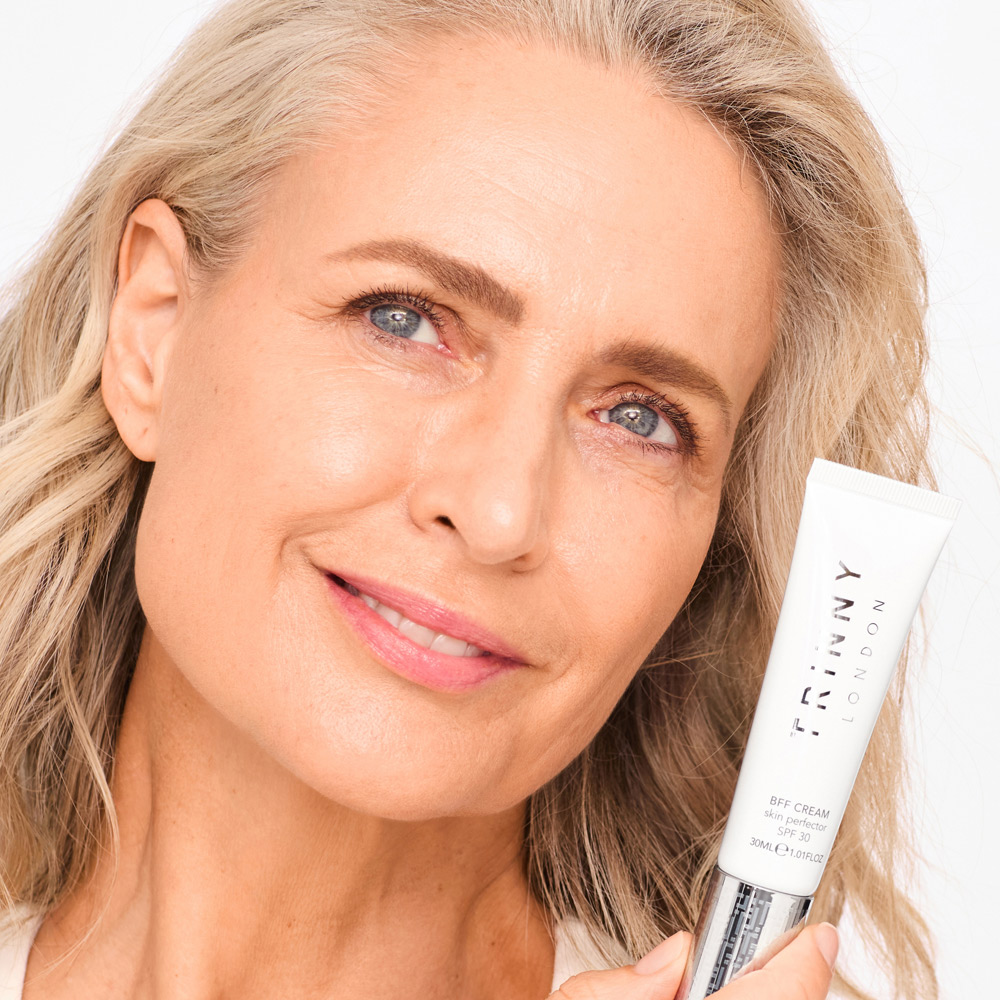
An essential all year round, SPF not only protects your skin from everyday UV exposure, but it also helps prevent premature signs of ageing – so it’s a win-win. Apply as the last step in your morning skincare routine and before your foundation or tinted serum, giving it a couple of moments to settle into the skin before moving on to your base.
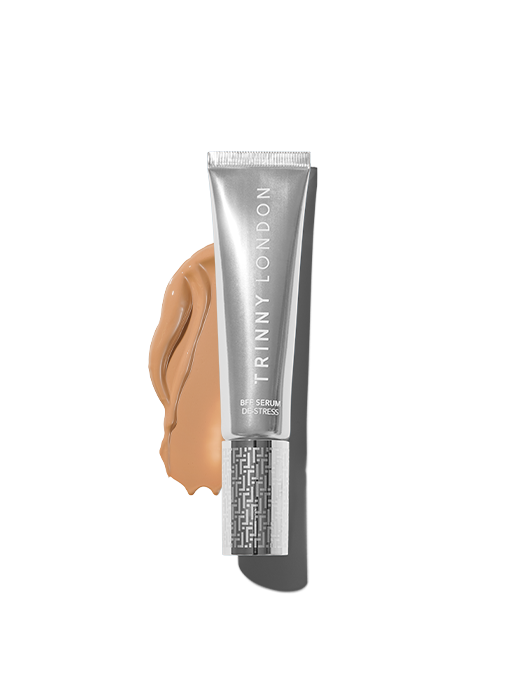
From tinted serums to full-coverage foundations, we all want different things from our base products. The key to finding what works best for you depends on your skin type.
If you have oilier skin and your forehead is gleaming come lunchtime, opt for a foundation or serum-foundation with a semi-matte finish to help dull down unwanted shine. For dryer skin, try a lighter tinted serum that won’t cling to any rough areas. Tinted serums tend to have additional skincare-worthy ingredients compared to a traditional foundation, going the extra mile for your complexion. For combination skin (skin that has both oily and dry elements), you might want to switch up your formulations between the cooler and warmer months to keep your complexion content. If you want fuller coverage, build your product up in layers and blend in between to keep everything looking seamless – you can also work some concealer into these areas to build up extra coverage, but more on this later.
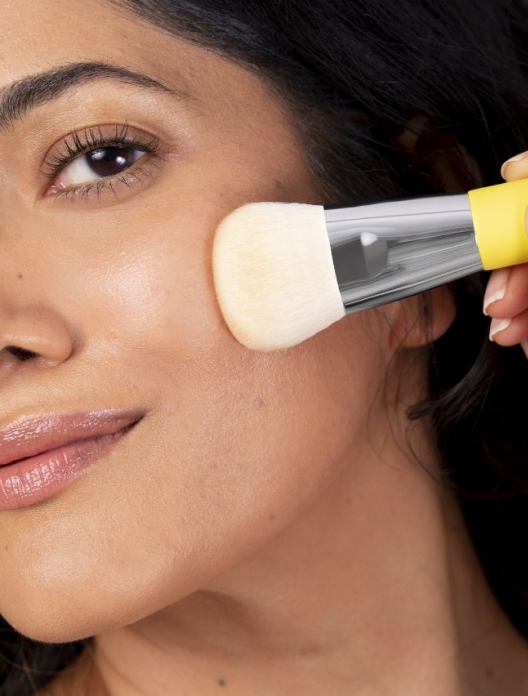
It might not be quite as hotly debated as whether the chicken or egg came first, but deciding on whether to apply your favourite foundation or tinted serum with your fingers or a brush can really divide a room of makeup artists. “It’s preference” explains Katie, “you can definitely build coverage with either fingers or a brush”.
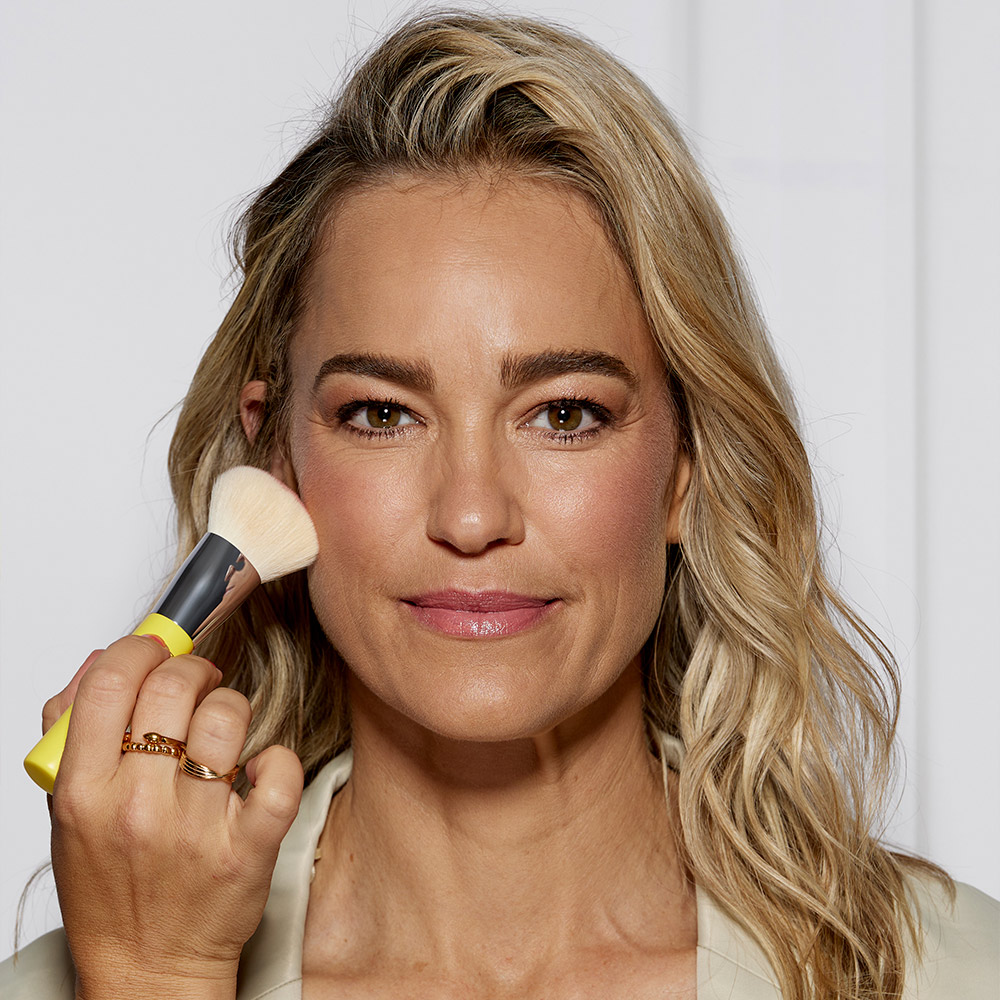
It can be argued that using a brush not only gives you a cleaner routine (without the foundation-covered fingers) but also helps you achieve a smoother, seamless finish. “With a brush, you’re quicker at applying and buffing in. You don’t need to keep going back to make sure it’s blended,” explains Katie. “Sometimes with fingers you will see marks and it doesn’t even out as nicely as when you use a brush”.
However, sometimes the best tools are the ones we’re born with. “When you’re using your hands, you can feel your face more,” shares Katie. “If you’re naturally more heavy-handed, use your hands so you use less pressure”. Using your fingers also allows you to place and build the product exactly where you want it before blending out. “Applying with a finger first will give you an idea of all the areas you want the extra coverage in,” says Katie. “Then you can go round with a brush to soften it”. This technique will also help you steer clear of avoiding too much product too quickly, especially with a product you can use directly from a pot.
A complete foundation newbie? “Try both,” Katie explains. “Use both techniques on both sides of your face”. If you don’t have brushes, start out with your hands. Then, if you feel you’re not getting the most out of your products or not achieving the finish you’re after, try out a brush.
Whether to apply concealer or foundation first is just as contentious a debate. Some makeup artists like to apply concealer first, so you have this coverage in place before your base, while others think it should come after, once you can see the areas that need extra attention.
Here comes the practical part: how to apply your foundation. Whether you’re hands-on with your application or prefer to buff with a brush, here’s our expert-approved guide on applying your favourite foundation or tinted serum like a pro.
Step 1
After your skincare has settled into your skin, apply your foundation to your face, focusing on the central diamond – this will be your forehead, nose, chin and cheeks. Using your fingertips, begin to blend, blend, blend.
Step 2
Using the remaining product on your hands, blend outwards over the rest of your face and halfway down your neck for a natural, seamless finish – if you have redness on your face and chest, take it down to your décolletage. Keep blending until you have one uniform colour starting from your forehead – there shouldn’t be any harsh lines hiding under your jawline or down your neck.
Step 3
If you’re looking for more coverage, repeat the process with light layers, gently blending in between for the most natural-looking finish. Alternatively, blend a small amount of concealer on any areas where you need a bit more coverage (remember the golden rule from earlier: don’t overdo it).
Step 1
Let your skincare settle into your skin, then apply dots of your favourite foundation or tinted serum to the areas of your face where you want the most coverage – this will often be your cheeks, nose, chin and forehead.
Step 2
Taking your complexion brush, blend the product out towards your hairline and your jaw, making sure the coverage is most concentrated on the areas where you feel you need it most. Gently buff the product until it looks seamless.
Step 3
Just like the above advice for fingertip application, take the product down your neck for the most even, natural-looking finish and if you want more coverage, repeat the process with light layers, making sure to gently buff everything. Don’t forget, if you have redness on your neck or chest, you may want to buff the coverage gently down to your décolletage.
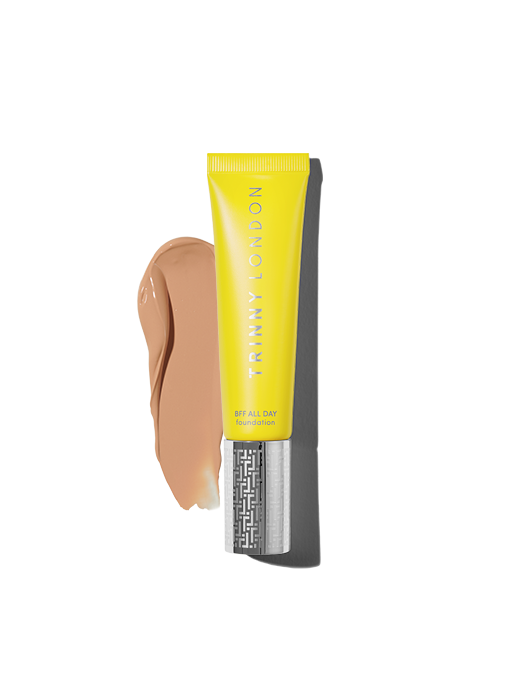
Shop the article
18 shades
Dome-shaped, base-perfecting brush for a seamless finish


 12 shades
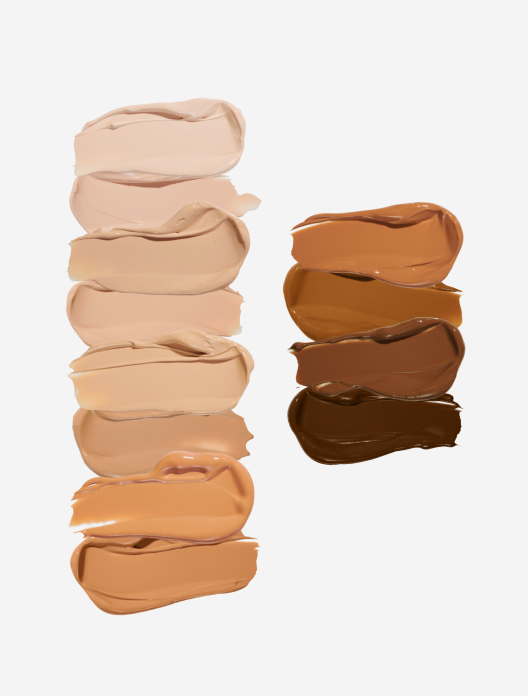

 24 shades
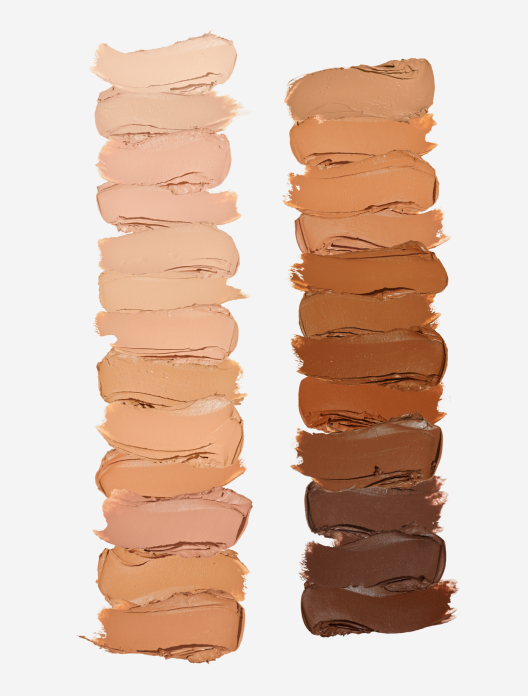


 5 shades
SPF 30 to protect, perfect and give skin a healthy glow
Choose shade