EUR | €
 SEK | kr
 NZD | $
 CAD | $
 EUR | €
 AUD | $
 USD | $
 GBP | £
 25 shades
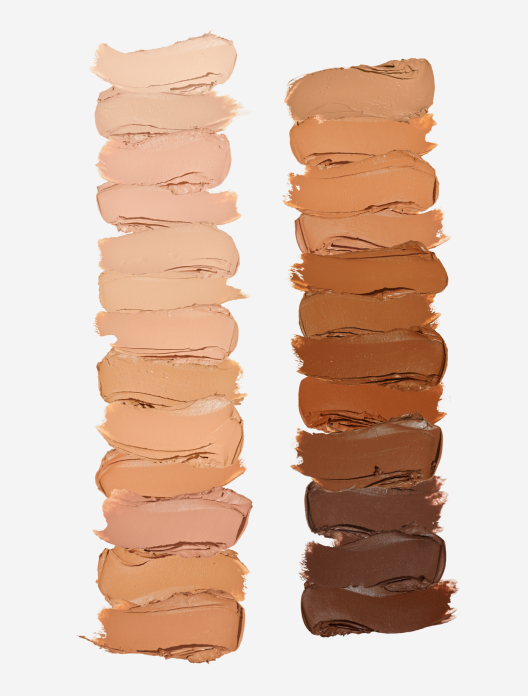
Let’s be honest, there’s no good time to have spots. The skin equivalent of an unexpected item in the bagging area, they are a frustrating inconvenience every single time they decide to take up residency on your complexion. Yet spots still manage to find the worst possible times to crop up – like when you have a big day at work, or an important event on the horizon. It’s almost as if they have no regard for your diary.
Covering spots with concealer is of course only a temporary fix to the problem. It’s a bit like covering a stained carpet with an artfully positioned pot plant, as opposed to committing to a deep clean. To reduce the likelihood of breakouts, you’ll need to have a good skincare routine consisting of hardworking ingredients such as salicylic acid, retinal and niacinamide. But even the best-laid plans can come unstuck, and with things like hormones, stress and diet also fueling breakouts, it is still possible for the odd blemish to sneak through.
Such is the power of skin that when you have a spot, it can feel like everyone is looking at you – even if they’re not. Concealer is the antidote to this unwanted attention, ready to send your spots on sabbatical at a moment's notice. But not all spots are the same, nor are all concealers created equal. Hence why you may have felt previously that your spots looked worse, not better, when topped with makeup. The best technique and formula for the job at hand will depend on the nature of the blemish.
The approach you take to covering spots with makeup will depend on the type of blemish you’re hoping to conceal. The question of whether to apply concealer or foundation first is hotly debated, but for blemishes we recommend base first to take some of the heavy lifting off of your foundation.
Woken up to a whopper of a blemish? No problem. Whether it’s simmering beneath the surface or has boiled over into a whitehead, the same approach applies.
Step 1
Start by applying a layer of serum foundation. This alone won’t be enough to completely conceal the spot, but will start to dial down the redness. If your skin is very oily, you might find it better to use a brush to carefully place the product onto the area, as opposed to applying it with your fingers.
Step 2
Warm a pigment-packed concealer onto your fingertips and carefully pat onto the spot. Then, with a brush, work around, not on the spot, evening and buffing. This will help to soften the edges so it doesn’t look obvious.
Step 3
If you need to touch up your concealer throughout the day, simply repeat the process. Be conscious that bacteria from breakouts can transfer onto brushes and our fingers, and therefore back into the product, so be sure to wash your hands, and brushes, regularly.
Prominent pores often come hand-in-hand with oiliness and breakouts.
Step 1
If you have prominent pores, the chances are your skin is oily. To keep shine at bay, prep your skin with a lightweight moisturiser and a layer of a soft matte foundation.
Step 2
Once this is in place, layer Miracle Blur, our lip + line filler, over the top. It needs to be warmed between your fingers a little first, before smoothing into place. This will even out the area, filling in the dips and mattifying shine.
Good news, your spot is on its way out. But sometimes the dry, slightly scaly stage can be the hardest to hide.
Step 1
The key is in the prep, as you’ll want to remove the dead skin cells and re-introduce hydration to the area. If you can do so without driving irritation, use a muslin cloth to carefully persuade any dead skin from the surface. Top with a light layer of moisturiser.
Step 2
Gently apply a lightweight, hydrating base to your skin. Tap, don’t rub, the product onto the dry spot as this can make it drier and disrupt any flakiness.
Step 3
If you can, leave it there. But, if you do want more coverage, carefully pat on a very light layer of concealer. Keep in mind that the more layers you do, the prouder the spot will sit on the skin, making it more obvious. In this instance, less is more.
Breakouts have a frustrating tendency to leave souvenirs behind in the form of hyperpigmentation.
Step 1
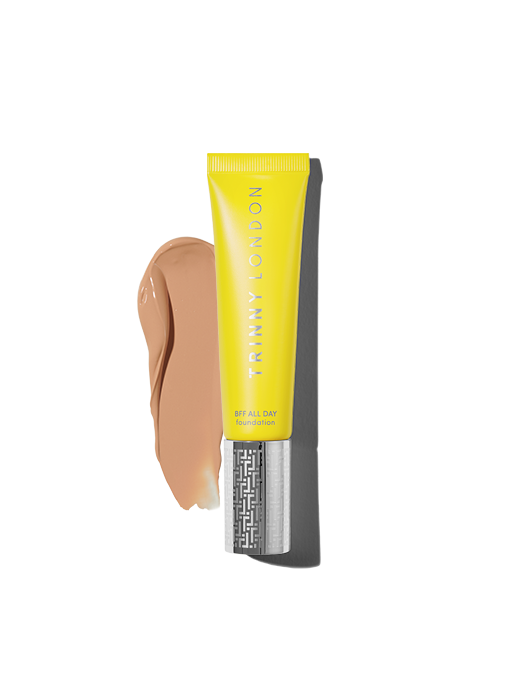
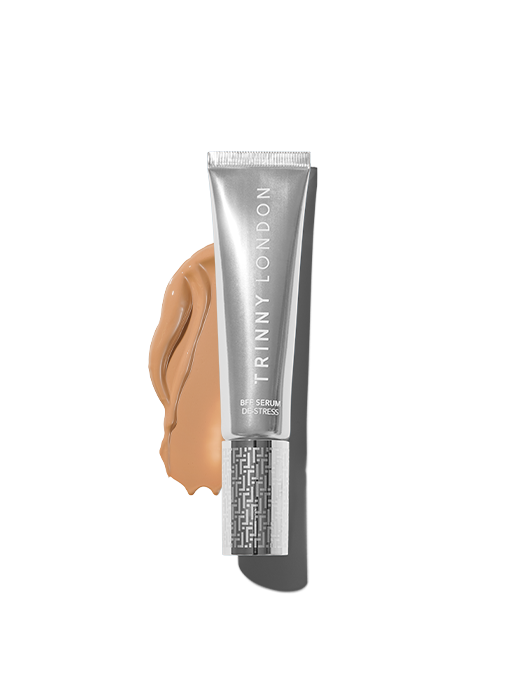
Prep your skin with a layer of your chosen serum foundation. Trinny London BFF All Day is great for a more matte finish, while BFF De-Stress is brilliant for a soft-focus glow.
Step 2
Apply concealer in thin, light layers. Most people tend to be heavy-handed when applying with fingers, so you may want to use a brush. Continue to build up the layers until you have reached your desired level of coverage.
Step 3
If you find that concealer alone isn’t enough to hide your hyperpigmentation, you could add in colour correction between steps one and two. This involves using a different shade (peach tones if you’re olive or darker, and pink for lighter skin) to knock out the darkness of the pigmentation. From there, you can proceed to your usual concealer.
One commonly asked question surrounding covering spots with makeup is if this will make your breakouts worse. The honest answer is it might do, so it is really up to you whether you are willing to accept that your blemish may become angrier, or stick around for longer, if you choose to cover it. For many, the idea of going concealer-free is far more daunting, so the pros outweigh the cons.
Spots are formed when sebum (the oil in our skin) and dead skin cells block a hair follicle. Therefore adding more elements into the mix, like makeup, can serve to increase the level of congestion. It’s a bit like adding extra cars to a traffic jam. Makeup can also further irritate spots that are inflamed, or have been picked, driving more redness and swelling. It’s a vicious cycle, as the more irate the blemish, the harder it will be to conceal.
If you do want to cover your blemishes with makeup, keep a few key considerations in mind to reduce the chance of aggravating the problem:
Don’t prioritise makeup over skincare. Makeup is disguising the problem, not dealing with your blemishes. If you only have time to do one or the other in the morning, make skincare a priority.
Keep touching to a minimum. Spots will make themselves scarce quicker if they’re left alone. Touching them will only serve to annoy them, driving inflammation and redness. By all means, apply concealer, but avoid any unnecessary prodding or poking.
Wash your brushes regularly. If you’re using a brush or applicator to apply concealer to a spot, remember that you are transferring bacteria from the blemish onto the tool. If you then return it to the pot without cleansing, or use the same applicator to conceal another part of your face, you’re increasing the likelihood of future blemishes. The same applies for your fingers after you have touched a spot. To steer clear of this scenario, be mindful when applying your makeup and wash your hands, and tools, regularly.
To keep your breakouts under the radar, steer clear of the following mishaps.
When we’re unhappy with our skin, there’s the tendency to throw the kitchen sink at it. But, piling on layers and layers of product only serves as the makeup equivalent of wearing a giant hat to hide a bad hair day. In reality, all you’re doing is drawing more attention to it. For a convincing finish, apply your concealer and base in light layers.
Much like applying too much product, using the wrong shade of concealer will draw more attention to your blemishes. Under-eye concealer can be slightly lighter than your base in order to brighten dark circles, but anything on the complexion needs to be a spot-on match.
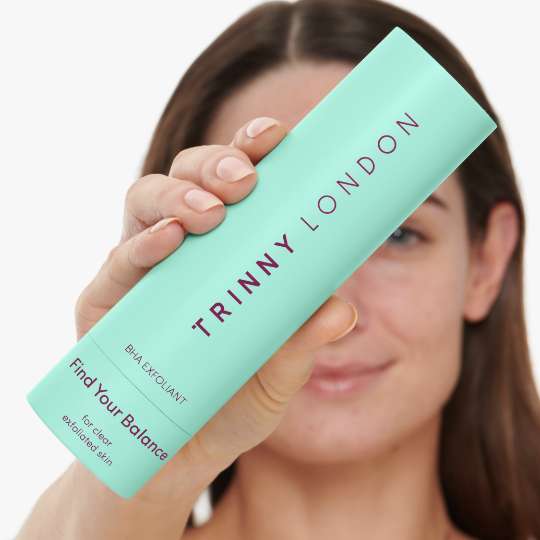
The more heavy lifting your skincare takes on, the lighter the load for your concealer. A liquid exfoliant formulated with beta-hydroxy acids will help to speed up cell turnover, bringing down the blemish and any residual flaking. Niacinamide is a great ingredient for balancing oil in the skin and retinal will help to reduce post-spot marks by supercharging cell turnover. There’s a temptation to skip moisturiser when you’re breaking out, but keeping this in the mix will prevent the skin from drying out as it heals.
Popping a spot is rarely a good idea. It will drive inflammation, making your blemish redder, angrier, and more likely to stick around for longer. But equally, we know there’s little more satisfying than giving a juicy spot a squeeze, and sometimes, the urge to pop is just too tempting. If you do need to pop a spot, do it at night, after cleansing. This will allow it to settle down overnight, with redness reduced by morning. By popping a spot and immediately applying concealer, all you’re doing is making it more difficult to cover. Makeup layered over a sore, weeping spot is going to look far worse than leaving it alone.
Having the right kit for the job will make the process of covering your blemishes easier.
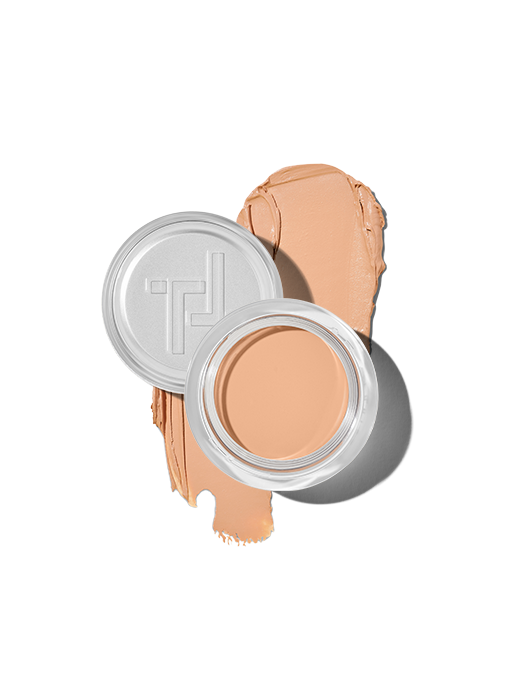
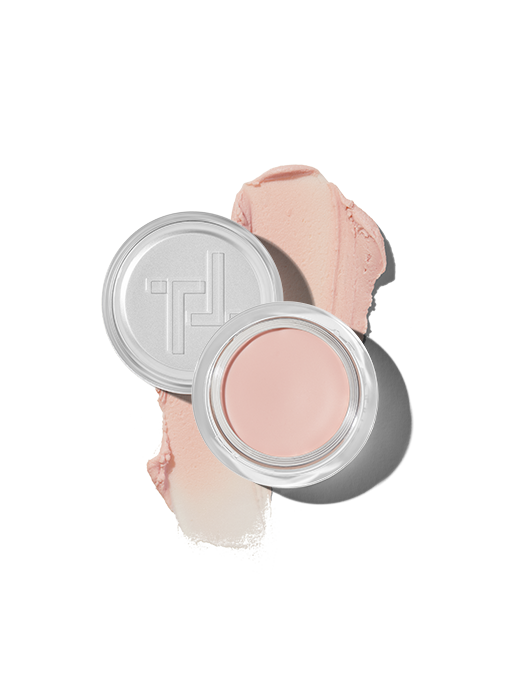
For easy-to-control, targeted coverage, exactly where you want it, Just A Touch is just the ticket. It’s satisfyingly pigment-packed, without feeling heavy on the skin. A little goes a long way, and is really easy to blend.
If past blemishes have left you with pitted skin, try Miracle Blur. It works like polyfiller for your complexion, filling in and smoothing over any dips in the skin, as well as wrinkles and fine lines. It’s great for blurring prominent pores too, so they fade into the background. Apply before or after base depending on your desired look.
If powder is normally your first port of call for reducing shine, consider re-thinking your approach with Face Finish. This mattifying balm zaps shine and smooths pores without the dustiness a powder can bring. Use in tandem with your concealer to perfect your overall look.
Shop the article
25 shades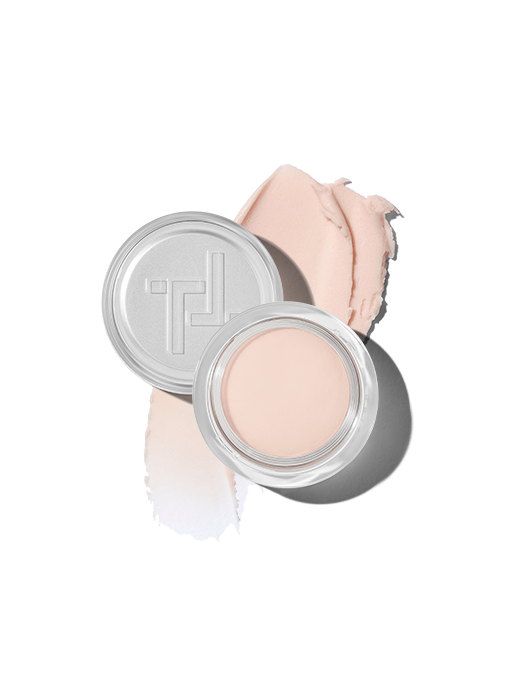
 Miracle Blur
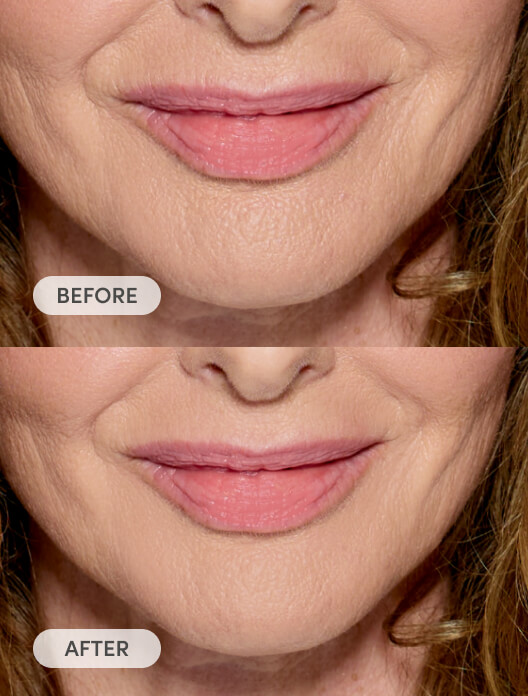
Skin-smoothing, pore-blurring line filler
 Face Finish
Mattifying balm to zap shine and smooth pores
 18 shades

 12 shades
Read, watch and be inspired...