EUR | €
 SEK | kr
 NZD | $
 CAD | $
 EUR | €
 AUD | $
 USD | $
 GBP | £
TRAVEL EDIT

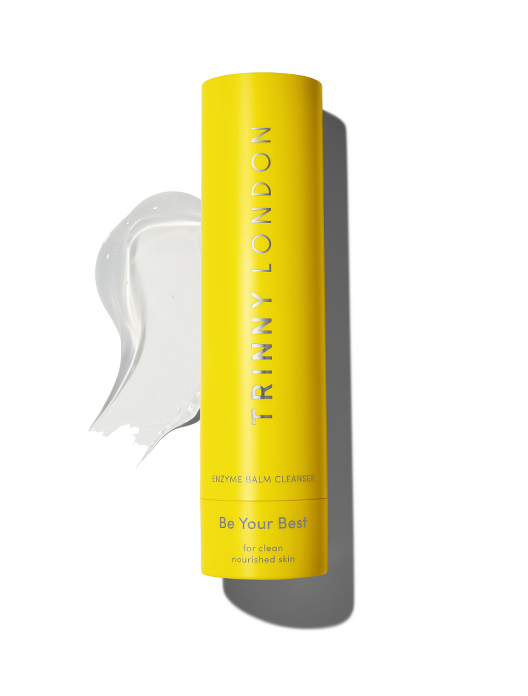
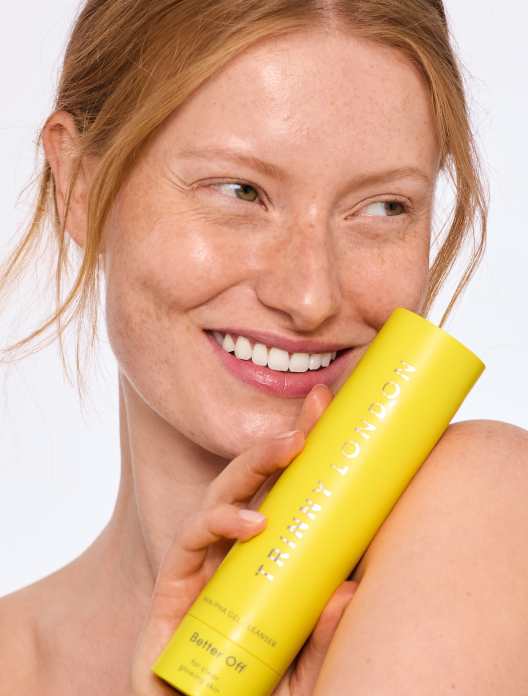
Enzyme Balm Cleanser
Be Your Best
Oil-based transforming cleanser for clean, nourished skin, suitable for all skin types
We know, we know, technically speaking, we all should be leaving our blemishes well alone. But we know most of you won’t, which is why we want you to know how to pop a spot without inflicting too much damage.
There are a number of reasons why a spot may have taken up residency on your face. Fluctuating hormones, stress, poor diet, inefficient cleansing and using the wrong skincare are all common culprits. Prevention is always better than cure, so making sure you are eating well, getting enough sleep and cleansing your skin properly will go a long way towards warding off future breakouts. Incorporating blemish-busting actives into your skincare routine is also a smart move. Try niacinamide to help with oil flow, retinoids to speed up cell turnover and beta-hydroxy acids to give the pores a good clear out.
Before we dive into the nitty gritty of how to pop a spot, it’s important to know which spots have the potential to be popped, and which should be left well alone. Only ever try to squeeze a spot which has a visible head, as these are closest to the surface. Never pick, probe or attempt to pop a spot which doesn’t have a head. If it’s red, inflamed and sitting angrily under the skin, walk away. Patience is a virtue, and this kind of blemish will either eventually bubble to the surface or resolve itself in time.
Playing with or prodding at a spot that’s not ready to be squeezed, or using the wrong technique, will increase the risk of spot scars and post-inflammatory hyperpigmentation (dark marks where the spot once was). If you have broken the skin and created a wound, you’ll have both the temptation to pick at the scab and potential infection to contend with too.
Shop the article
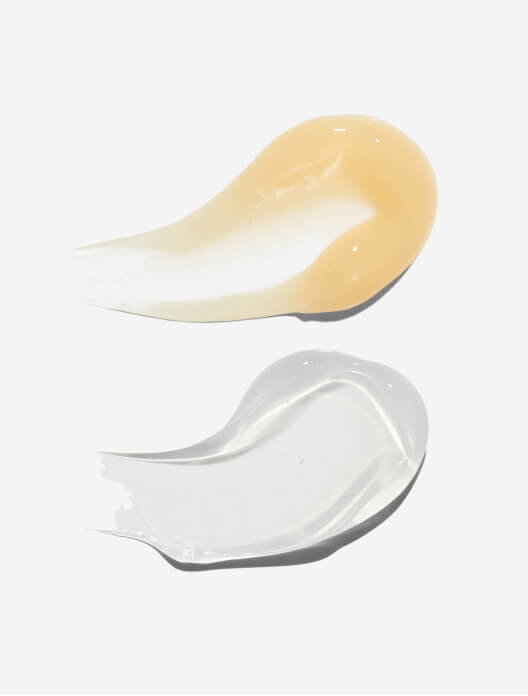
Oil-based transforming cleanser for clean, nourished skin, suitable for all skin types
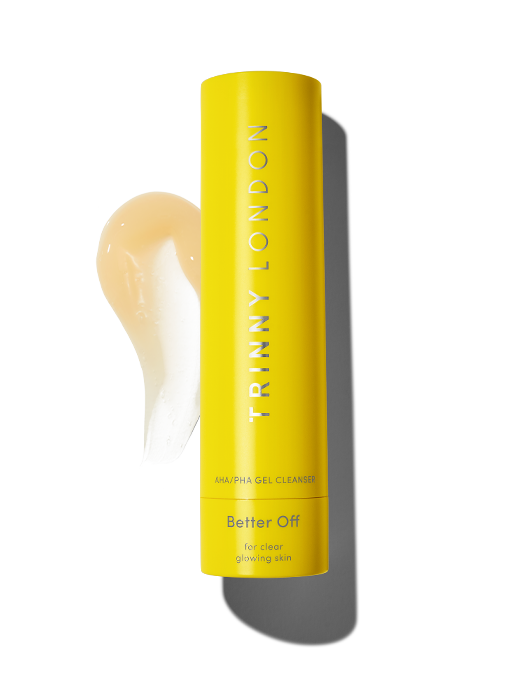
Exfoliating gel cleanser for clear, glowing skin, suitable for all skin types
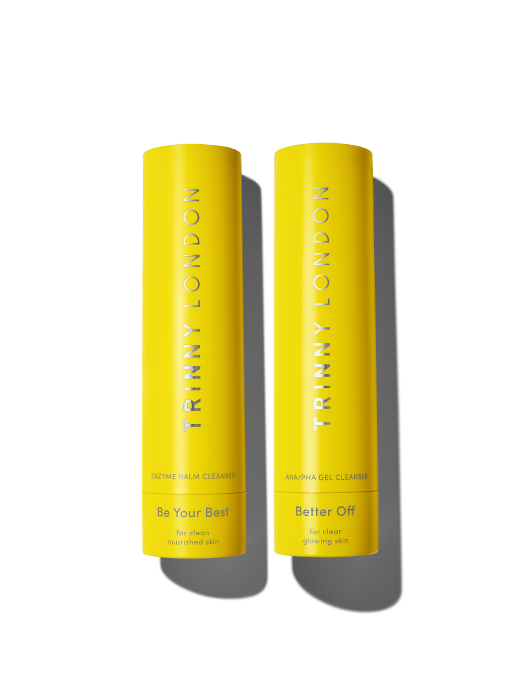
The ultimate deep clean for all skin types. Enzyme balm cleanser & AHA/PHA gel cleanser
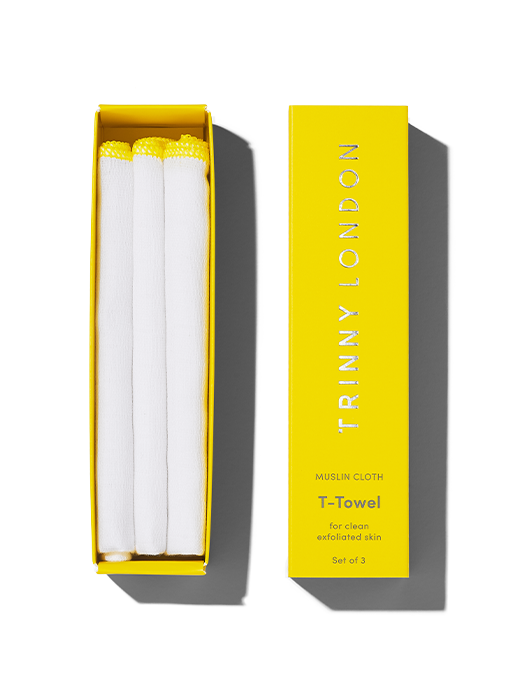

Pure cotton muslin cloths for a really deep clean