EUR | €
 SEK | kr
 NZD | $
 CAD | $
 EUR | €
 AUD | $
 USD | $
 GBP | £
TRAVEL EDIT
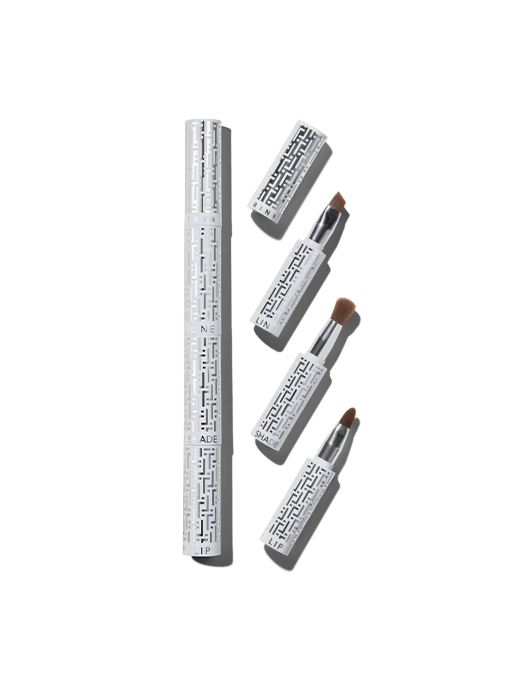
3-in-1 Brush Set
T-Kit
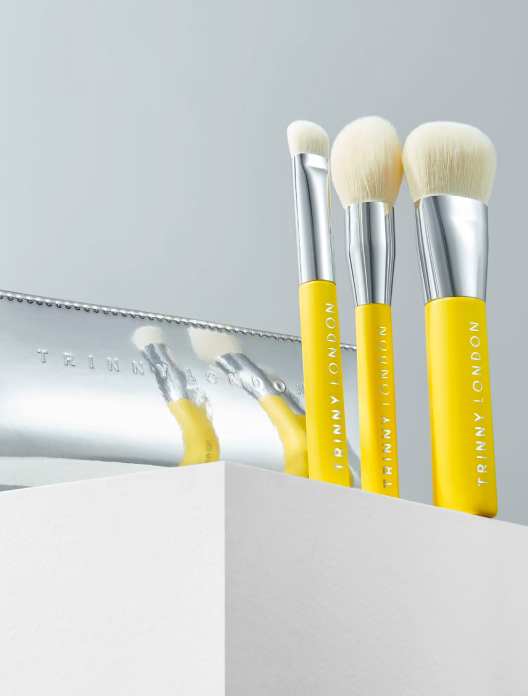
Portable, stackable, travelling 3-in-1 brush set
Makeup brushes are one of those things that seem to miraculously multiply. One minute you’ve been given a brush set for your birthday, and the next your drawers are brimming with big fluffy brushes to slinky tapered brushes, and everything in between. And, let’s be honest, unless you’re a professional makeup artist, no one needs that many brushes in their kit – especially when most of us don’t know where to start when it comes to using them.
So, what are the pros of using a makeup brush over your fingers? Makeup brushes are a brilliant way to elevate your makeup application, offering a level of precision and polish that simply can’t be achieved with your fingertips alone. “With a brush, you can be your own expert,” says Katie Levy, Pro Makeup Artist at Trinny London. “Makeup artists love brushes because they want to create a flawless, professional look. If you use your makeup brushes and tools in the right way, you will also be able to achieve that.”
Brushes have been entirely designed for purpose too, with the aim of making your makeup easier to apply. That’s not to say there aren’t benefits to applying with your fingers, and in most cases you’ll still want to use your fingertips to place the product onto your face, before blending, buffing or lining with a brush. Consider it a team effort.
Brushes will offer different finishes depending on their shape, as well as how tightly packed the bristles are. “If the bristles are densely packed then you’re going to get a lot of colour payoff,” explains Maryam Ahmed, Pro Makeup Artist at Trinny London. “The flufflier the brush, the freer the placement is and the softer it’s going to look.” How much pressure you apply will impact the finished result too.
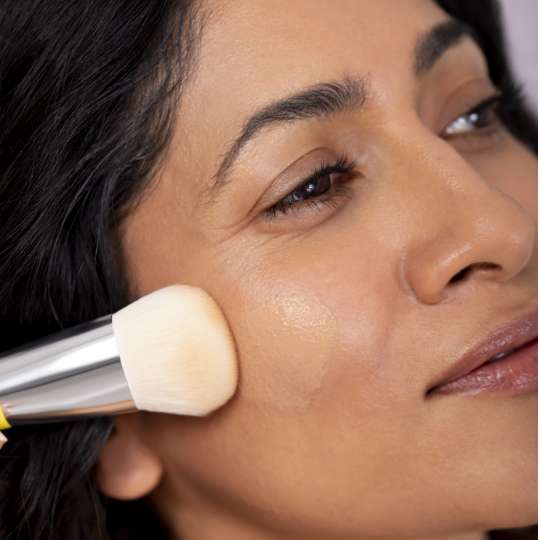
The best brush for foundation and concealer
Find that applying base with your fingers can be a bit messy? A complexion brush is the answer. It will also, in most cases, help to prevent you from wasting product by applying too much as well. “Access your skin first and then focus on the areas where you need most coverage,” says Maryam Ahmed. “Depending on your skin’s needs and desired look, you can use the side of the brush to tap foundation onto the skin for slightly fuller coverage, or you can use the tip to buff it into the skin. Just avoid too much buffing if you have quite dry, flaking skin as this motion works like microexfoliation and can move the dead skin around. Instead pat the product on and very gently tap it in.”
You can also use the complexion brush as an eraser to soften and blur any makeup mishaps. “If you feel you’ve made a mistake with one of the other elements of your makeup, like bronzer or blush, go back in with your foundation brush and buff it over the top,” advises Maryam.
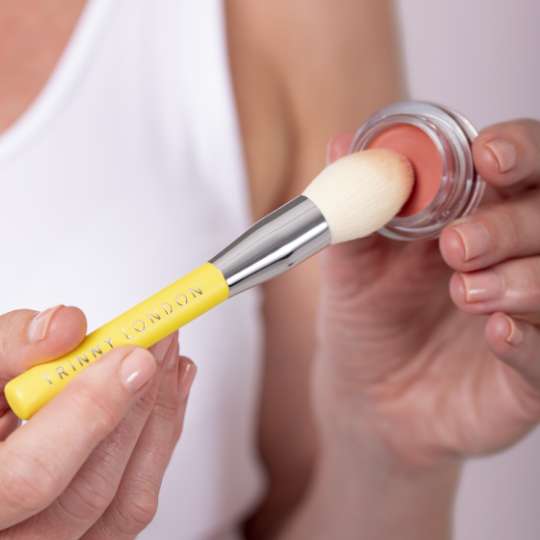
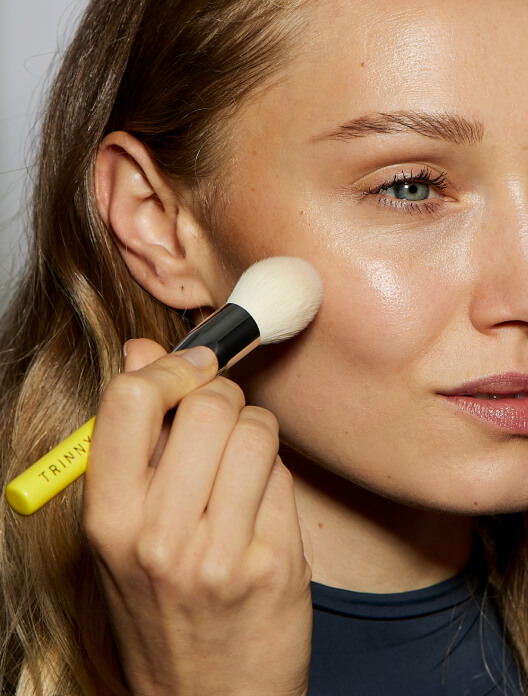
The best brush for bronzer, blush and contour
An easy way to curate your kit is to see if you can use the same brush for multiple different uses, and the blush/bronzer brush more that fits this brief. “A domed brush is great to have in your kit as the tapered tip means you can use it to apply blush, bronzer and contour,” says Maryam. “For blusher, you’d probably use the side of it to cover the most surface area, and the same for bronzer, except the placement will be slightly different. You can then use the tip of the brush to softly diffuse the shade. The tapered edge will really help anyone who struggles with sculpting when contouring as you can really feel and work into the hollows beneath the cheekbones and temples.”
“The key is to place the product onto your face or the back of your hands with your fingers first so you know how much you’re working with,” Maryam adds. “Brushes can hold more product than you might think, so it’s easy to go overboard.”
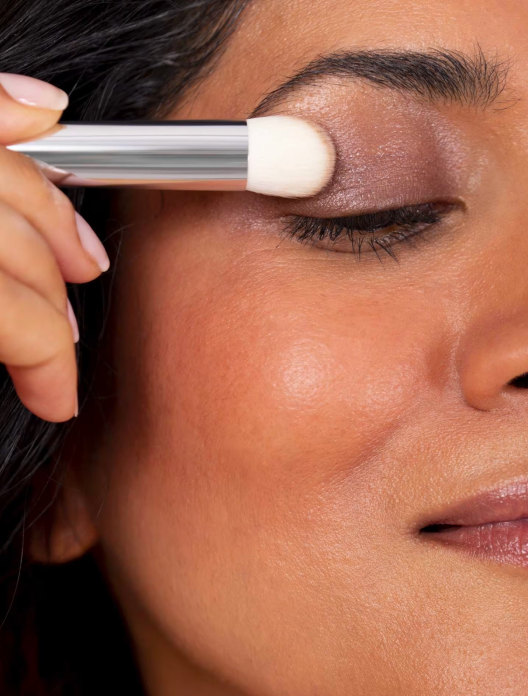
The best brush for concealer and eyeshadow
A big benefit of brushes is their ability to work into smaller, hard-to-reach areas. “The shape of this brush means it will fit perfectly into your eye socket,” explains Maryam. This makes it a great choice for applying both under-eye concealer and eyeshadow.
How you hold the brush will impact its effect. “When applying eyeshadow, you want to turn the brush on its flattest side with your first shade.” This will allow you maximum coverage in the shortest space of time. “If you’re also adding a darker shade, turn the brush around so the smaller end is most prominent and blend backwards and forwards in the socket.”
Applying under-eye concealer requires a similar approach. “Again, apply with the flat edge and softly blend with the tip,” says Maryam. “This is also really good if someone has blemishes, as the best way to conceal spots is really working and blending around them. I would just avoid putting a brush directly from pot to blemish because of cross contamination, so again use your hand as a palette and place your concealer onto the skin with your finger first. This also means you know how much product you’re working with. Remember, it’s always easier to add than it is to take away.”
The best brush for lips
Struggle to get that nice, neat edge when applying a bold lip? You need a liner brush. “If you’re doing a sharp lip, then work inwards from the outer corner on both sides so they're matching,” explains Maryam. The same technique applies for your top and bottom lips. “No one's lips are symmetrical, so if you tilt your head back in the mirror, and then down, you’ll be able to see where you might need to fill in a little bit more with the liner brush.”
An optional extra? “If you wanted to highlight your top lip you’re doing to get a more precise application to the cupid’s bow with a liner brush compared to your finger.”
The best brush for brows and precision eyeliner
If you want precision around the eye area, this multi-tasking brush is the tool for the job. First up, adding definition to your brows and filling in any gaps. “In the mirror, brush your brows upwards so you can clearly see any gaps,” advises Katie Levy, Pro Makeup Artist at Trinny London. “Then, taking your brow mascara onto the brush, start to fill in any sparse areas by creating small, hair-like strokes.” Using a brush, versus a mascara wand, will really allow you to get onto the skin. “Just make sure you turn the brush in the direction the hairs grow,” adds Maryam. “The hairs at the front grow upwards, and then on more of a slant as you move outwards across the hairline.”
The tapered tip also makes the liner brush perfect for lining both your top and bottom lash line, as well as creating flicks. “If people find it hard to apply a flick, the angle of this brush means you can simply place it on the outer corner and stamp the colour into place,” explains Katie Levy.” If you’re feeling confident and want to free-hand your flicks, follow the natural curve of your lower lash line and draw the line as an extension of it. This will lift the eye area upwards, for a wide-awake look. Prefer something more laid back? “The most universally flattering way to wear eyeliner is to smudge it,” says Maryam Ahmed. “Wiggle the brush back and forth across your top or bottom lash line to get a nice smoky look.”
The best brush for apply and blending eyeshadow
The shade brush in the T-Kit can be used in a similar way to the Conceal/Eye brush. It is smaller, with slightly looser bristles, which makes it perfect for smudging. “The shade bush is great for applying colour and blending it into the crease,” says Maryam, “You can create a whole eye look with this one brush. Use the side to lay colour down, and the tip to blend into the crease and under the lower lashline. Of course you could use the top of the brush to apply colour all over but it’s quicker to use the side as the surface area is larger. There’s no right or wrong way, it's just about what works for you.”
Shop the article
Portable, stackable, travelling 3-in-1 brush set
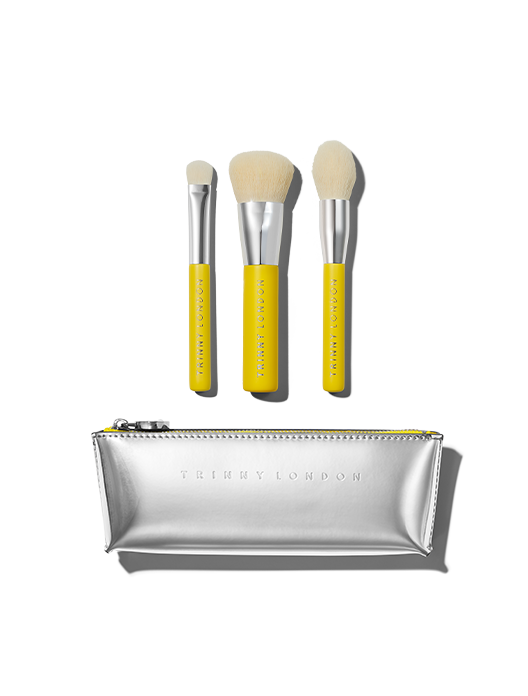
All three of our essential T-Brushes in the Platinum Elizabeth bag worth $28

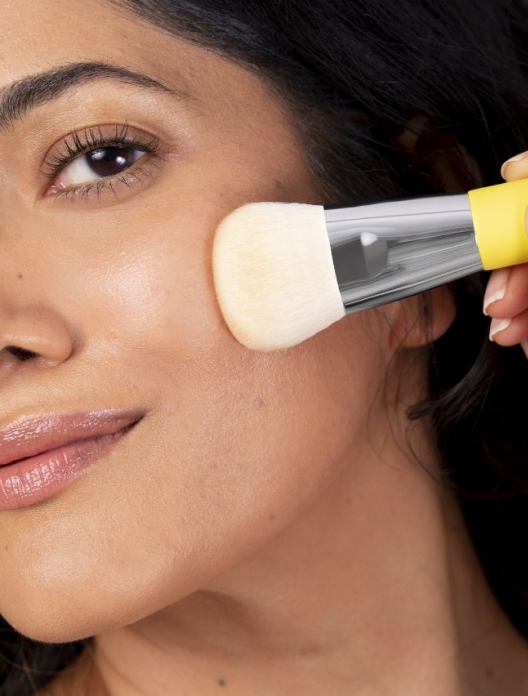
Dome-shaped, base-perfecting brush for a seamless finish
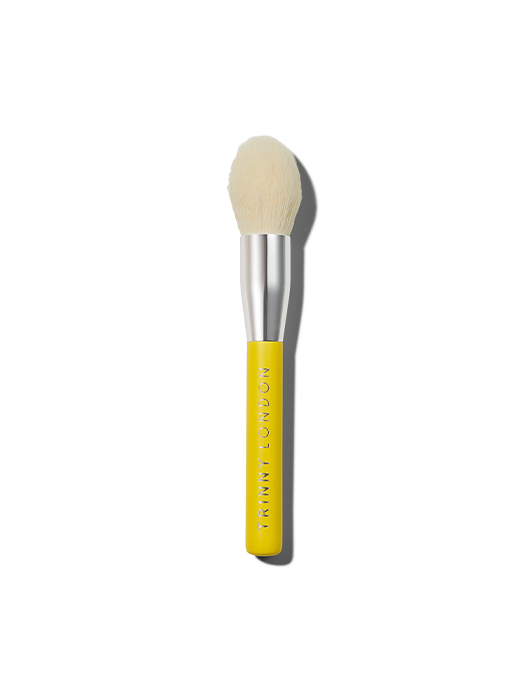
Subtly tapered brush for diffused colour and a fresh-faced glow

Multitasking slanted brush for effortless concealing and blending