EUR | €
 SEK | kr
 NZD | $
 CAD | $
 EUR | €
 AUD | $
 USD | $
 GBP | £
40% OFF

 2 shades
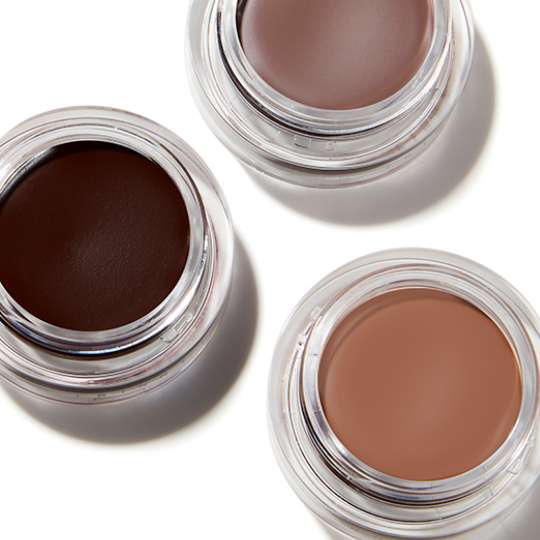
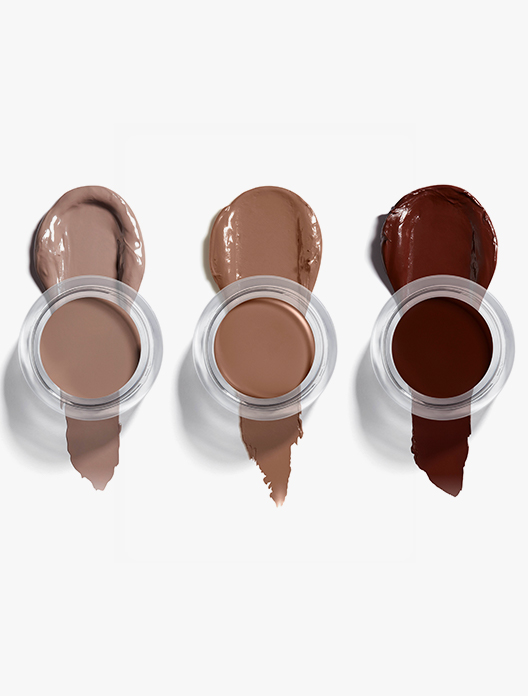
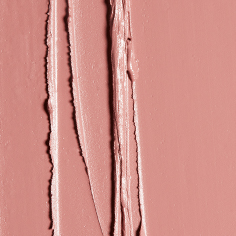
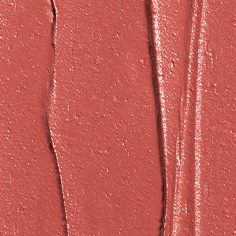
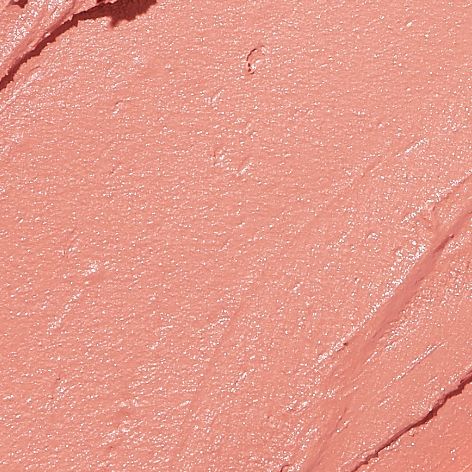
For a grown-up contour, it is best to use cream products over powder. They make it easier to achieve a natural look and are easy to blend and buff with either a brush or your fingertips. They won’t settle in lines or cling to dry patches either, rather working in synergy with your base to create a dewy finish.
Another key benefit of cream contour is that if you make a mistake, such as applying too much or making a misstep with the placement, it's far easier to rectify than if you were using powder. Simply blend the area with your fingers, the flat outer edge of your hand or a clean brush. If the colour has ended up really, really intense, you might even want to use a little of your foundation to dial it down.
This advice is not exclusive to cream contour, but all makeup looks better when applied to happy, healthy skin. Hence why a good skincare routine is key. Double cleansing in the evening will help to prevent dull, congested skin, liquid exfoliation will whisk away dead skin cells and your moisturiser will provide hydration. Your serum is your opportunity to target any specific skin concerns that may impact how your makeup sits on the skin, such as fine lines, dullness or dehydration.
It makes most sense to apply your cream contour after your foundation. If you do your contour first, you will disrupt and smudge it when you apply your base over the top. As both products are cream based, they can also blend together, making the overall shade of your base much darker. Think of it like this – if you pulled a woolly hat over your freshly blow-dried hair, it would almost definitely flatten and frizz your previously sleek style, ruining the effect. It renders the blow-dry a waste of time, as you have simply undone all your good work.
For a visible, seamless-looking contour, it is always best to apply your cream contour after foundation. The caveat here is that not everyone will want to wear a tinted serum or foundation, and in which case you can pass straight through to the contour stage.
You don’t need to be a makeup artist to master cream contouring. These step-by-step techniques can be perfected by even beauty novices. And if you are a pro, you might learn something new…
Unsure about shade? Fill in our Match2Me questionnaire to find the perfect cream contour shade match for you.
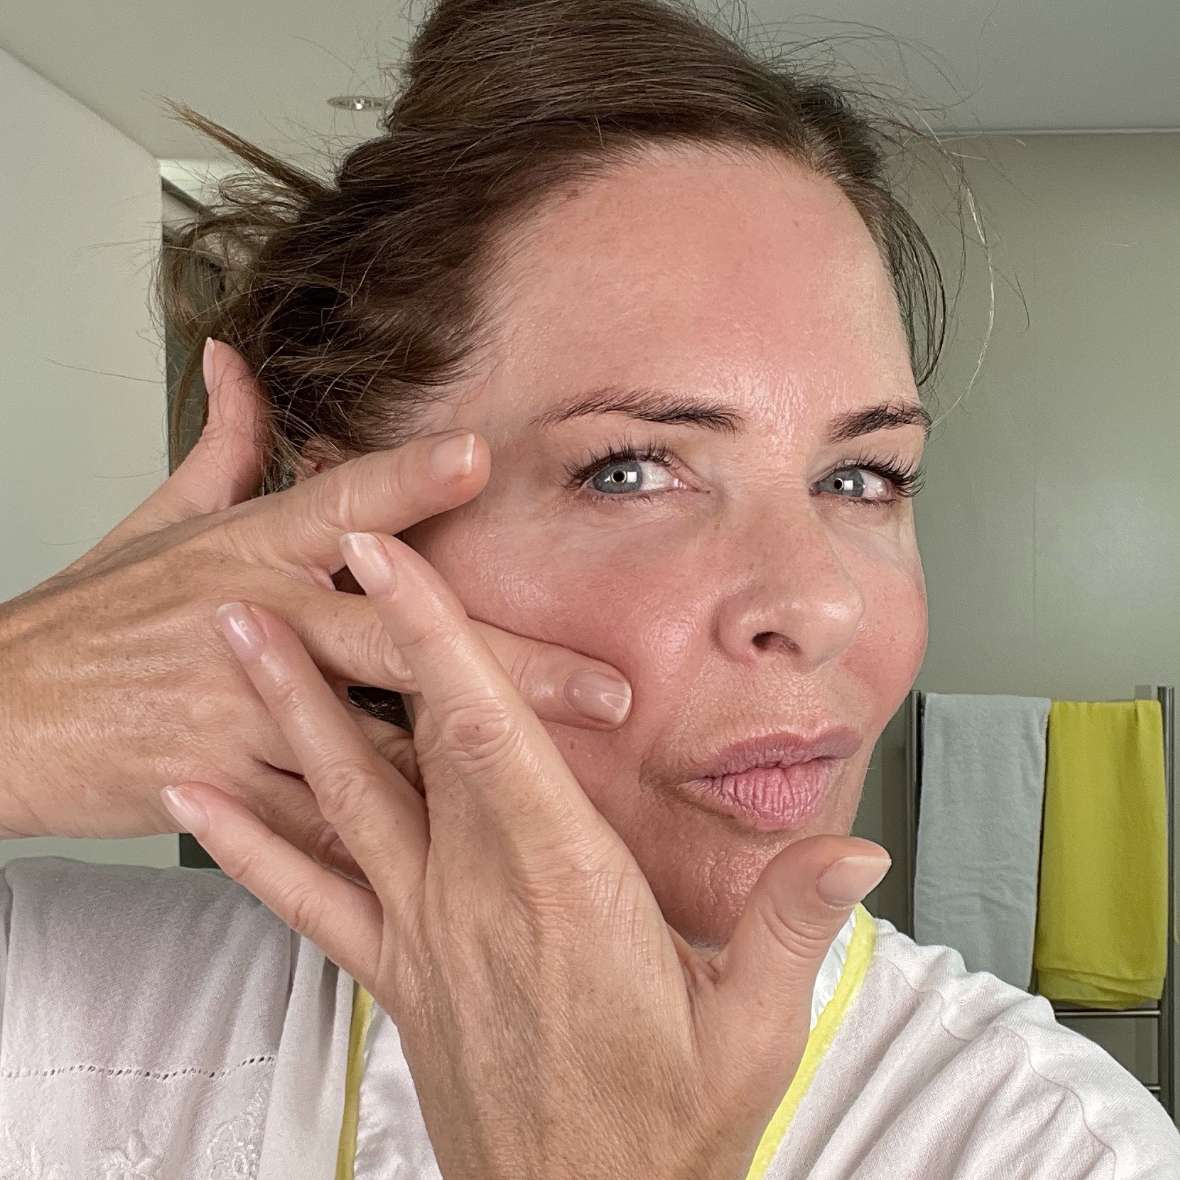
Playing with shadows in the hollows beneath your cheeks can create the illusion of higher cheekbones, giving your face a lift.
Step 1
First things first, get to grips with your face. Press your fingers around your cheeks, sussing out where the cheekbones sit, where the fat pads are and where the hollows dip in.
Step 2
After you have applied your base, use a ruler, a pencil, or even the side of a book to work out where you’d need to draw to create a straight line from the top of your ear to the outer corner of your mouth.
Step 3
With this line in mind, swipe a wash of cream contour from your hairline downwards. Taking it all the way to your mouth will look unnatural, so stop when you’re in line with the outer edge of your brow.
Step 4
Blend, blend, blend. You can do this with a brush, or by using the chubby edge of your hand, just beneath your thumb. The colour should be darkest by your hairline, tapering off as it travels down your face. Don’t worry if you’ve gone too dark or the line looks too harsh, blending in a little of your foundation will help to soften it. Repeat on the other side.
Naturally heightened hairlines can alter the shape of our foreheads as we travel down the path of life. The key to making it look smaller, or, in some cases, longer or narrower, is to work in rounded motions.
Step 1
To make your forehead appear smaller, start from the left temple and work your cream contour across the hairline over to the right one. Sweep your fingers or brush in a semicircle to create a rounded shape.
Step 2
Work further into the contour, making the colour darkest around the hairline and lighter as you blend inwards towards onto the forehead. If you have blonde or grey hair, you may find that the contour is too obvious in the hairline. Remedy this by wiping away any excess with a damp cloth.
Step 3
If your forehead is smaller to begin with, follow the same process but concentrate more on adding shading at the sides, rather than the top of your forehead. The further in you bring the contour, the narrower your forehead will appear.
As we age, our skin naturally loses collagen and elastin, causing our skin to start to slope downwards and create jowls. To counteract these effects, or simply create a sharper, more defined jawline, contouring is the answer.
Step 1
As you did with your cheekbones, run your hand along the base of your face to feel where your jawline sits.
Step 2
With a little product on either your fingertips or a brush, buff the colour back and forth along the base of your jaw. This will create a subtle contrast and add definition. If you are self-conscious of jowls and want to go one step further, take the colour diagonally across the jawline, so it covers both the top, side and base of your jaw.
Step 3
Again, blending is key. Buff away at the colour until you get a smooth, seamless line.
We know, we know, on paper the concept of contouring your eyes is strange. But hear us out. If you know where to contour, it is possible to reduce the appearance of puffiness to make your face appear not only more sculpted, but wide awake.
Step 1
Use a ruler or pencil to help you visualise a diagonal line that travels from the outer corner of your nose, to the outer corner of your eye, to the edge of your eyebrow and ends just above the brow bone, close to your temples.
Step 2
With this in mind, or even with a pencil held in place as a guide, create a line with the contour cream from the crease of your eye up to the brow. Buff and blend until you achieve a natural finish. That may be enough to give you a lift, but if you want to go further, extend the line above the brow, gradually fading the colour as you travel towards the hairline.
Contour works to cleverly create and amplify shadows on the parts of your face you want to bring forwards, but if you leave it there, skin can look a little flat. The quickest way to restore life and vibrancy? A pop of blusher. This will enhance the impact of your contour too, by drawing attention to your newly sculpted cheeks. Not sure where to apply blush? There shouldn’t be any crossover when it comes to placement, as blusher is best applied directly to the cheeks, as opposed to alongside and beneath them like cream contour.
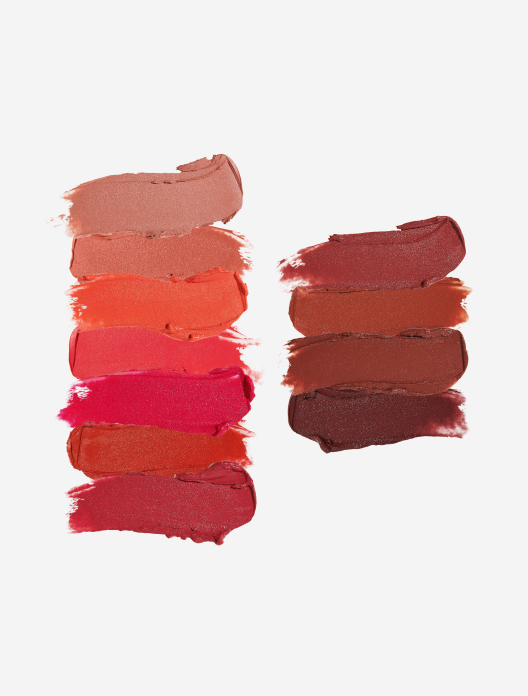
Cream contour and bronzer are serving very different roles within your makeup routine. Comparing the two is a little bit like trying to compare trousers to a skirt. Cream contour, as we know, is the process of using a darker shade to sculpt the face, amplifying the parts where shadows would naturally fall. Bronzer, on the other hand, is there to replicate a sun-kissed glow, bringing warmth to your complexion. Bronzer should be placed on the “high points” of your face, like your temples and the very top of your cheekbones, where the sun would naturally hit.
Cream contour and bronzer should therefore be dissimilar in colour and finish. Bronzer should have warm, golden tones, a dewy finish and maybe even a touch of shimmer, to help you replicate that just-hopped-off-the-plane face. Contour should be flatter and more matte, with a darker in tone, as natural shadows are never sparkly.
“I wouldn’t contour with bronzer because it can look muddy,” says Katie. “It doesn’t look natural to me. That’s why I love to use Trinny London’s Cheekbones to contour, as they are the right tones to mimic the shadows on your face.”
“You shouldn’t be contouring and bronzing at the same time,” explains Katie. “It’s one or the other.” This is for the simple reason that to contour and bronze your skin at the same time will overcomplicate things by creating conflicting areas of shading. It’s a little bit like wearing a jumper and a cardigan at the same time: they won’t sit comfortably together and will merely confuse things.
Shop the article
2 shades
 5 shades
 8 shades