EUR | €
 SEK | kr
 NZD | $
 CAD | $
 EUR | €
 AUD | $
 USD | $
 GBP | £
 5 shades
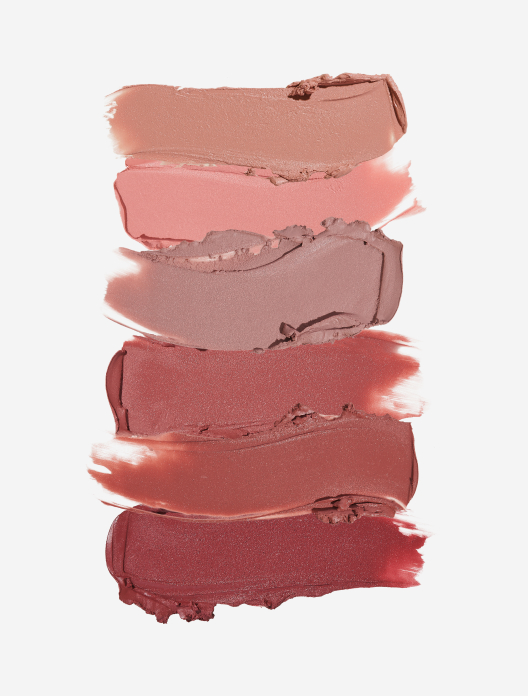
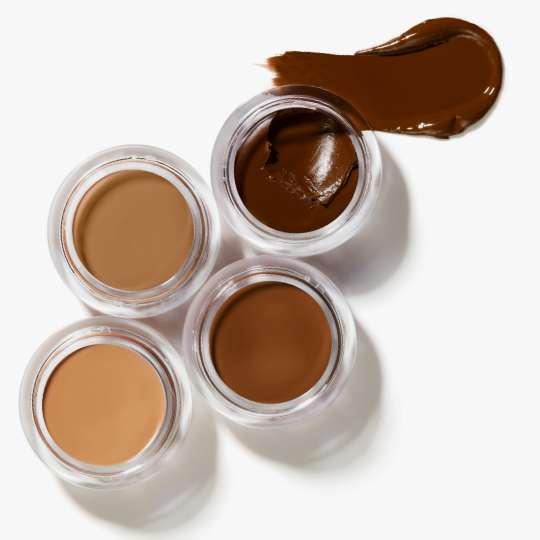
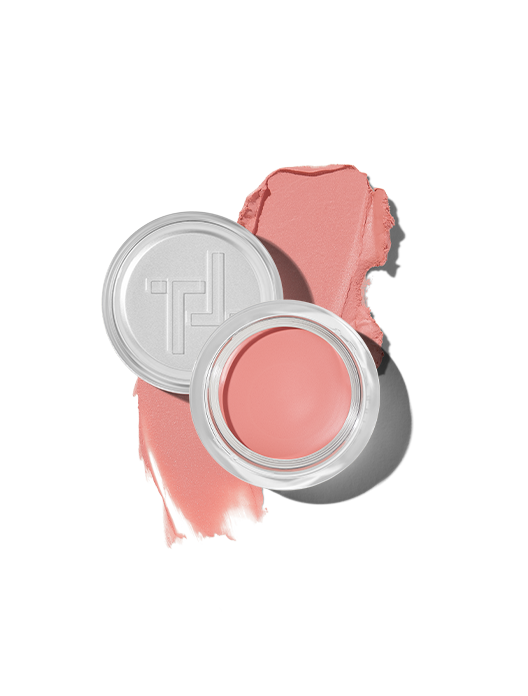
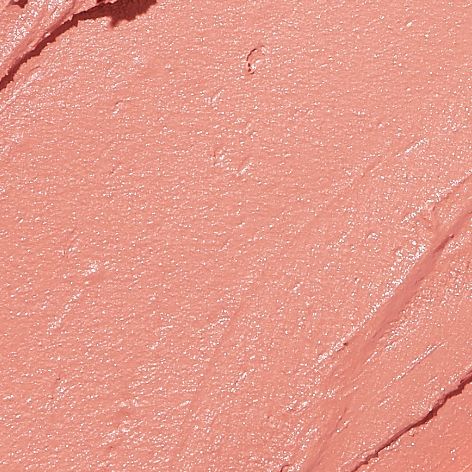
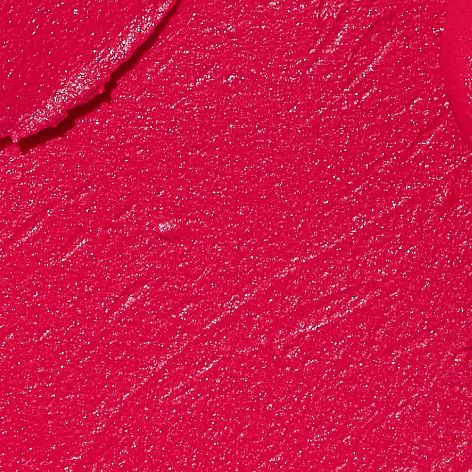
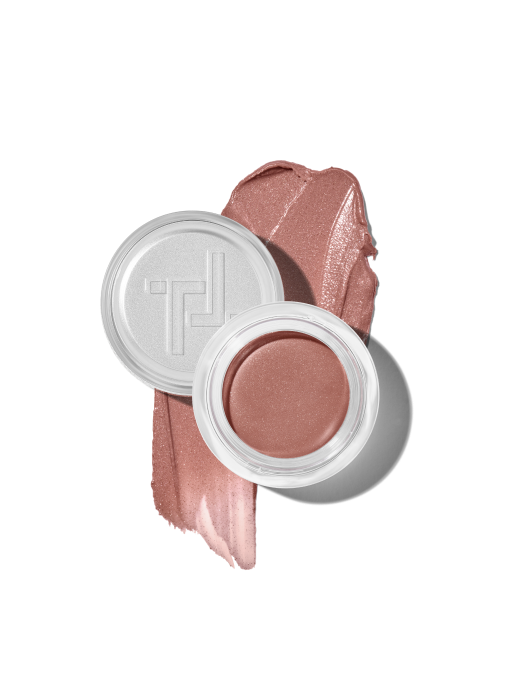
Before we dive into application, let’s first clear up the question of what exactly cream blush is. Blush, or blusher, as a category, is makeup designed to mimic the way your skin naturally flushes. Depending on your skin tone and the kind of look you like, it can span pink, terracotta, red and berry tones.
Blusher can take a number of different forms, with powder, cream and liquid as the most popular textures. Cream blush, as you might have guessed by the name, has a soft, creamy consistency. They’re a doddle to apply and a joy to blend, creating a healthy flush in seconds.
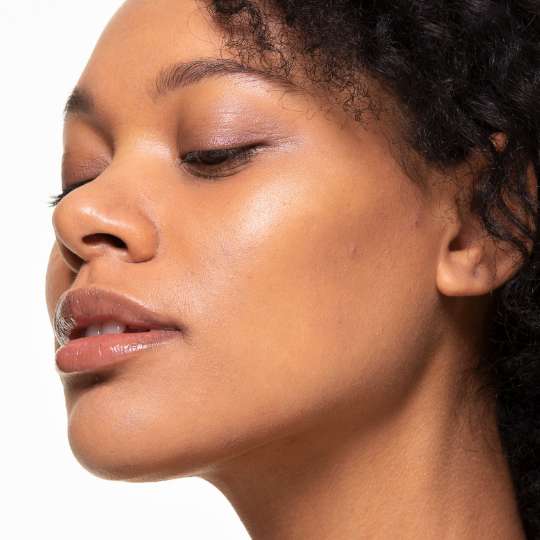
Ever looked in the mirror and felt your skin looked a bit, well, “meh”? It could be lacking in vibrancy, grey in tone or just a little flat. The quickest solution is a pop of cream blusher across your cheeks – giving the equivalent of a pep talk to lacklustre skin.
One of the biggest perks of cream blusher is that, if applied well, it is almost barely-detectable as product. It leaves your skin looking fresh and healthy in a way that’s hard for anyone to put their finger on, inviting questioning along the lines of: have you been away? Done something to your hair? Taken up yoga? In essence, cream blusher has the ability to make your complexion look lively and wide awake, no matter how weary you’re feeling.
“Blusher is that pop of colour to the face, giving you that healthy flush,” says Katie Levy, Pro Makeup Artist at Trinny London. “I think everyone should wear blusher.”
Blusher can come in a vast array of shades. The shade that suits you best will depend on your overall skin tone, as well as whether your skin has warm or cool undertones. Trying to match your blush to the shade your skin goes when you flush naturally is a smart idea, as it's guaranteed to suit you.
“Generally, you’ll find that blushers with a cool, more bluey undertone will work best on paler skin that’s quite pink,” explains Alex Phillips, Pro Makeup Artist at Trinny London. “Whereas more orange and terracotta colours will look gorgeous on warm, golden and olive skin tones. The deeper your skin tone, the more intense pigment you can get away with.”
“Putting a cool, blue-toned pink onto a deeper skin tone will look too cold on the skin, it won’t look natural,” adds Katie Levy. “Blusher should blend with your skin tone.
The purpose of cream blusher is to make your skin look healthy and full of life, so, the happier your skin actually is, the more convincing your blusher will be. Otherwise, it’s a little bit like the makeup equivalent of putting on a brave face to your colleagues while mountains of unread paperwork pile up behind you.
To keep your skin at its best, you’ll need to start with proper cleansing. A swipe of a makeup wipe won’t cut the mustard (or through daily grime), so instead, you need to be washing your face with water and an efficacious cleanser suited to your skin type. If you have been wearing makeup or SPF, there’s a strong case to be made for double cleansing. The first cleanse will remove the makeup and SPF, clearing the way for your second cleanse to give your pores a proper clear out.
Now you’ve mastered the basics, you can move on to your exfoliation and serum steps. The former will help to dissolve the gunk that holds dead skin cells to the surface, revealing the fresher, clearer, younger complexion beneath. The latter, your serum, is the part of your routine with the highest concentration of active ingredients, and is your opportunity to target any skin bugbears you might have. Consider niacinamide for blemishes, vitamin C for brightening and retinal for fine lines.
If you feel your skin needs it, bookend your skincare routine with a moisturiser. This will act as a barrier, helping to keep all the goodness in. Daily SPF is non-negotiable, working to protect your skin from both short and long-term damage.
Next up, makeup. You can, if you like, move directly from skincare through to blush. This is great if you’re in a hurry, or on days when you’re feeling really confident about your skin.
Most of us, however, will want to apply some sort of base before proceeding to blush. This will make your skin tone appear more even and uniform, creating a clear canvas. If your face was a painting, applying a layer of base is the equivalent of starting with a fresh piece of paper. Applying a base layer is even more important if you have redness naturally in the skin, as piling blush on top of skin that’s already flushed will only serve to amplify existing redness, and won’t give your blusher the chance to stand out.
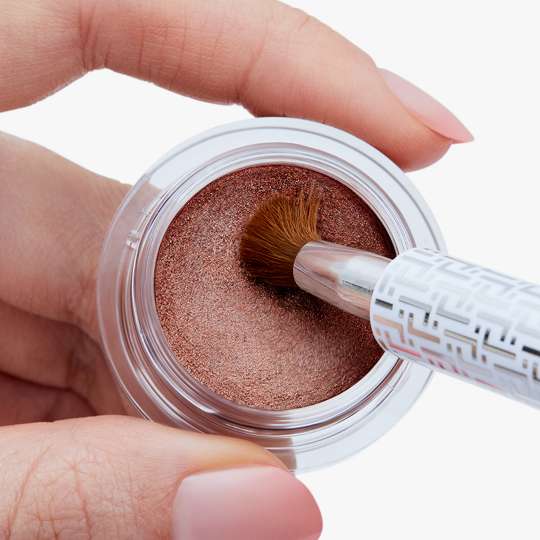
Not sure whether to apply cream blush with brushes or fingers? There are pros and cons to each. “A lot of it depends on how you feel comfortable and how you do your routine,” advises Katie Levy.
“If you’ve always done your makeup with your fingers, and you feel like there is room for improvement, then try a brush, or vice versa,” adds Alex Phillips. “Mixing up your application is always a nice way to get people to experiment.”
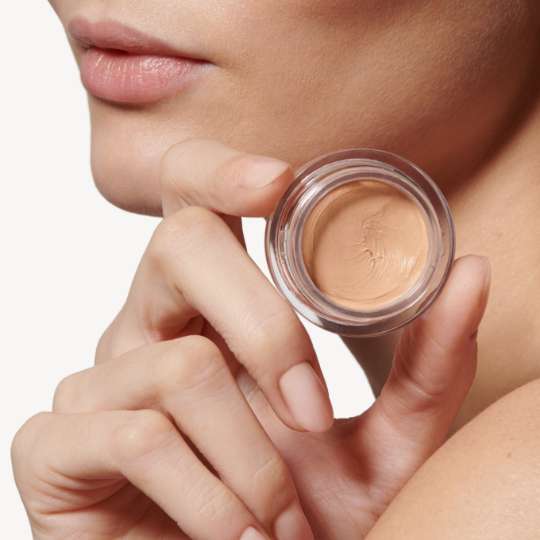
Easier on the go: If you’re out and about, you don't necessarily want to be carrying a full makeup bag. It’s in these scenarios that the option to apply your blush with your fingers really comes in handy.
A seamless finish: “When I want skin to look flawless, I barely even touch a brush,” says Alex. As our fingers are naturally warmer, the blush will heat a little too, making it even easier to blend seamlessly into your skin.
Sheer application: A brush will pick up more pigment than your fingers. So, for a barely-there wash of colour, fingers are the best choice.
Better for dry skin: “If someone’s skin was dry or dehydrated, then working a product in with your fingers is great as you know it’s not going to go anywhere,” explains Alex.
A lighter touch: “Unless you’re very experienced using your hands or fingers, it could be that you’re a little heavy handed and wipe your base off in the process of applying blush,” says Alex. For this reason, beginners may want to start with brushes.
More coverage: “You get more coverage with a brush, as it picks up more colour,” continues Alex. “That doesn’t mean you can’t sheer your blush with a brush, but it is generally a quick and easy way to get more pigment on.”
A polished finish: How precise and perfect you want your blush to look will depend on factors such as time of day and your preference. “A brush is just going to give you that slightly more polished look,” says Alex.
Better for oily skin: “If your complexion is really oily then you may find that applying with fingers may cause your base to slide off,” explains Alex. “In this instance, try using a brush to place the product there, instead of rubbing it in.”
Not sure how to approach applying cream blush? This 3-step guide is easy for all.
First things first, suss out where to apply blush. As a rough guide, start your blush at the point where the bottom of your nose would be in line with your pupil. Creating an L shape with your hand can help you to locate this.
From here, dab cream blush onto your cheeks in three dots, working upwards at an angle. This positioning will lift your face, making your features look elevated. It’s much more flattering than the age-old trick of applying blush when smiling, which can have the opposite effect.
If you’re using your fingers, use a different, clean finger to the one you used to stamp the colour on and buff and blend upwards. If you’re using a brush, swirl the product into the skin, following the same upward motion.
Shop the article
5 shades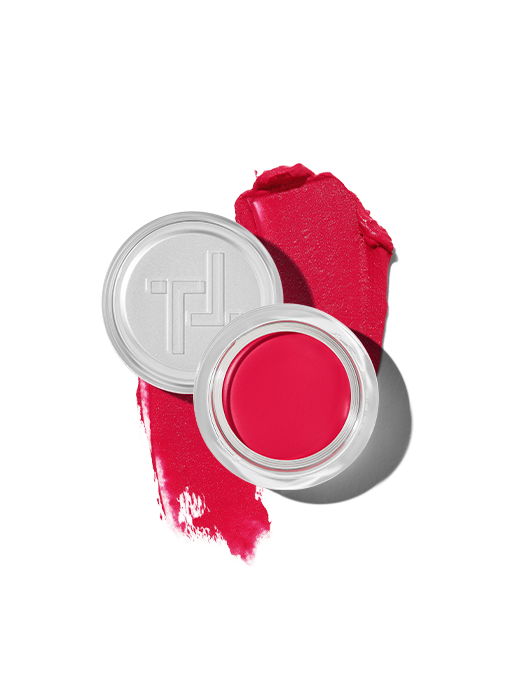
 8 shades
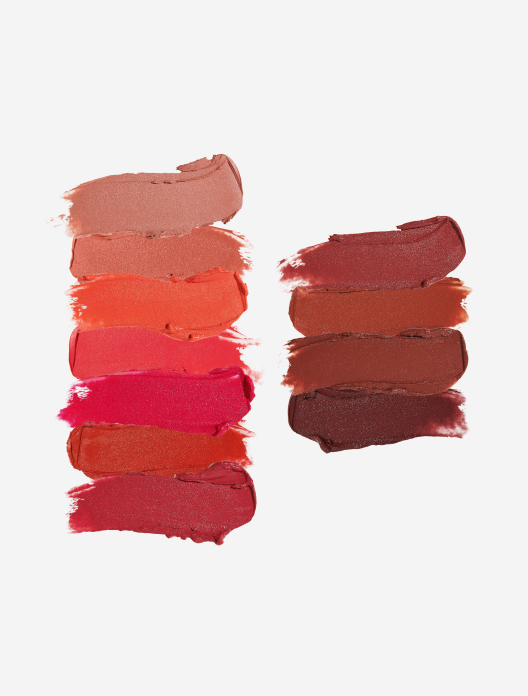
 11 shades