EUR | €
 SEK | kr
 NZD | $
 CAD | $
 EUR | €
 AUD | $
 USD | $
 GBP | £
40% OFF

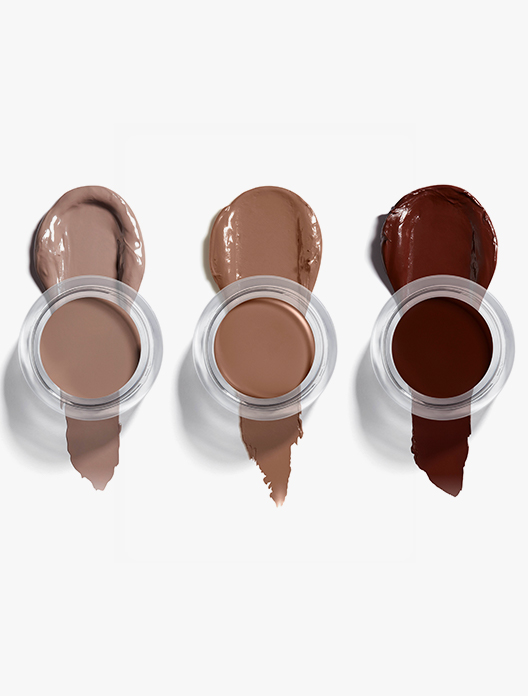
 2 shades
As we travel down the path of life, we evolve. We don’t wear the same clothes, hold the same beliefs or listen to the same music we did twenty years ago, yet for many of us it's been more than a decade since we last thought about the way we approach our makeup.
If you can’t quite remember the last time you tried something new, changed your products or varied the way you applied them, then it’s time to question: is this really working for me? Stepping outside our comfort zones can feel frightening, but if you never try anything new, you’re closing yourself off to new opportunities. And, even if you think you love your makeup just the way it is, there’s always a little room for improvement.
“It’s all in the subtleties,” explains internationally renowned makeup artist Rae Morris. “A lot of women get overwhelmed with makeup, but it can be the smallest thing you do that makes the biggest difference.”
As the years go by, our face can start to feel lower and less lifted. The good news is that it’s easy to bring that freshness and structure back to your face with makeup. “What I like to focus on, is what I call the ponytail effect,” says Rae Morris. “We love it because a ponytail pulls and lifts everything apart, so with makeup it’s about not putting everything too close.”
Finding it hard to picture? Grab a bobble and tie your hair back into a high, tight ponytail. You’ll see that it draws your features upwards and outwards towards the hairline. If your hair isn’t long enough to tie back, pulling a fabric headband taut will give you the same effect. Keep this image in mind when applying your makeup, as this principle of lifting the face will stand you in good stead.
Many of us love to wear eyeliner beneath our eyes, but did you know that the way you apply it could be making your eyes look smaller and droopier? “As we get older, the bottom of our eyes become more rounded and start to droop,” says Rae. “Therefore lining under the eye can enhance the roundness. If you’re really round, don’t put any makeup underneath the eye at all. But, if you really like wearing liner, make the line straight instead of curved. This is going to lift your eyes and make them look much bigger.”
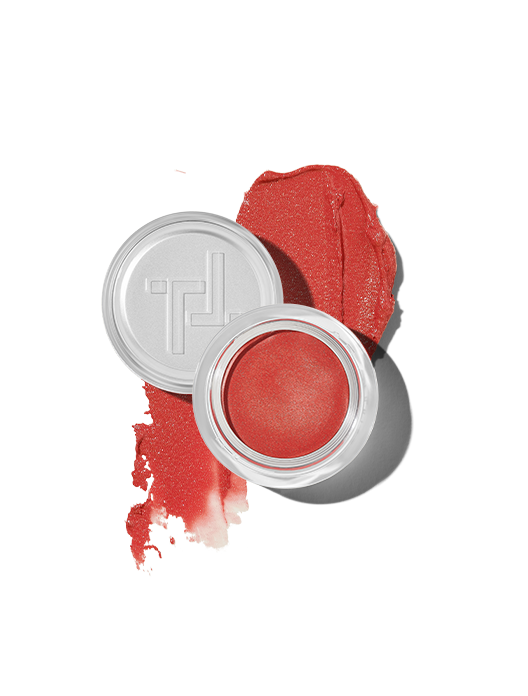
Traditionally, it was always taught that blusher should be applied when smiling. The idea was that this would make sure you placed the majority of the product on the apples of your cheeks for a full, flattering finish, but it doesn’t always have the desired effect.
“When we’re young, we have cheekbones that sit from the outer corners of the mouth to the top of our ears,” advises Rae. “But, as we get older, they drop. So, if you’re smiling when putting blush on, when you’re not smiling the blush will sit low. When you look at someone, where their cheeks are is where the eyes go, so if you want to lift your face but have placed your cheeks low, it completely distorts things. Always apply your blusher above the line that spans from the outer corner of the mouth to the top of the ear.”
“Another reason I say not to smile when putting blush on is because if you smile strongly and then relax, you get little fine lines in the product and can actually create wrinkles – it’s a technique we do in special effects makeup.”
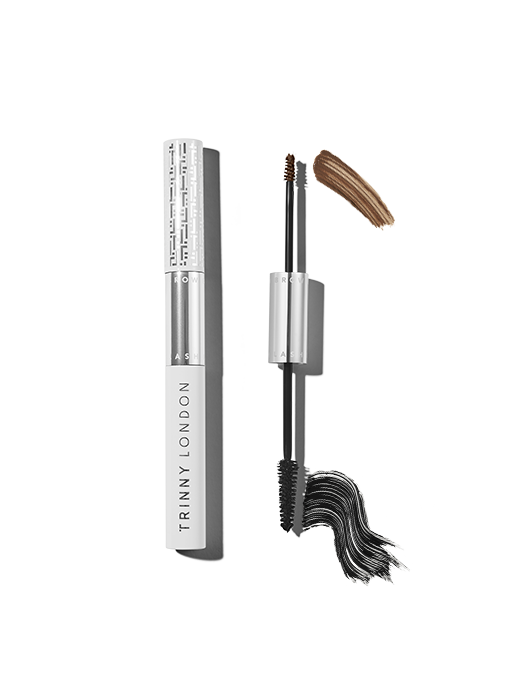
Always approach your eyebrows in sweeping motions? It might be time to straighten up your technique. “Rounding your brow is not always your best trick,” says Rae. “If you’ve got puffiness or dark circles under the eyes and you round your brows, you will actually create a full circle. Returning to the tight ponytail concept and why we love it, look at what it does to your brow – it straightens it. So, keep your brows as straight as possible, which can mean lowering the actual arch. What that will also do is give you a thicker brow all the way across.” To follow Rae’s lead, use your brow mascara, or a little of the product on a fine brush, to straighten out the arch of your brow.
“If you find doing your brows difficult, then just pop the brow mascara on, not worrying too much about placement or whether you’re got any on the skin. Then, with a fine brush with a little foundation on it, what you can do is carve out the shape and fix any mistakes.” Using a lighter shade on your brows also gives you more margin for error than if using a very dark hue.
If you’re among those of us that over-plucked in the ‘80s and ‘90s, the idea of changing the shape of your brows can be a bit daunting, but Rae does recommend a slight tweak to the shape too. “As we get older, the distance between the base of the brow and our inner eye corner shrinks, which can make us look a bit cranky. A great way to lift your face is to take out a couple of hairs from beneath, which will lift that part of the brow.” If you’re nervous about changing your brow shape at home, seek the advice of an expert.
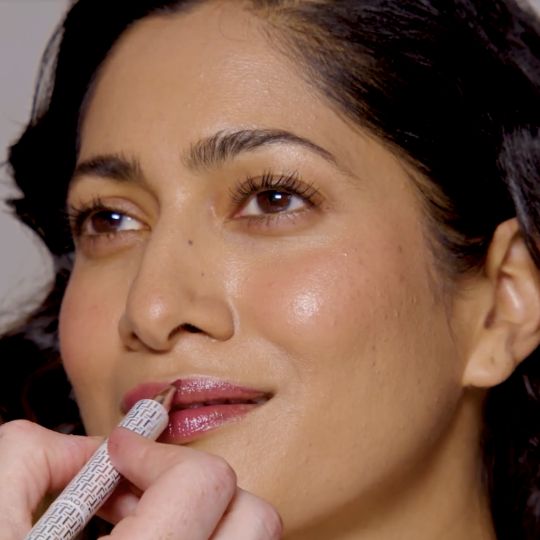
Bright lip colours needn’t be daunting, and the right placement can enhance your lips to make them look fuller and plumper. “When I think about lip shape, I always say to pinch and push,” says Rae. If you were to manipulate your mouth in the mirror, the effect you’re looking for is as if you had pinched in the corners, and were laying a finger above your top lip, and a finger below bottom one, to bring them forwards. By taking this approach you’re making the lips taller, but making the width a little narrower. You are technically making them smaller, and yet they’ll look bigger.
“Look in the mirror and you’ll see these little lines going vertically beside the mouth,” continues Rae. “Where they start is where your lipstick is going to end – they are your corners. Then you can make the top and bottom bigger, taking the product right above the top line and below the bottom. Think of the bottom lip as having to be in a “U” shape, with no squareness at all.”
If you do make a mistake, it’s easily fixable. “Having your foundation colour beside you is always your best weapon. If you can’t get a sharp line, then use a foundation brush and sharpen those corners.”
If the word contouring conjures up images of heavily sculpted teens on social media, then fear not. It is possible to contour in a way that feels sophisticated and subtle. Contouring across the jawline is a great way to create definition in this area, and is the perfect antidote to any feelings of jowls.
“What I do is look at the face side on and imagine a line running from the centre of the chin to the corner of your jawline,” explains Rae. “It’s not always sharp, but you can use contouring to sharpen it.” Taking a little product (you can always add more) onto a fluffy brush, sweep the product across that line, working beneath and slightly across the jawline. Repeat on the other side for an even finish.
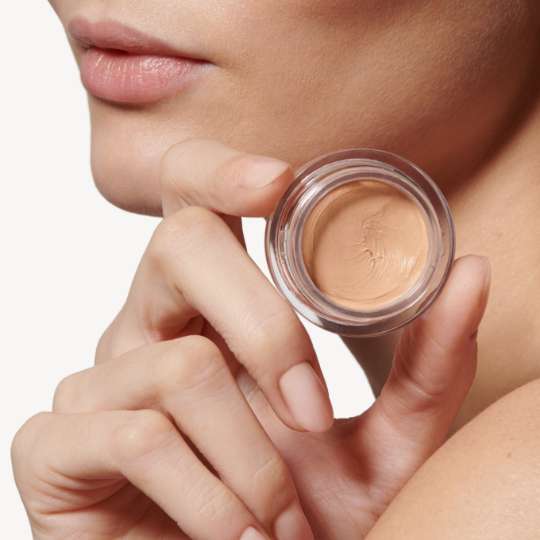
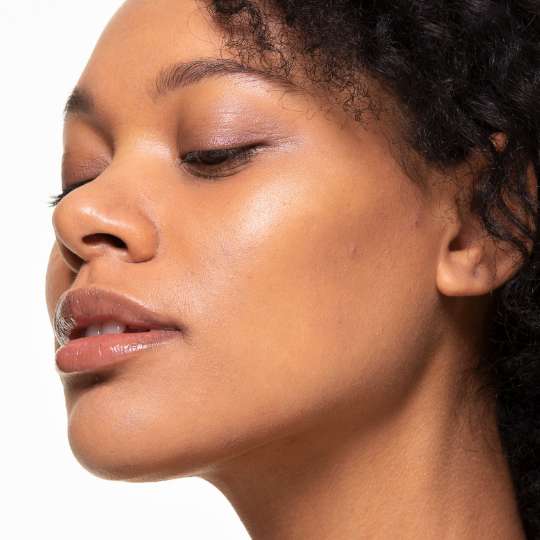
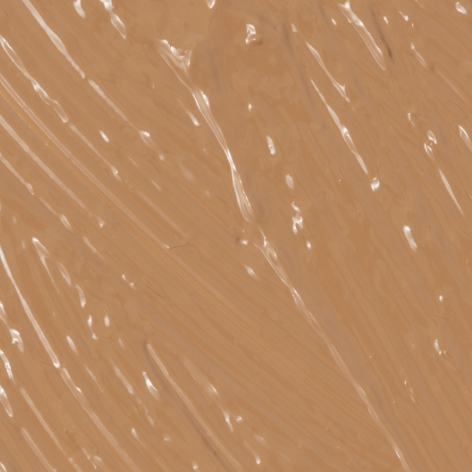
If you think of your skin as a canvas, then all of the marks that sit upon it are the paint that tells your unique story. There might be the hyperpigmentation you picked up from sunbathing in your teens, melasma from pregnancy hormone surges or post-spot marks from menopausal breakouts. Over time, this accumulation of marks can make your skin tone feel uneven, which prevents the light from bouncing off as evenly. According to Rae, “evening out the skin tone is the most youth-boosting thing you can do for your face.” You don’t need a heavy base to make a big difference. Just a gentle wash of a lightweight serum-foundation will be enough to gently blur and even.
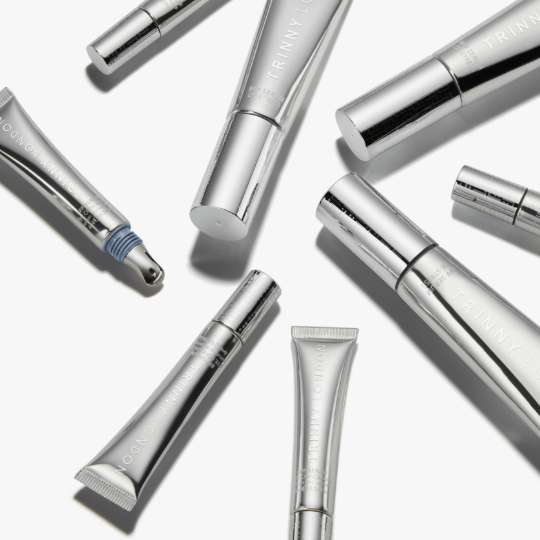
Shop the article
2 shades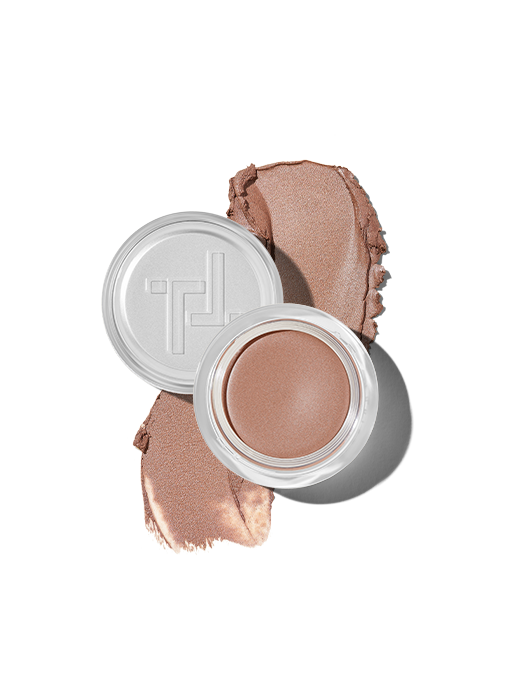
 21 shades
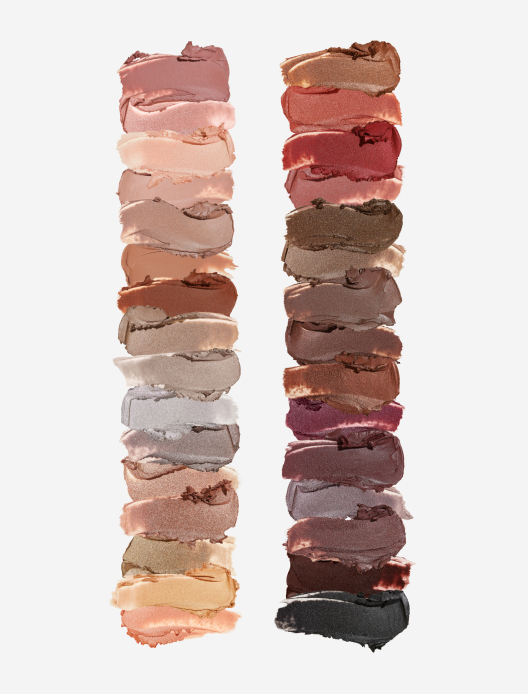
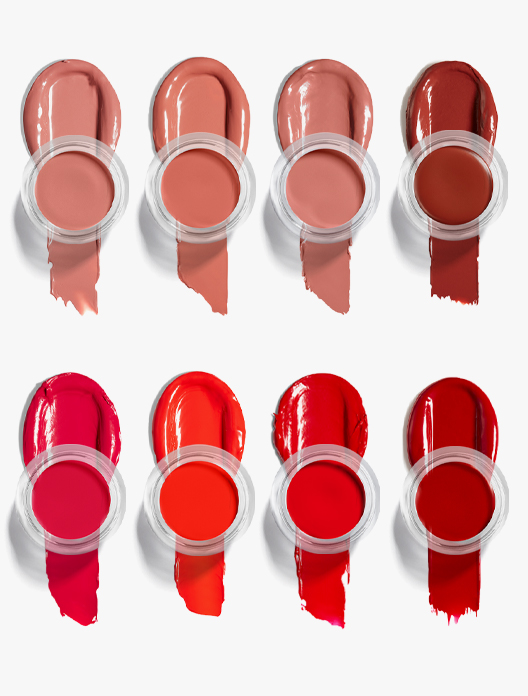
 7 shades
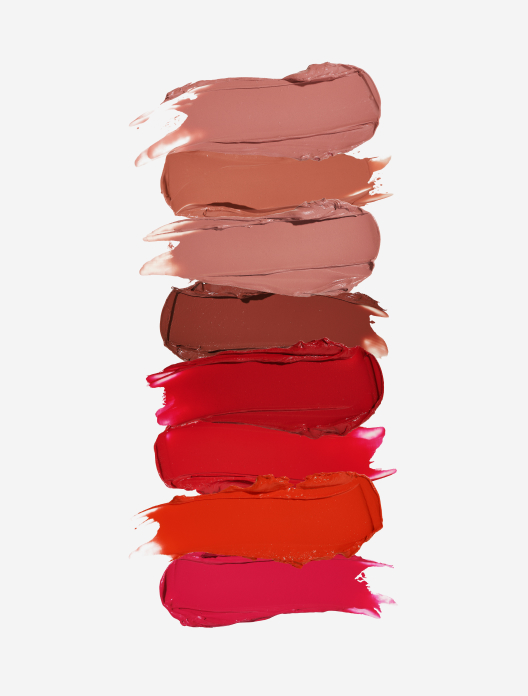

 5 shades
 Sacha
Sacha
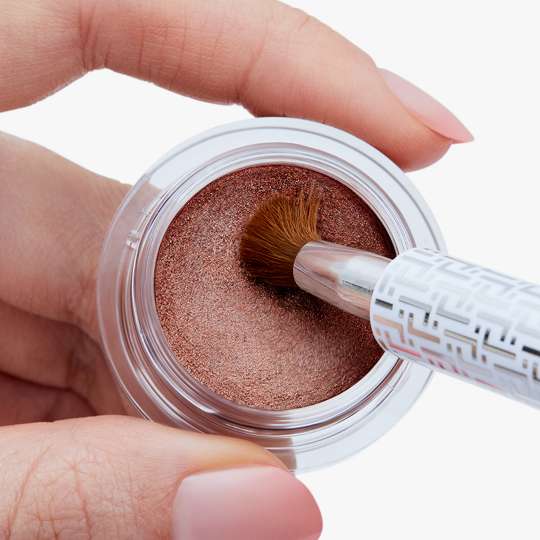
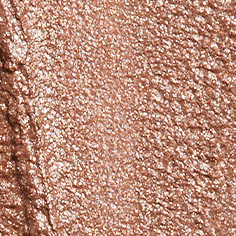
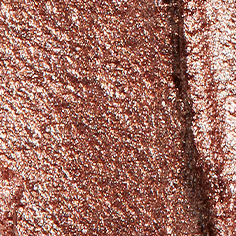
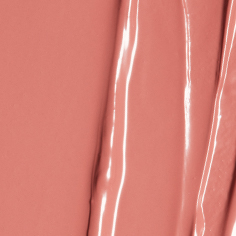
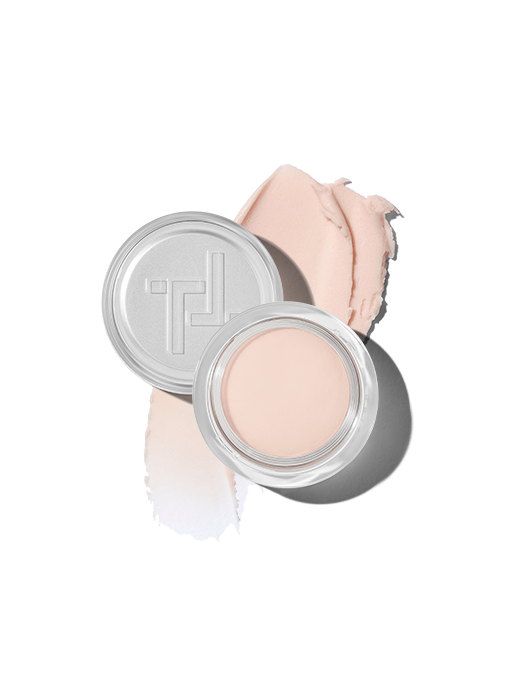
Cream-based hues packed with pearlescent pigments
 Miracle Blur
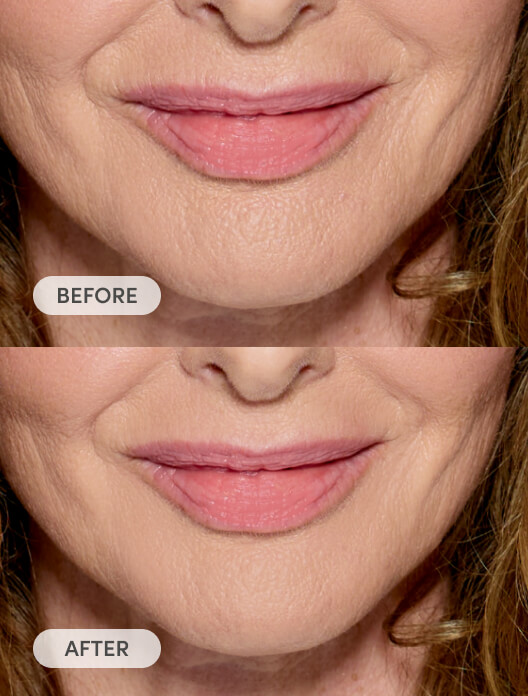
Skin-smoothing, pore-blurring line filler
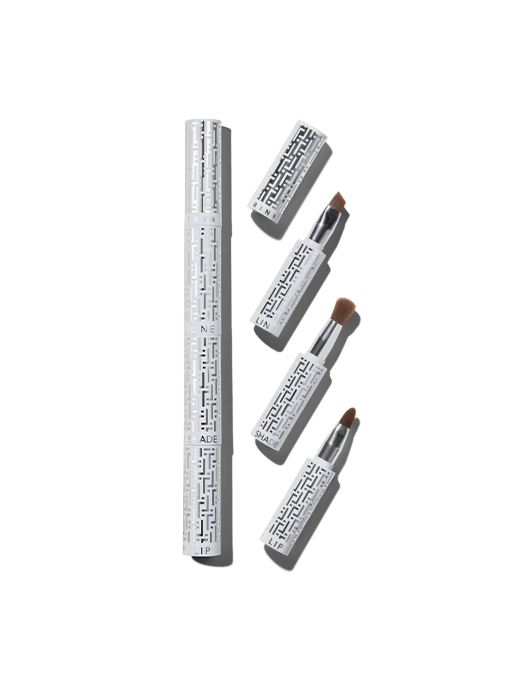
Portable, stackable, travelling 3-in-1 brush set
Read, watch and be inspired...