EUR | €
 SEK | kr
 NZD | $
 CAD | $
 EUR | €
 AUD | $
 USD | $
 GBP | £
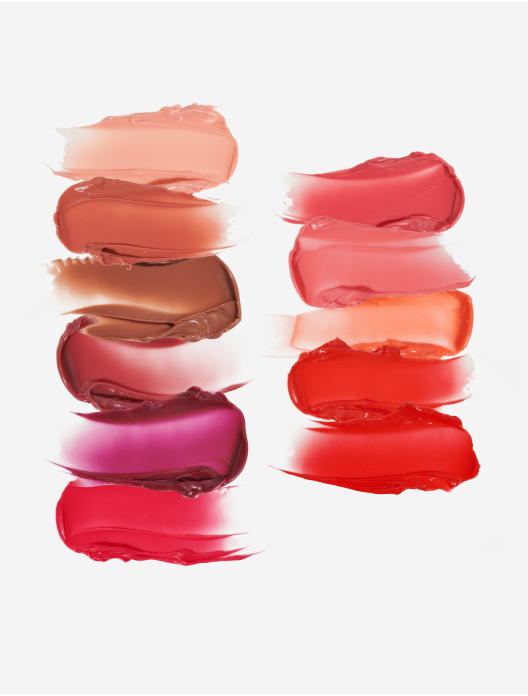
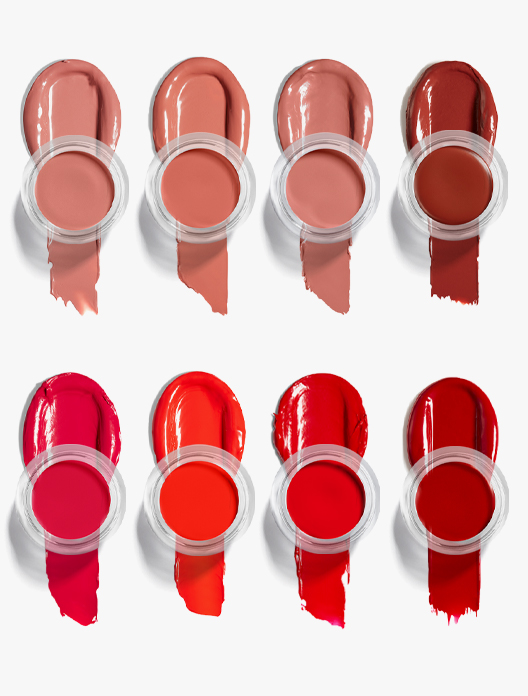
 8 shades
Your lips are one of the most focal parts of your face. In the same way that knowing your body shape can help you find your most flattering outfits, identifying the shape of your lips can help you discover the most complementary way of applying your lip look – from highlighting your Cupid’s bow to over-lining.
Full lips are typically defined as a pout that is plump and in proportion all the way round. If you’re not sure whether this applies to you, sit in a well-lit space with a mirror in front of you – if your lips have natural volume all over, you likely have full lips. Tweaking the shape of your pout such as making your lips look fuller or narrower, can change the whole look of your face. So, if you’d like your lips to look a little fuller, read on…
As we age, our body’s production of collagen (the protein responsible for pillowy-plumpness) starts to slow, meaning our skin begins to lose volume in areas such as the lips and cheeks. A double whammy for thinning lips, this loss in collagen is met by the formation of fine lines, which can accentuate the loss in volume even more. Some lifestyle changes can help minimise these effects, including not smoking and taking your sun protection seriously.
We know you’ve heard it all before, but staying hydrated is vital. Just like the rest of your body, your lips can show signs of dehydration. “Dry lips can make them look thinner”, explains Katie Levy, Pro Makeup Artist at Trinny London. If your lips are looking a little worse for wear, fear not, “you can make a really simple scrub with a little sugar and some water, and use it to gently exfoliate to remove all the dry bits”. Not only will this taste delicious, but your lips (and the rest of your look) will thank you. Make sure you keep drinking throughout the day and keep a lip balm at hand – opt for a hydrating formula that includes hyaluronic acid and seals it in with extra moisture will keep your pout extra nourished. For a lip-loving boost, coat your lips in a thick layer of balm before you go to sleep and wake up to refreshed, silky lips.
Looking for tips on how to create trickery with your makeup? Here are our expert-approved top tips…
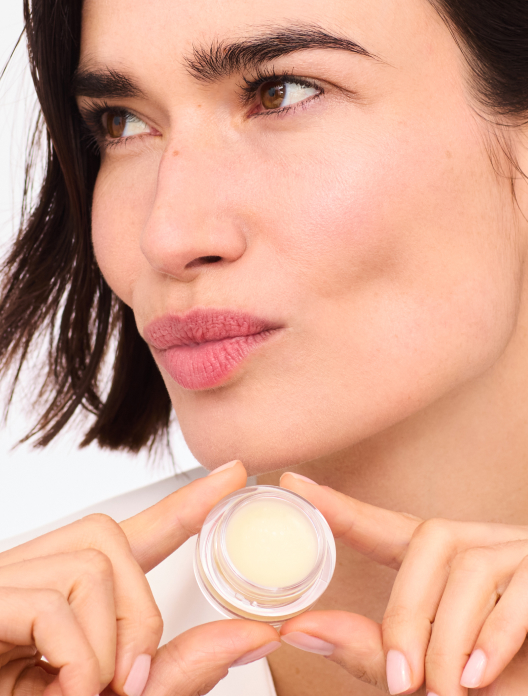
No look is complete without a swipe of hydrating lip balm – it’s a true makeup bag staple. Before even thinking about applying your favourite lipstick or gloss, make sure to apply a generous layer of balm to nourish your lips and fight any dryness. Let the balm sink into your lips a little before heading in with the rest of your products to avoid any patchiness or diluting the shade.
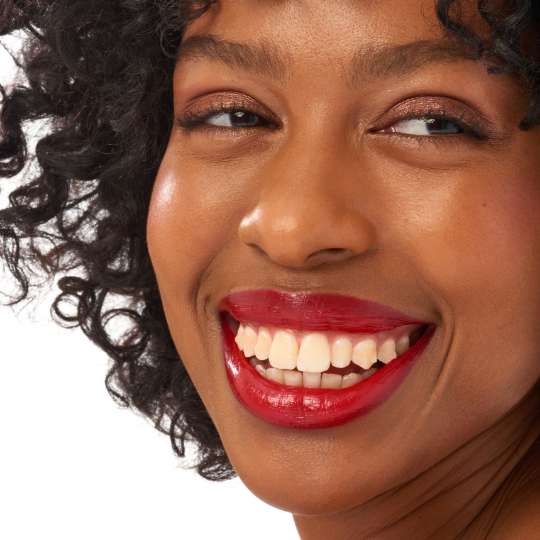
If a matte lip is your go-to, perhaps opt for a glossier formula to help plump up your pout. “A matte shade won’t give you that 3D look” explains Katie, “A glossy finish will make your lips look juicy and more plump.” If a dewy shade all over the lips feels a little alien to you, take a touch of shinier colour and gently dab it in the centre of your top and bottom lip – this will help create the illusion of a fuller lip.
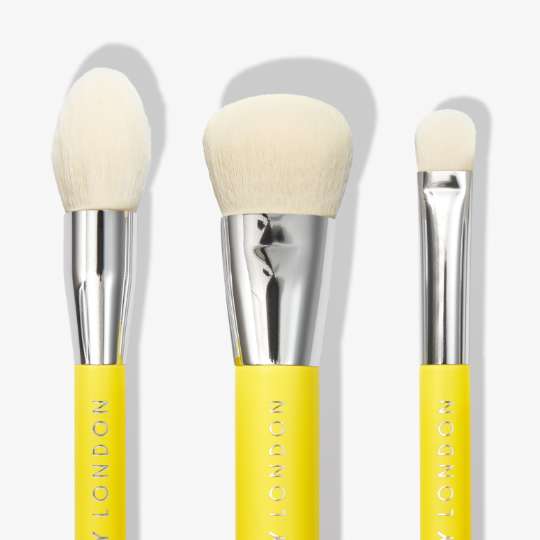
It might sound a little OTT, but bear with us, understanding where to apply highlighter can make a huge difference to how plump your pout looks. Taking a subtle swipe of cream highlighter across your Cupid’s bow can help create volume in your lips and make your lip colour pop. Using a small brush or your little finger to apply your highlight will help keep it looking neat and precise. Similar to our tip above, you can also add a little highlighter in the centre of your top and bottom lip and gently blend with your lipstick for the ultimate boost.
This one might sound scary (and it’s not to be confused with the unnatural looks that you might have seen grace your TV screen), but creating a careful, natural-looking line a whisper away from your lip line can create a bigger smile. “To make it look natural, it must be exactly the same colour as the lipstick you’re using.” advises Katie. “Start off with a wash of colour on your lips, then lean back with your mouth open wide so you can see the shape of your lips better. You can then take your lip colour and a lip brush or a liner, and go slightly over on each side of your lips, and then fill it in and blend”. To help get an even finish, start from the outer corners of your lips and gently bring your lines upwards to your Cupid’s bow.
While it may seem a little scary at first, drawing a straight line across your Cupid’s bow can actually help boost volume. “If you go straight over your Cupid’s bow, you’re creating the illusion that your lips are wider” shares Katie. Simply line your lips with a matching lip colour and when you reach your Cupid’s bow, take the line straight across rather than tracing your curves.
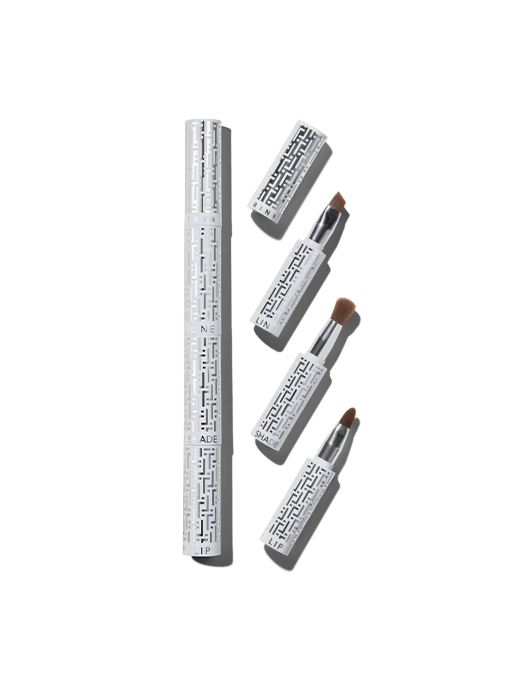
One of the easiest ways to help your lips look perfected and plump is to use a lip brush. Not only will this help your lip line look neater and more defined, but it will help the colour to look even and full without the risk of patchiness. If you do need to clean up any lines once you’ve finished applying your lipstick, take a clean brush and some concealer and blend around the edges of your lip line to help create a precise look.
Here comes the juicy part: how to make your lips look fuller with makeup. Follow Katie’s step-by-step guide on achieving a full pout…
Start by applying a nourishing balm that will give your lips a hit of hydration. If you can see any dry or flaking areas, make a scrub using sugar and water and gently massage onto the lips to reveal a fresh, smooth canvas.
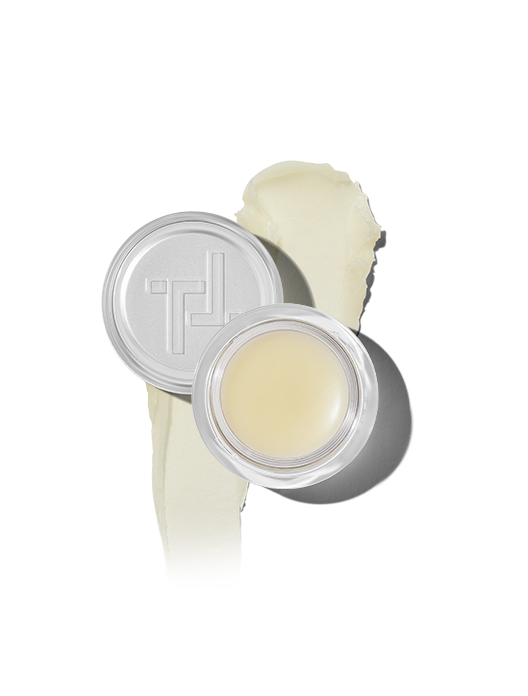
Next, head in with a lip and line filler, such as Miracle Blur, to create a smooth base. Warm up a little of the product in your fingers before pressing into the skin on and around your lips. This will fill and blur any lines and help prevent your lipstick from bleeding outwards.
Now it’s time to head in with your lip colour. Start by using your fingers to apply a soft wash of colour before building up the colour. You can then line around the outside of your top and bottom lip with the same product and a lip brush. Depending on how much you want to over-line your lips will depend on how much volume you want to add, but we recommend keeping it as natural-looking as possible. If you wanted to draw straight across your Cupid’s bow, you’d do that at this step too. When you’re happy with the outline of your lips, head back in with your brush and touch any areas up until you have one uniform colour that blends with your lip line.
Whether you’d prefer to use a glossy shade in the centre of your top and bottom lip or would rather stick to accentuating your Cupid’s bow with highlighter, is up to you. To highlight your Cupid’s bow, use your little finger or a small brush to apply a whisper of product. If you’d rather head in with a glossy shade, take a little product onto your finger and gently dab into the middle of your top and bottom lip. Now say hello to fuller-looking lips.