EUR | €
 SEK | kr
 NZD | $
 CAD | $
 EUR | €
 AUD | $
 USD | $
 GBP | £
 5 shades
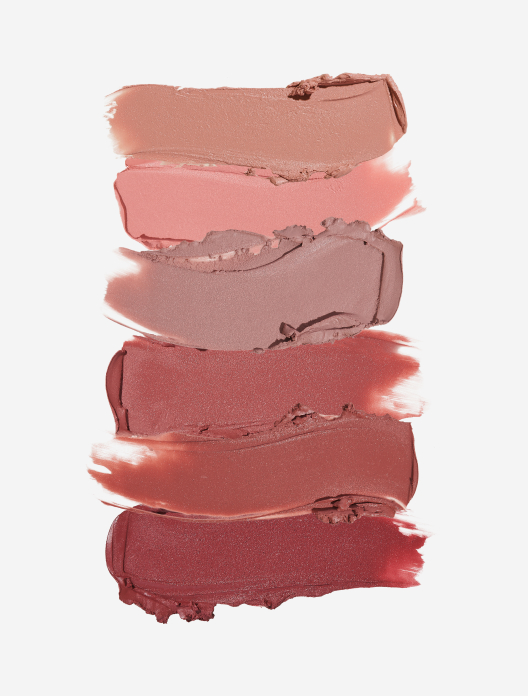
Some makeup products are completely intuitive when it comes to placement, while others require a little more thinking time. Blusher falls into the second category, as the best place to apply blush depends on a couple of key factors.
Firstly, where do you naturally flush? We’re not talking a completely red-faced, post-gym, embarrassing moment type flush, but the type of flush you pick up after a brisk walk. The kind of flush that makes your face look vibrant and full of life. For some that might be just on the apples of their cheeks, while for others it’s a much wider area, and is not always limited to just the cheeks. “Some people keep their blusher on their cheeks, but blush should be a natural flush, and if you are naturally rosy on your nose or forehead then why wouldn’t you want to wash the colour there too?” says Katie Levy, Pro Makeup Artist at Trinny London. A good way to do this is to use the excess on your fingers or the brush, which will stop you from adding too much colour in these areas.
The second consideration for blusher placement is your face shape. “I was always told to smile in the mirror and apply blush then but from experience you find that the colour falls if you’re not smiling,” advises Katie. “I’d recommend looking at the structure of your face in the mirror before applying. Some people have very high cheeks, whereas some will be very flat or very long, so you need to apply in a way that ensures you’re adding colour in the places it will be most flattering. Everything should be lifted, so if the colour is too low or not where it should be on the cheek, it can bring the face down.”
Ever tried on a pair of sunglasses and thought they didn’t quite suit you, but couldn’t put your finger on why? It could be to do with your face shape. Of course, when it comes to makeup and fashion, what you feel good in is more important than what suits you, but for most the two come hand-in-hand.
Face shapes tend to slot into one of six categories: square, round, rectangle, oval, diamond or heart. Not sure which face shape you have? “Look in the mirror with your hair tied back away from your face,” says Katie. “You can then analyse the shape, is it long? Short? Wide? Narrow?” Once you’ve established which shape your face most resembles, you can move onto blusher placement.
It’s worth noting that not everyone’s face shape is easy to decipher, and you might find that you have characteristics that fit with more than one. Use it as a guide, rather than strict rules to abide by when learning where to apply blush.
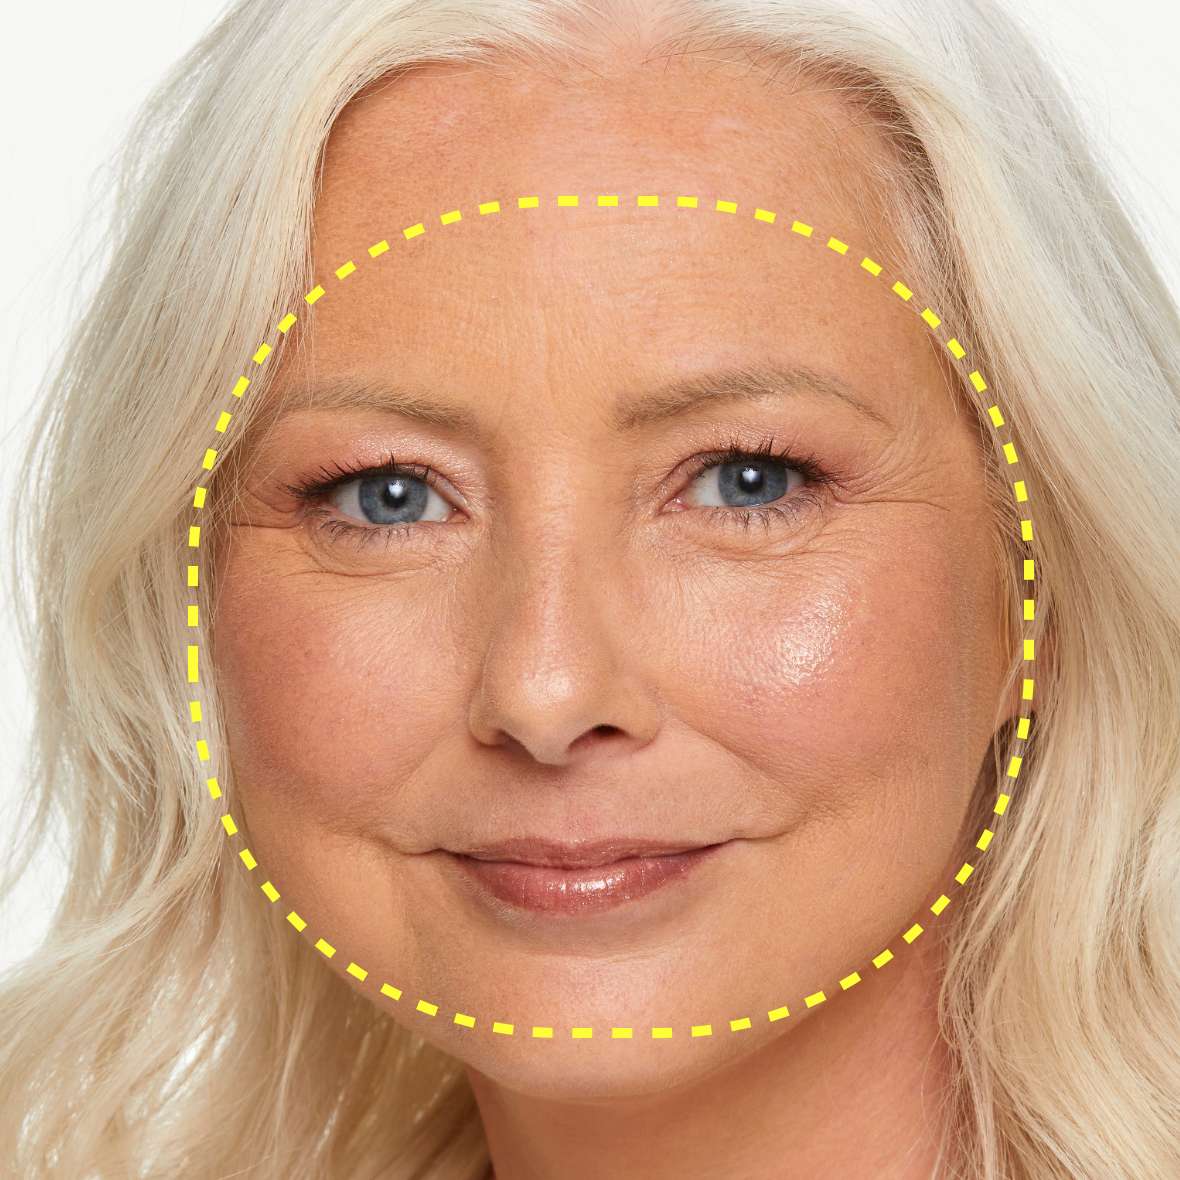
A round face will be rounded at the hairline and at the jaw, with only subtle angles. The width will be almost identical to the length. “To balance a rounder face shape, blush should be placed relatively high, close to the eyes, and not winged out too far towards the outer edges,” says Alex Phillips, Pro Makeup Artist at Trinny London. “Adding a little on the nose will also help to narrow the face.” If you wanted to go a step further, you could also use bronzer or contour at the sides of the face to lengthen the face and add definition.
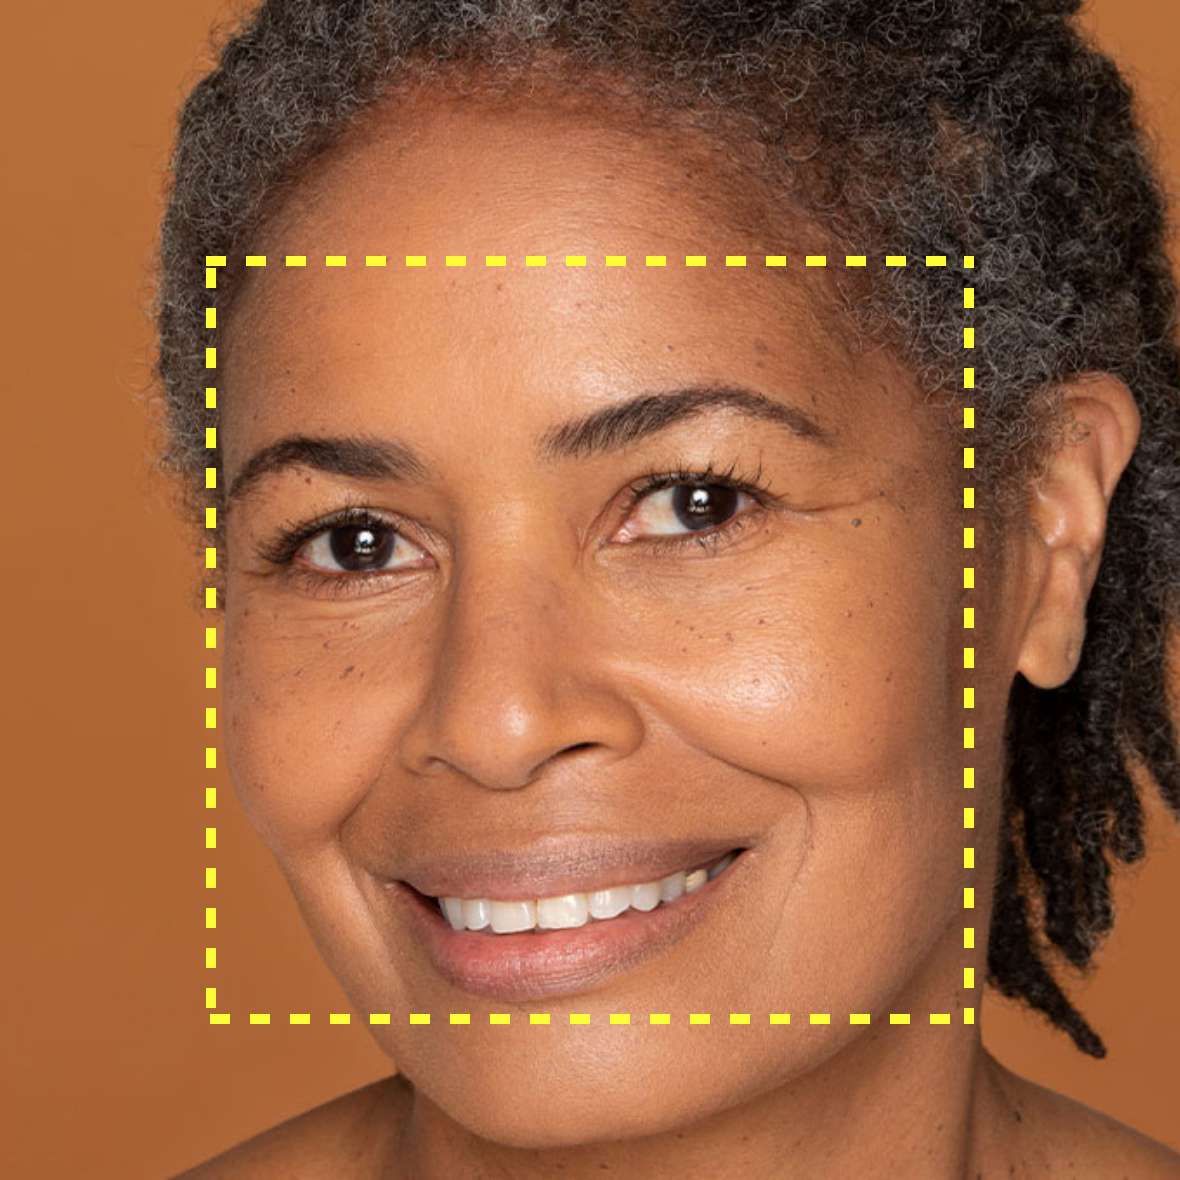
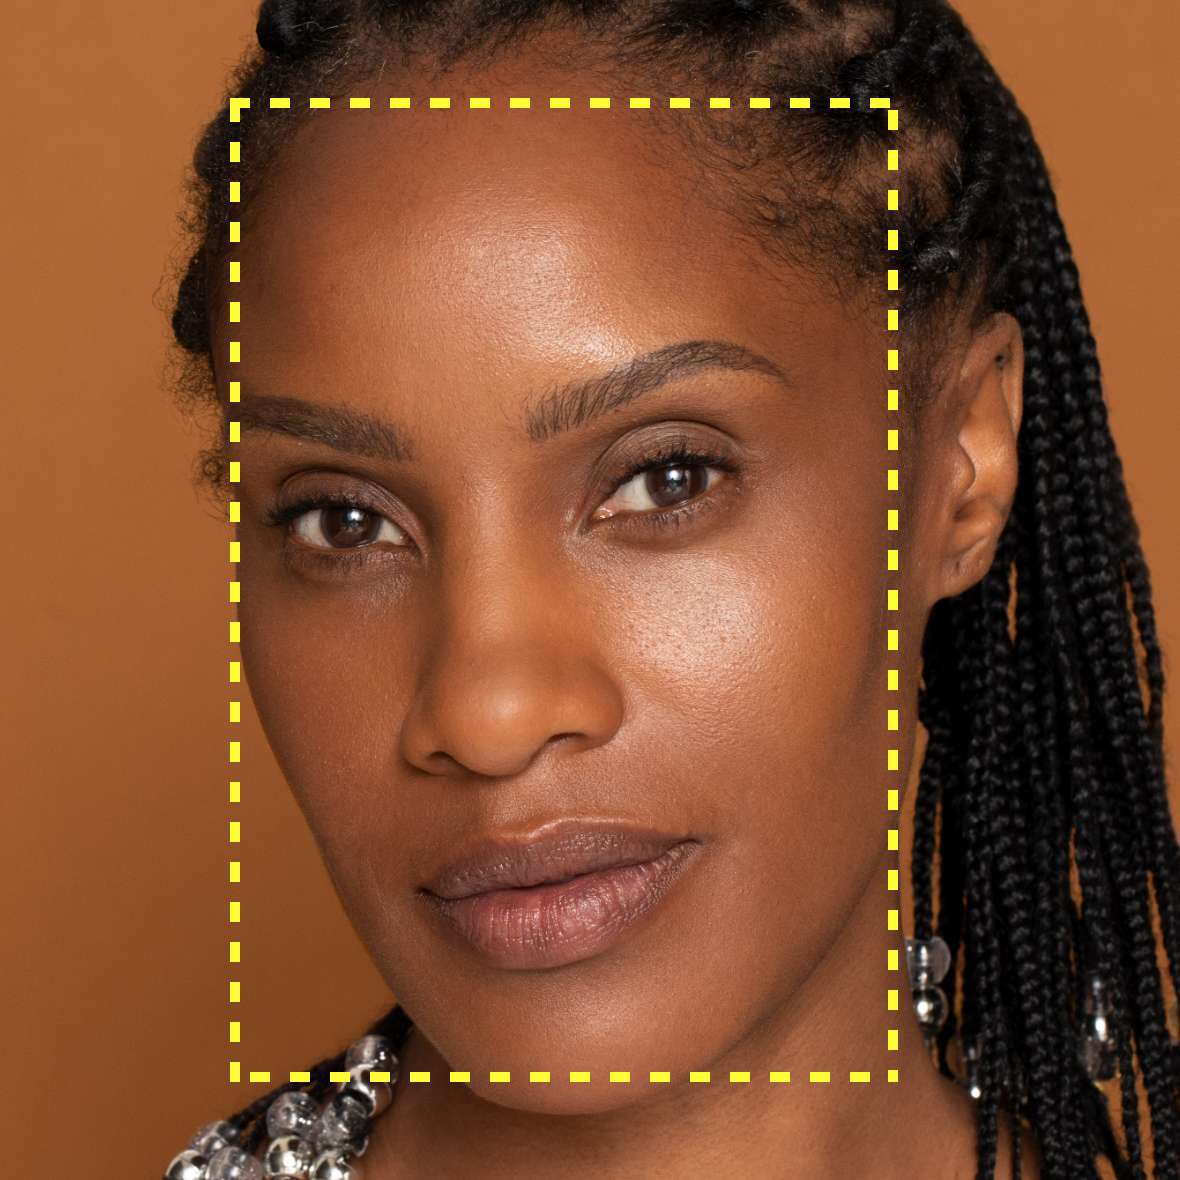
A square face will have straight sides, with a sharp, angled jawline. Your forehead will also be pretty much the same width as your jaw. “Blusher should be applied high on the cheeks of a square face, with a little on the nose and the centre of the forehead to balance proportions,” says Alex. “Bronzer and contour are best placed on the temples and jawline to round the face a little more.” Creating a more circular shape with your blusher at the apples, before tapering off towards the hairline, will also work to round your features.
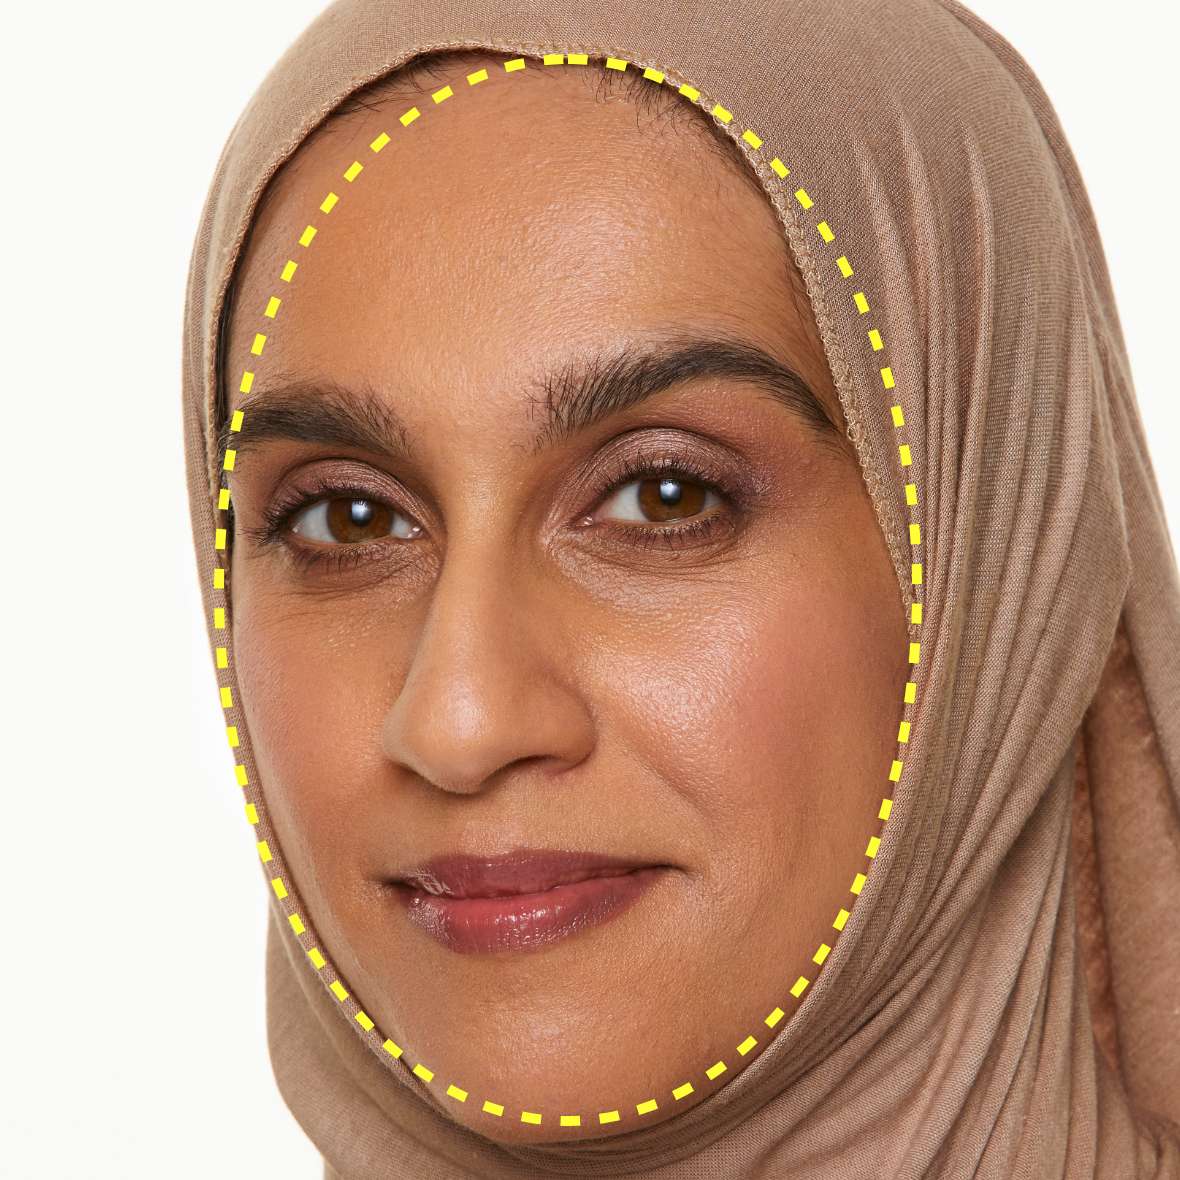
An oval face is long, with the cheekbones forming the widest part of your face. Your forehead and jawline will tend to be narrower, with no sharp angles. “As a makeup artist, when we think of balancing out someone's features with makeup, the oval face is essentially what we’re always trying to create,” explains Alex. “Any blush placement works for this face shape. Trinny has an oval face shape and favours a high blush placement to create a lifted and youthful look.” If you want to follow her lead, focus the placement on the top half of your cheeks, closest to your cheekbones.
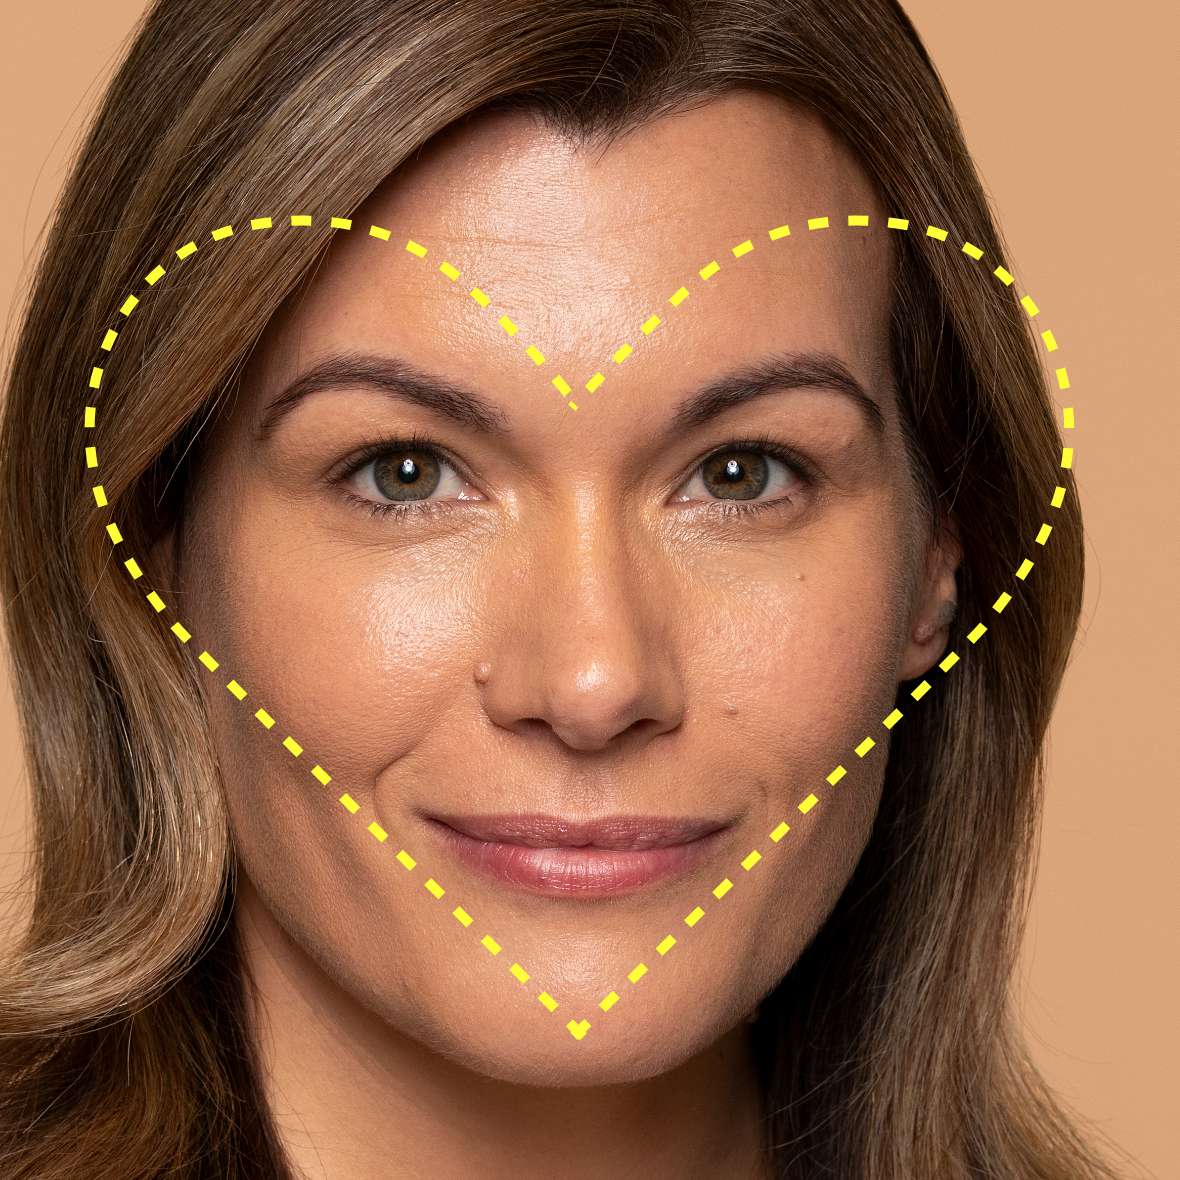
A heart-shaped face will have a hairline that dips inwards at the centre, resembling the top of a heart. The forehead is the widest part of the face, with a pointed chin. “A heart-shaped face can be described as more top heavy,” explains Alex. “To balance your features, don’t apply blusher too high up, and consider adding a little to the centre of the forehead, nose and chin.” By distributing the colour across the face, and focusing it on the lower parts of the cheeks, this will help to bring everything into proportion. As a finishing touch, “bronzer and contour should be applied to the forehead and not the lower half of the face,” adds Alex.
A rectangular face shape is similar to square, just more elongated with a slightly softer jaw. Your hairline and jaw will follow a relatively straight line and be more or less the same width as each other, while the sides will be longer. As rectangular faces are by their nature quite narrow, it’s a good idea to apply blusher in a way that will counteract this. “Blusher should be applied to the apples and blended out to the side of the face to add width,” says Alex. “Apply bronzer and contour to the forehead and chin to balance.”
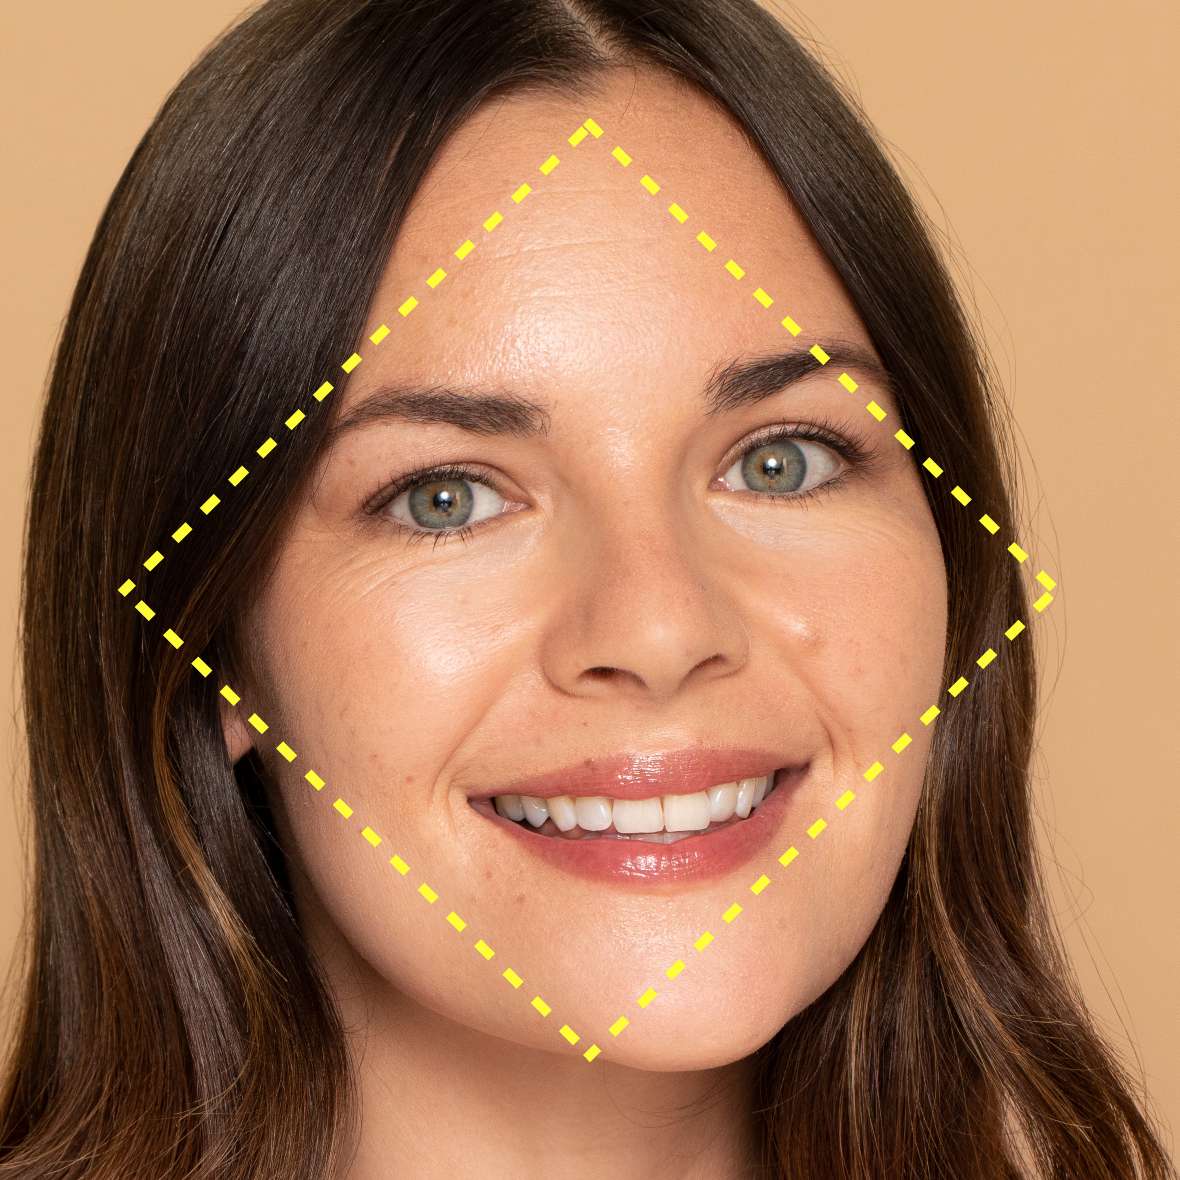
A diamond-shaped face will have prominent cheekbones that are wider than your forehead and chin. Your forehead will be relatively narrow, with a chin that meets in a point at the base. “As diamond shapes are wider at the centre, focus the blush lightly on the cheeks but don’t blend too far out at the sides,” explains Alex. “If you wanted to add bronzer and contour, these should only be applied on the cheeks.” Adding them to the upper and lower half of your face will only make these areas appear smaller, counteracting the look you’re achieving with blusher.
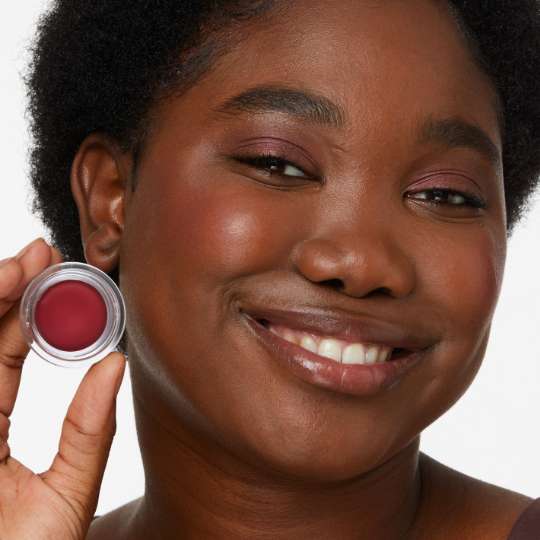
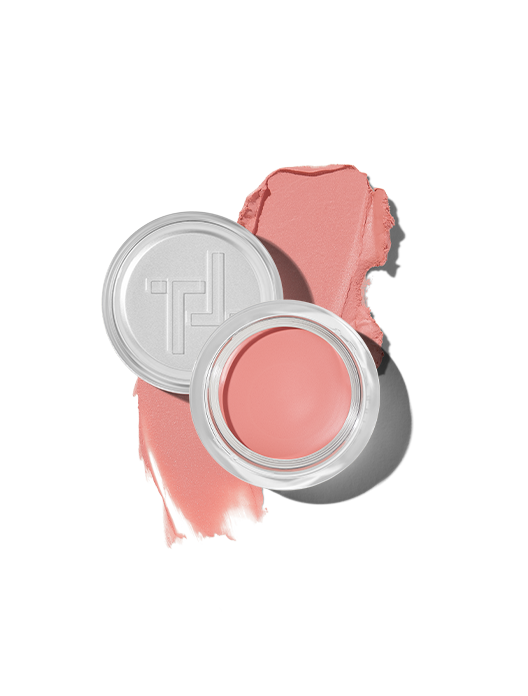
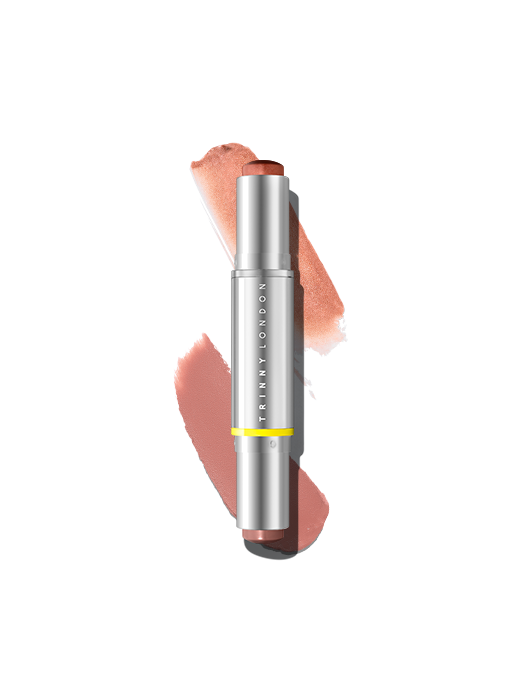
We’ve established where to put your blusher, so now it’s time to think about finding the right product. Blusher tends to come in three different forms: liquid, cream and powder. Liquid can be quite messy to work with, and powder tricky to remove if you make a mistake, meaning cream-based blusher is our top pick. It has the benefit of being easy to apply with fingers or a brush for a fresh-faced, natural finish. Suitable for all skin types, it won’t cling on dry skin or look unnaturally matte on oily complexions.
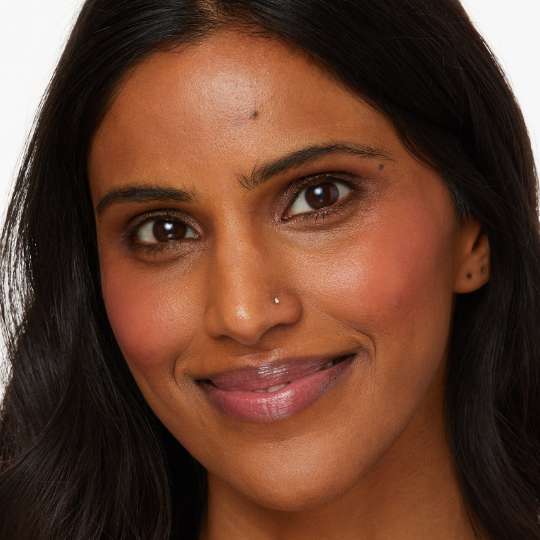
Shade is also a key consideration when choosing a blusher. The best guidance is to aim for a hue that complements your natural colouring by mimicking the way your skin normally flushes. Undertones matter too. Those with a warm undertone will be best suited to blushers that skew on the coral or peach side, while those with cool undertones will look best with pinker tones. Not sure where to start? Our Match2Me tool takes your skin tone, hair and eye colour into consideration to generate your perfect shade matches.
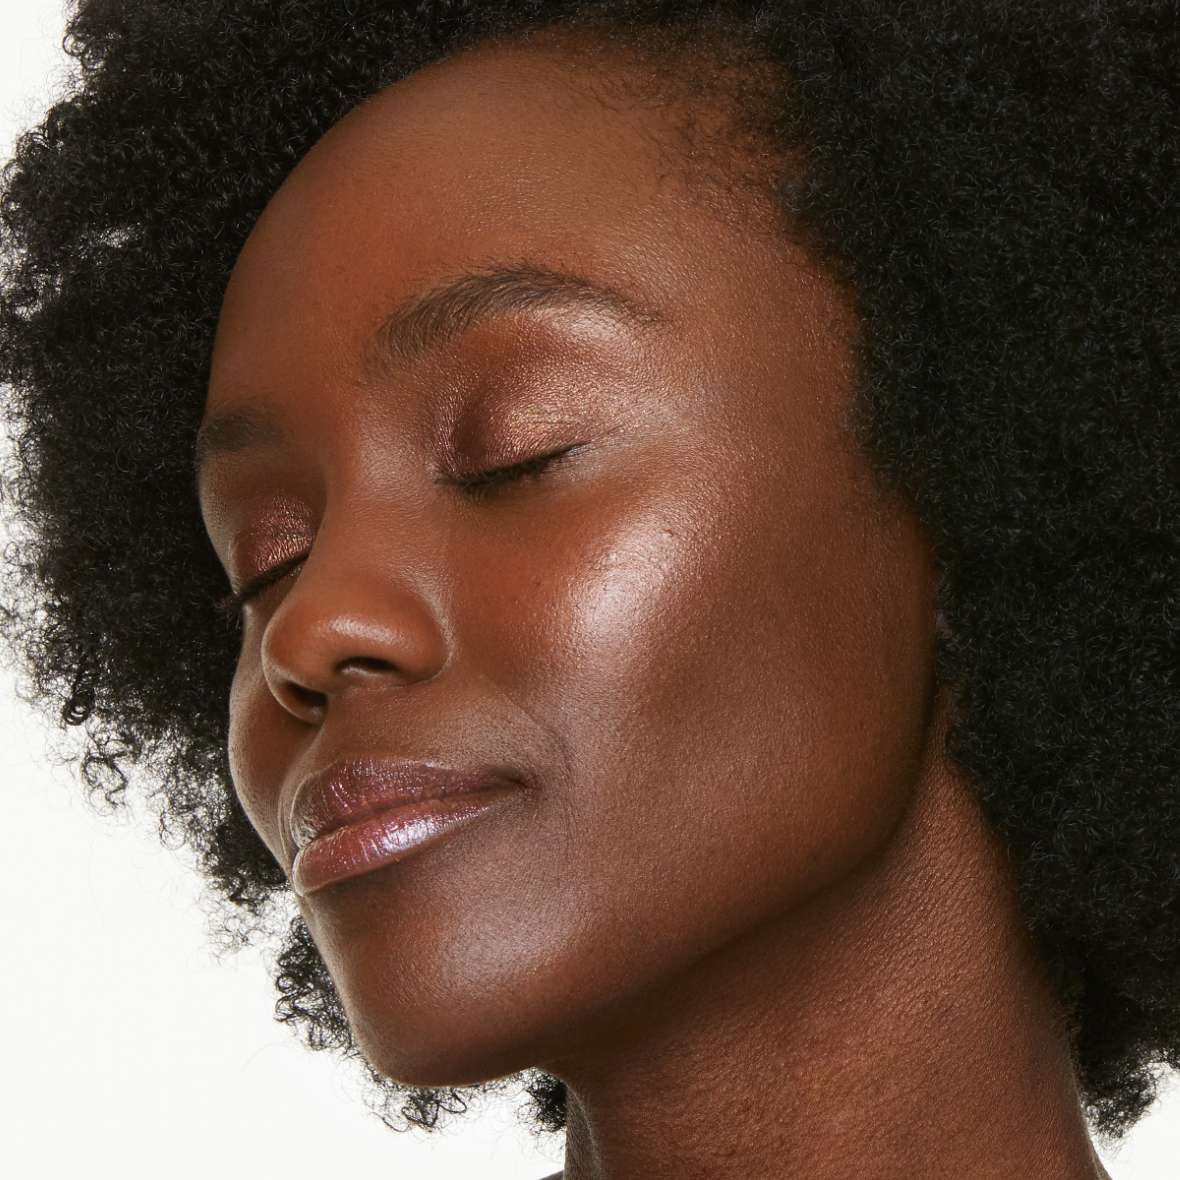
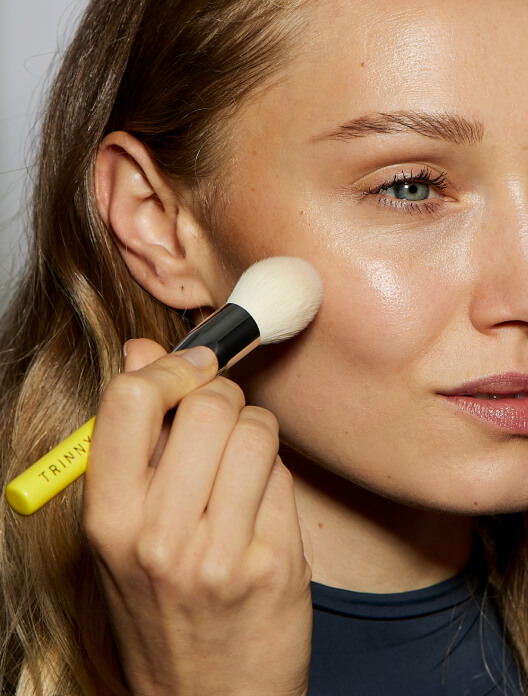
To ensure your fresh-faced flush is as convincing as possible, you’ll need to make sure you blend your blusher properly. “You don’t want to see a harsh line or one stripe of colour,” says Katie Levy. “Either using your fingers or a brush, blend upwards and outwards towards the hairline to give you that softness.” To avoid displacing your blush in the process, make sure you’re working in light motions. Go in too heavy-handed and you risk not only undoing all your hard work with the placement, but driving redness in the skin which can then overwhelm the blush. A softly-softly approach is best. If you find it difficult to be gentle with a brush, try your fingers, and visa versa. The finish will be slightly more diffused with a brush, and more pigment-packed with fingers.
Shop the article
5 shades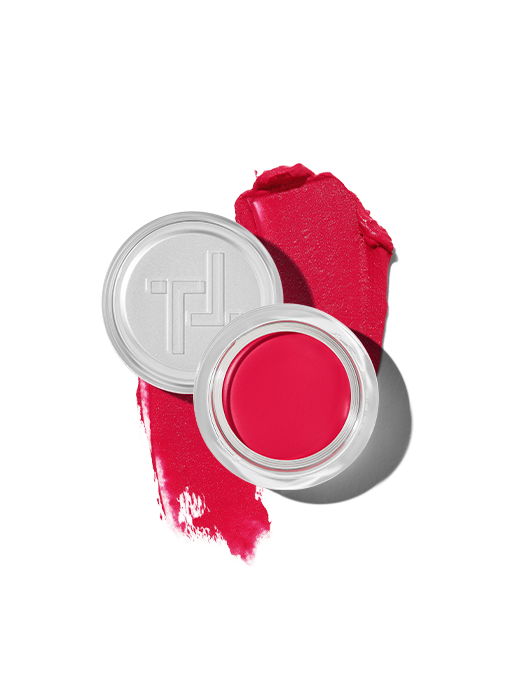
 8 shades
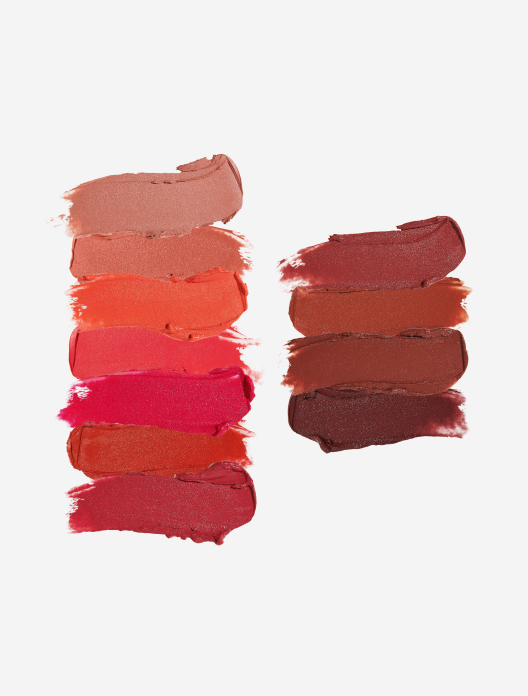
 3 shades
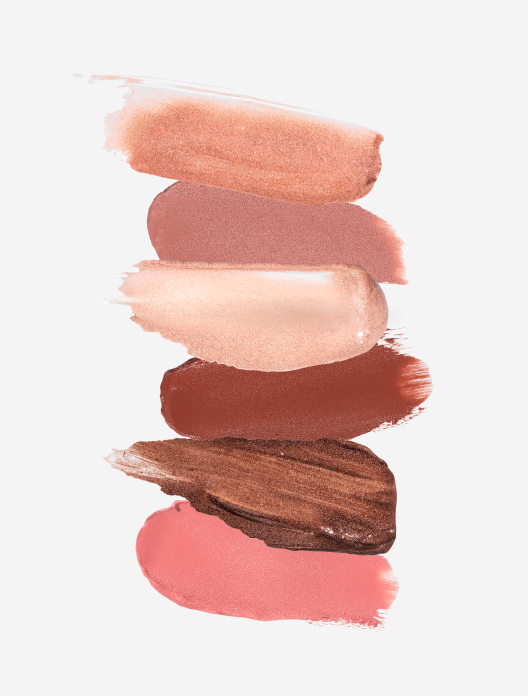
Subtly tapered brush for diffused colour and a fresh-faced glow