EUR | €
 SEK | kr
 NZD | $
 CAD | $
 EUR | €
 AUD | $
 USD | $
 GBP | £

40% OFF
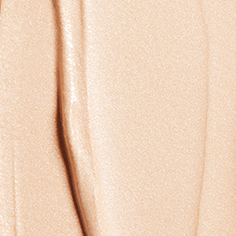
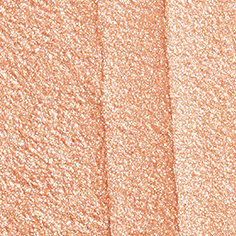
 4 shades
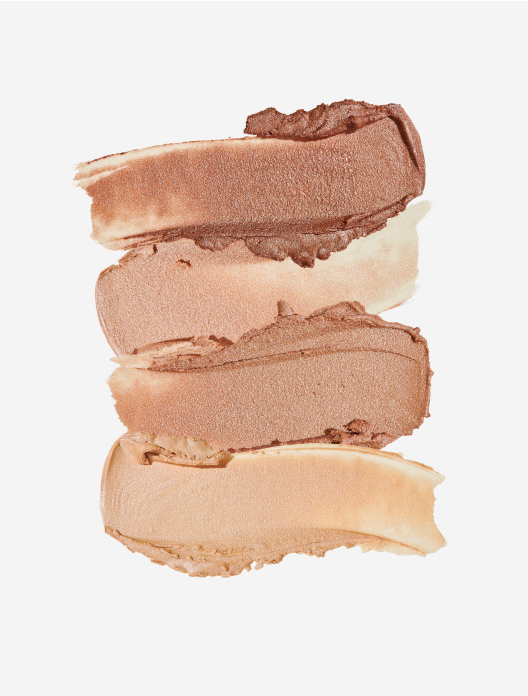
The quest for glossy, luminous, lit-from-within skin is nothing new, but it’s only within the last decade that highlighter has shimmered its way into the mainstream beauty lexicon. Previously only used by makeup artists and insiders, highlighter could be found illuminating the stage, screen and catwalk, but not our makeup bags. Fast forward and now almost everyone will know what a highlighter is, even if they don’t own one yet.
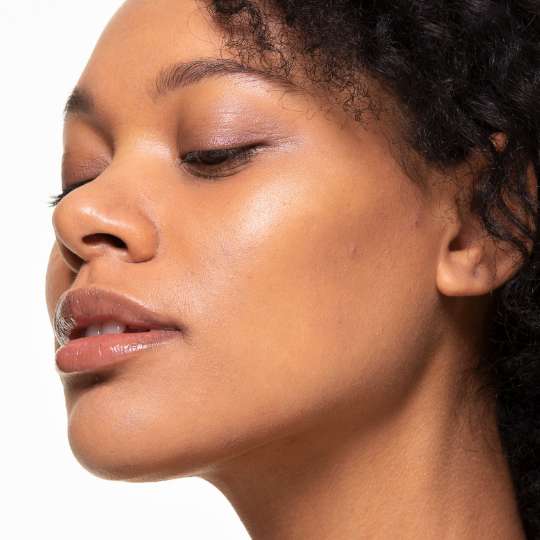
Highlighter works to amplify the areas where the light would naturally hit your skin. It is best applied to the so-called “high points” of your face, including the cheek and brow bones, as well as the nose and cupid's bow. Done well, it gives your complexion a dewy, silk-like finish that can otherwise only be achieved by sitting by soft candle light.
It almost goes without saying that highlighters are no substitute for good skincare. If you want your skin to be radiating the kind of glow that ignites compliments, you’ll need to be taking your routine seriously – double cleansing and introducing a liquid exfoliant is a good place to start. Highlighter and skincare can, however, work hand-in-hand, each supporting the work of the other for enviable luminosity.
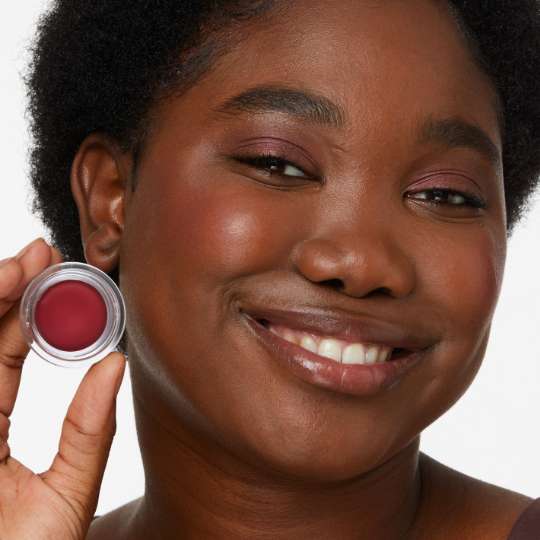
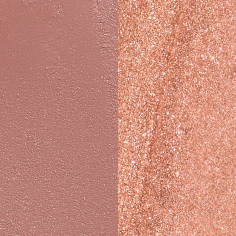
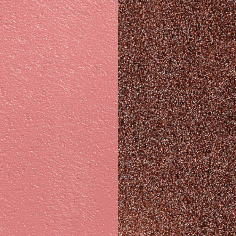
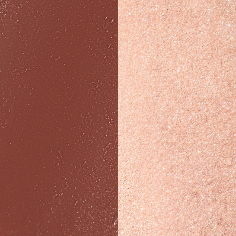
Just like foundation, blusher or bronzer, highlighter comes in a number of different forms. For a grown-up look, we recommend steering clear of anything too overly shimmery, or with heavy glitter particles. Opt instead for something that sits on the sophisticated side of sparkle: satin, luminous and iridescent are all your buzzwords here.
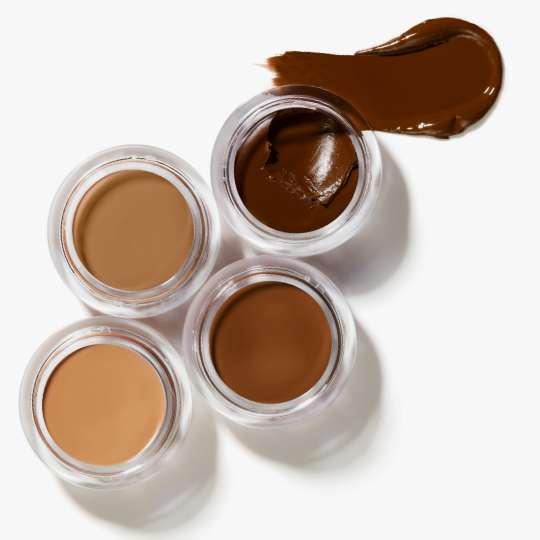
As for the formula itself, cream is our top pick over powder. “Highlighting with powder can look too harsh and heavy, as well as being prone to patchiness,” says Katie Levy, Pro Makeup Artist at Trinny London. “It’s powders that give highlighters a bad reputation, which is why so many people shy away from them.” Highlighter settling into and amplifying fine lines, especially around the eye area, is a common gripe with powders, causing the overall effect to look unnatural.
“You don’t need to worry about any of these factors with a cream, as they blend easily into the skin for a soft, believable finish,” adds Katie. “They make your complexion look a lot fresher.”
Focus your highlighter on the areas the light would naturally touch as you move. If you’re unsure, sit by a sunny window in front of a mirror. Slowly rotate your face and take note of which parts glisten in the light. Highlighting with makeup is essentially replicating and amplifying this effect. Or, follow our expert-approved guide…
“Applying highlighter beneath the brow is a clever way to make this area look more lifted,” says Katie. You could add a small amount just above the brow too to really elevate the area.
The cheekbones are the most common place to highlight, and will help to create the illusion of a more defined bone structure. “Imagine working in ‘“C’” shape,” explains Katie. “The curve begins on your brow bone, and ends on your cheekbone.” Knowing where to apply blush (more on the apples than on the cheek bones) will prevent any overlap.
Adding a dash of highlighter to the bridge of your nose can be very pretty, but be wary of going overboard. “If you go all the way along the nose with highlighter it can make it look too long or too oily,” warns Katie. “Naturally, your whole nose wouldn’t catch the light, just part of it.”
Eyes feeling tired and heavy? A dab of highlighter on the inner corners will work in tandem with your concealer to brighten the eye area, helping you to fake a full eight hours.
“If you want your lips to look fuller, wash a little highlighter across your cupid’s bow,” says Katie. “So, when you add colour to your lips, they naturally come forwards.” A dot at the middle of your lower lip line will amplify the impact, but, remember, a light hand is key. “You don’t want this area to look sweaty, so be subtle with it. Just dusting the lips with your finger or brush after you have applied the rest of your highlighter is perfect.”
Katie shares her top tips for applying highlighter like a pro…
Using the section above as a guide, think about where you want to place your highlight. Having a plan of action before you start applying can avoid any mishaps and save you time.
Using your fingers or a brush, pat your highlighter onto the skin, starting with your brow and cheek bones. Then, tap with your fingers, or buff with a brush, until you achieve a soft-focus finish. The final effect should be diffused glow, not harsh, stripe-like lines.
Take any remaining product on your finger or brush and softly apply this to the bridge of your nose, the corners of your eyes and your cupid's bow.
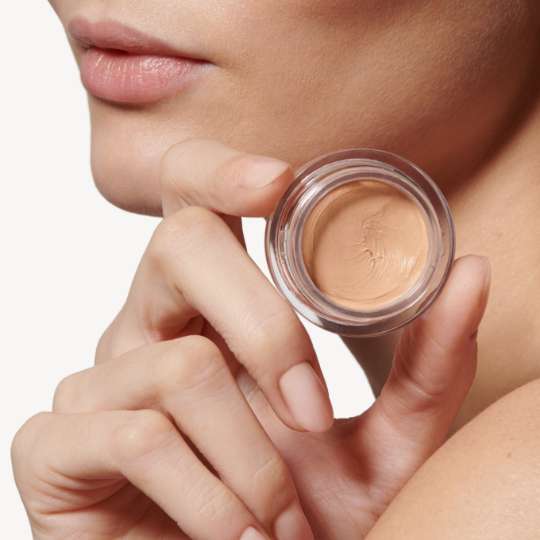
How much highlighter you want to apply is really down to personal preference. But to avoid overdoing it and to give yourself less chance of needing to touch up any mishaps, start with as little product as possible. The beauty of cream highlighter is that it’s buildable, so it’s easy to layer additional product if you feel you need it. Remember, it's harder to take away what’s already there than it is to add more.
Whether you apply your highlighter before or after foundation will depend on the look you’d like to achieve. “If you want to give your highlighter the best chance of catching the light, and make it a prominent part of your makeup look, apply after foundation,” advises Katie.
“But, if you’re after an all-over dewy glow, then what you could do is mix a little highlighter with your base. This is a lovely tip if you have a special event to attend, as you can bring it across the face, neck, chest and even the arms to give luminosity to the skin.” For the best of both worlds, you could mix highlighter with your foundation and apply on top, using the second application to draw extra attention to the high points of your face.
Shop the article
4 shades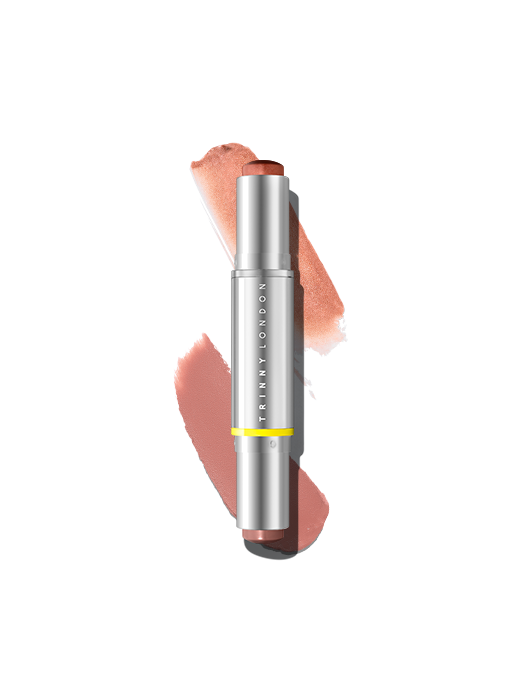
 3 shades
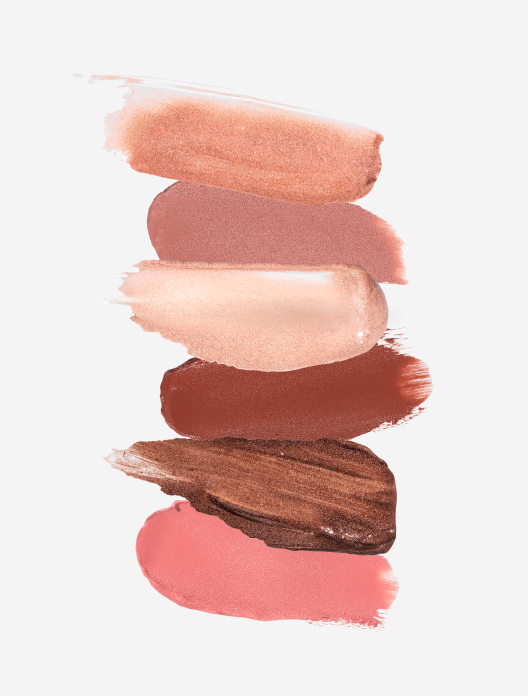


 5 shades
SPF 30 to protect, perfect and give skin a healthy glow
Choose shade