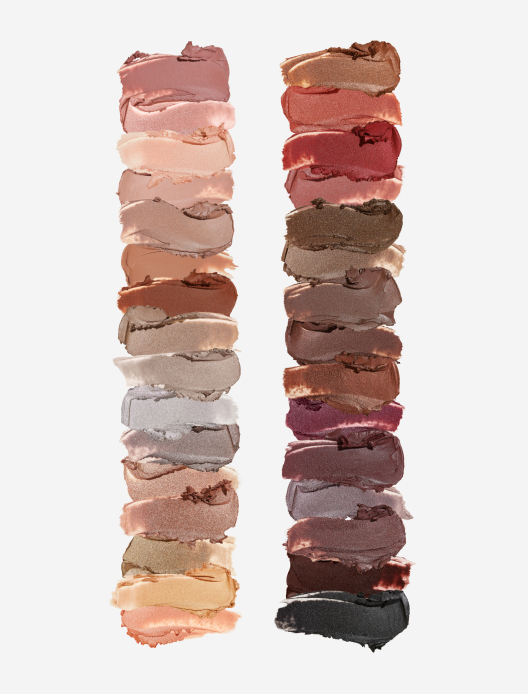


 5 shades
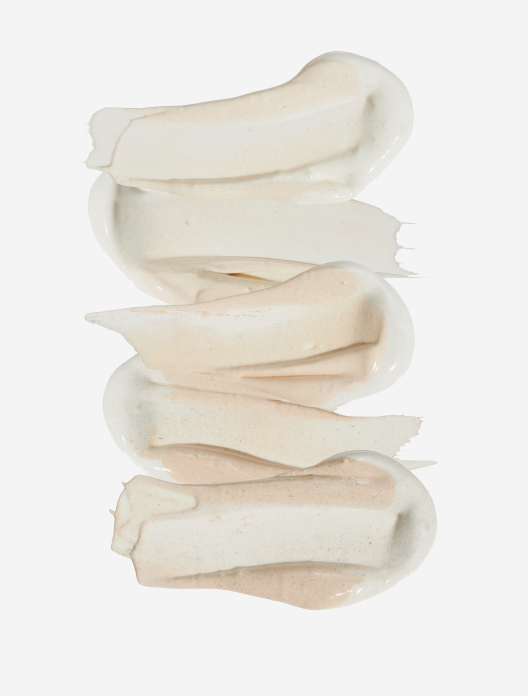
BFF SPF 30 Cream
SPF 30 to protect, perfect and give skin a healthy glow
Choose shade
When it comes to your face, it’s fair to say that no one knows it better than you do. No one will understand your skin, your face shape, your colouring and your tastes better. And of course, if there’s a day that you want to look and feel your absolute best, it’s your wedding day. Hence why so many brides choose to do their own wedding makeup instead of enlisting the help of a professional makeup artist.
Doing your own wedding makeup allows you to take full control of not only how you look, but also how the morning of your big day runs. There won’t need to be additional people at the venue or in your home, and you can work to your own schedule and pace. Plus, it eliminates any pre-wedding nightmares about the makeup artist not being able to make it. Even better, you’ll get to keep all the makeup you’ve invested in – enjoying it on your honeymoon and beyond.
Everything you need to know about how to do your own wedding makeup before you even pick up a product.
No idea where to even begin with your wedding makeup? No problem. Social media is a treasure trove of inspiration, from celebrity images to makeup artists' previous work. Looking at photos of other brides can help to inform decisions about how you do, and don’t, want your makeup to look. For each image, take a moment to decipher what it is you really like about the makeup. Is it the glowing base? The softly smoky eye? The perfect shade of nude lip colour? This will help you piece together the elements you want to focus on. It’s also a nice idea to look back on occasions when you’ve felt really confident about your own makeup in the past, and think about how you could recreate it.
Just because you won’t have an expert there on the big day doesn’t mean you can’t soak up their knowledge ahead of time. Makeup tutorials are a great way to watch and learn new techniques, and can be re-watched as many times as you’d like. At Trinny London, we offer virtual Bridal Appointments, with the cost redeemable against purchase. During the first appointment, an artist will discuss your desired look with you and guide you through Match2Me, our online tool, to help you find the perfect shades based on your skin tone, hair and eye colour. On the second appointment, they will talk you through the application, teaching you tricks and techniques to perfect your bridal look.
It’s not uncommon for a bride to change either their hair, makeup or even their entire outfit for the evening part of their wedding. If you’re planning to do this, and won’t have a makeup artist on hand to help, that’s absolutely fine, but just keep these tweaks in mind with your daytime makeup too. “Keeping everything else, like your blusher, quite neutral is a good plan as this will still work later with any colours you add,” advises Katie Levy, Pro Makeup Artist at Trinny London. “If you did want to say, change for a bolder lip, consider having an additional eye colour on hand too that you can use to complement it.” Taking all aspects of your makeup into account will ensure your entire look works in synergy, and nothing feels off balance or out of place.
Bridal makeup and wedding skin prep come hand-in-hand when it comes to the perfect finish. Ultimately, the more confident you feel about your skin, the less you’re going to feel the need to cover it with makeup. So, if you can use skincare to address any bugbears like pigmentation or blemishes in the months preceding the wedding, you’ll alleviate some pressure on the day. You will also notice that makeup sits better and stays put for longer on skin that’s been well looked after. To prevent dry skin from drinking up your base or clinging onto it in patches, implement a good regime of exfoliation and moisturising ahead of time. For oily skin, focus on sebum-balancing ingredients like niacinamide and beta-hydroxy acids to stop your makeup from slipping and sliding by the speeches. On the day, a little moisturiser applied at least 20 minutes before you start your makeup will ensure skin is hydrated and ready for the next step.
If you only want to splurge on one element of your wedding makeup, make it your base. A foundation or tinted serum will cover the most surface area, and a good one will set the scene for the rest of your makeup by ensuring you look healthy, glowing and well rested. “You’re going to feel so much more comfortable with the right foundation,” says Katie. “Everything else, like your eyeshadow and lip colour, can just follow on.” Take the time to consider the best formula for your skin type (something hydrating for dry skin, more mattifying for oily) as well as the shade match. Swatch the colour along your jawline and test in natural light and in photos to ensure you’ve got it spot-on. Our Match2Me tool is a great guide for finding your perfect shade, taking your natural colouring into account.
This is by no means essential, but if you want to up your application game for your wedding then consider investing in some makeup brushes. “You’re going to get a more polished finish with brushes,” says Katie. “It’s a much more professional effect. But equally, if you’re using cream-based products you can still use your fingers to create a beautiful look.” It really comes down to personal preference and what you feel most comfortable working with. If you normally do your makeup with your fingers and feel there’s room for improvement, then try brushes, and vice versa. You might find that a mix is best too, such as applying your base with your hands and upping tools for your eye makeup and lips.
When we think about wedding makeup, there’s a tendency to only think as far as your face. But chances are, more than that will be on show in your outfit. Have you gone for a deep V-neckline? A wide scoop neck? Or maybe completely strapless? In any case, you may want to take your makeup across your neck, decolletage, shoulders and even arms. “It depends on what’s exposed and the style of your dress,” explains Katie. “I love to use Trinny London BFF SPF Cream on brides to bring glow and evenness of tone to skin beyond the face.” This approach will also help to avoid any tell-tale tide-esque marks at the jawline too.
“If I’m doing a makeup trial for a bride, I always recommend doing it on the same day as their fitting so they can see how the colours work with their dress,” explains Katie. “This helps them to get a really good idea of whether it’s working.” You can easily take the same approach with DIY makeup, applying the makeup look you want before trying on your outfit. Different shades can skew how your makeup looks, so keep this in mind. “Even white dresses can be categorised into cool, neutral and warm tones,” adds Katie. “Warm-toned makeup normally works well with cream, ivory suits neutral tones and bright, blue-tinged white is best with cool-toned makeup.”
If you’ve ever looked back on a photo of yourself and thought “what was I thinking” when it came to your makeup, hair or outfit, then you’re likely to have worried about the longevity of your bridal look. You’ll be looking at photos of your wedding day for many years to come, which adds extra pressure to get it right. But the good news is, as long as you stay true to what you normally like, your makeup will never date. “If you’ve done your makeup in a way that feels like an enhanced version of your signature look then it’s always going to be timeless and you’re always going to love it,” advises Katie. “But if you go completely out of your comfort zone and wear makeup you’ve never worn before, then you’re going to look back on those photos and think you don't look like yourself.” Remember, your partner is marrying you for you, not a stranger, so why look like one on your wedding day?
Contrary to what the name might suggest, even natural-looking wedding makeup requires more product than you might expect. “Wedding makeup should be an elevated version of the kind of makeup you normally wear, just with more focus on enhancing your features,” explains Katie. “It does need to be more than you’d usually wear as one, it’s your wedding day, two, it’s got to last, and three, photography plays a big part. Flash photography can take a lot of colour out of your makeup so you need to wear more than normal or it will look like you’re just not wearing anything.” Taking photos of your makeup trial runs will allow you to see how it wears on camera.
You wouldn’t offer to make someone’s wedding cake without practising first, so why take a risk with your makeup on the big day? To feel as relaxed and confident in your abilities as possible, practice as many times as you can. “The more practice you do, the better you’re going to get – and you might even get quicker doing it,” says Katie. It’s a nice idea to wear your wedding makeup out too (either the full face or an element of it) to see how it wears throughout an evening or looks in photographs. Choose an event a few months in advance and use it as your trial run.
Time has a tendency to pass pretty quickly on the morning of a wedding. There’s a lot to coordinate and do, meaning your window for applying your makeup can quickly narrow. Having a clear idea of how much time you’ll need for your makeup will allow you to carve that into the schedule for the morning. If possible, set aside more time than you think you need, allowing for any mishaps and the fact that emotions and distractions may mean you’re slower than usual, or need to touch-up a teary eye.
With family or friends milling about, wedding mornings can feel quite chaotic. If you’re happy to do your makeup in amongst the chaos of the morning then brilliant, but if you do prefer a little more quiet, plan out your space in advance. By approaching your makeup in a considered way, you’ll feel happier about the outcome. If you can, lay out all the products and tools you need the night before. Having everything organised and to hand will mean no frantic rummaging in drawers or makeup bags on the morning of the big day.
Instead of diving straight in, take the time to really think about your makeup as you apply it. “Less it more,” says Katie. “Don’t go really heavy straight away. For example, apply your everyday blusher, sit back, look in the mirror and then put a little more on. By doing it bit-by-but you’re not going in with too much colour which is then difficult to tone down. Just keep building up until you’re happy and make notes of how much of each product you’ve used that you can refer back to on the day.” Thinking about your face as one complete painting, rather than separate elements, is important too. “I think after each step you need to sit back and look in a big mirror to see the overall look.” Don’t fall into the trap of just working close up in a magnifying mirror.
The idea of a smear or smudge of makeup on a wedding dress is enough to break us out in a cold sweat. Of course, accidents do happen (and that’s what blotting paper and damp cloths are for) but to give yourself the best possible chance of a makeup mishap, finish your makeup completely before starting to get dressed. Make sure you wash your hands in between (and that anyone helping you get into your dress does the same) to be extra cautious.
From nervous sweaty top lips to mascara on the move after tear-jerking speeches, a lot goes on at a wedding and it’s unlikely your makeup will survive unscathed. “When people ask me if their wedding makeup will last all day, I’m always honest when I say you will need to touch up,” explains Katie. “It’s not about re-doing your makeup, but refreshing and enhancing it, as well as taking away shine. Get a little bag of essentials that you can use throughout the day.” This should ideally contain a little of your base, concealer, blusher, lip colour and potentially a mattifying product. You can add eye makeup too, but this is likely to be less pressing. “It’s most likely to be the bottom half of your face that moves when you’re drinking and talking. For most people, using the warmth of your finger to blend any lines or smudging with your eye makeup will be enough. Unless of course you have very oily lids or find this area moves quite quickly.”
Shop the article


 5 shades
SPF 30 to protect, perfect and give skin a healthy glow
Choose shade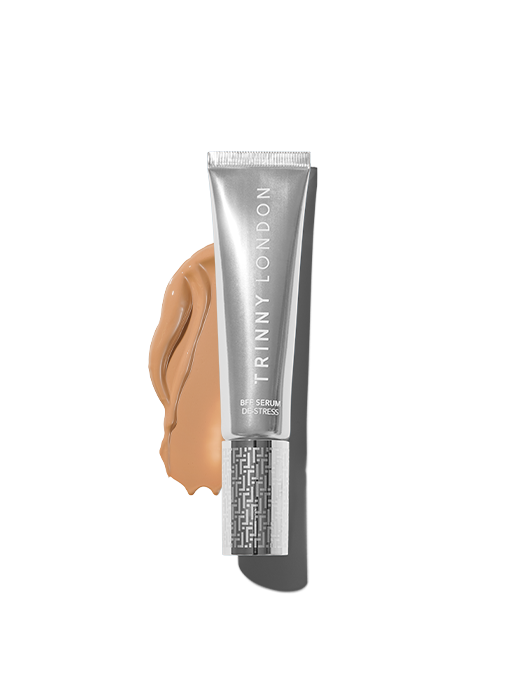
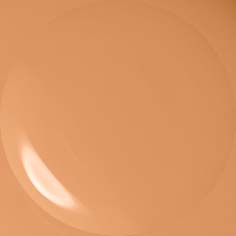
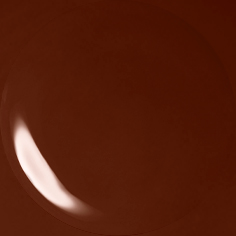 12 shades
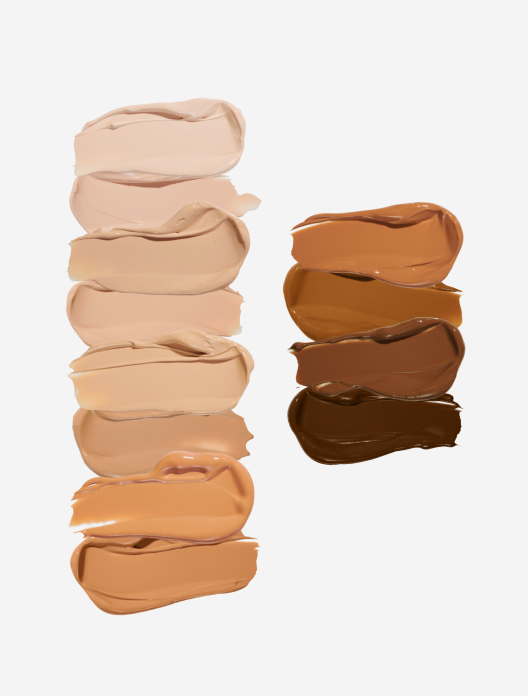
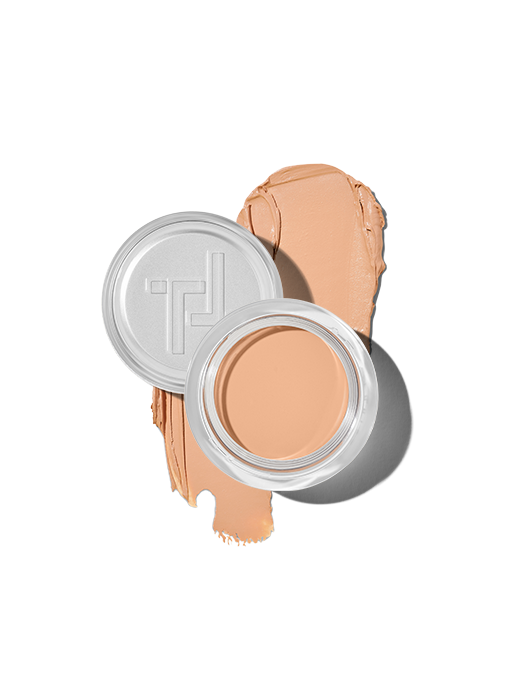
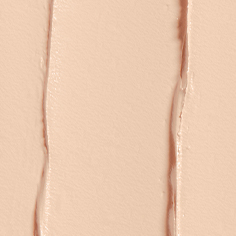
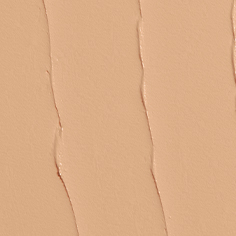
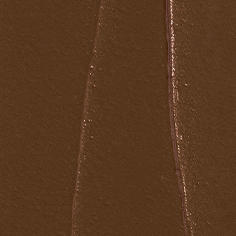 25 shades
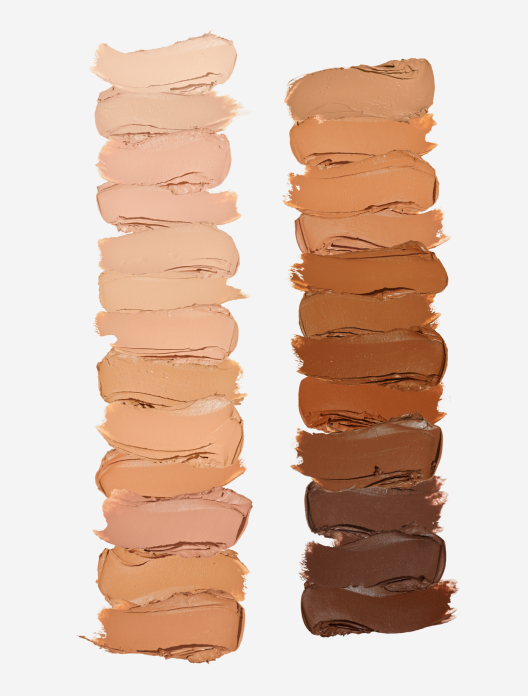
Pigment-rich coverage for precise cover-ups
Choose shade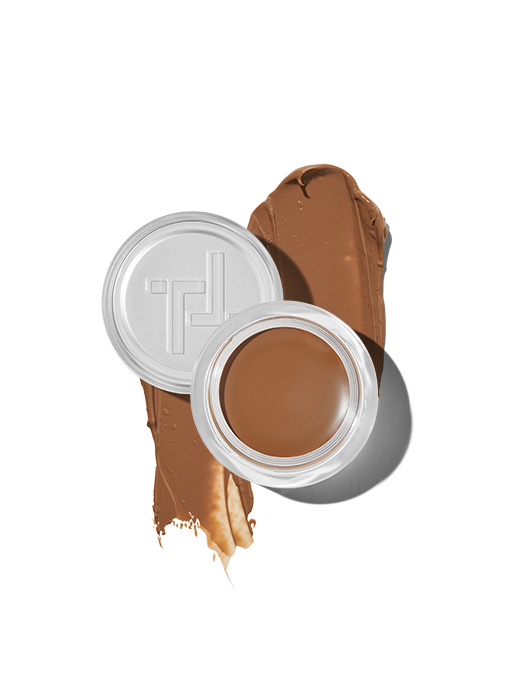

 4 shades
 6 shades
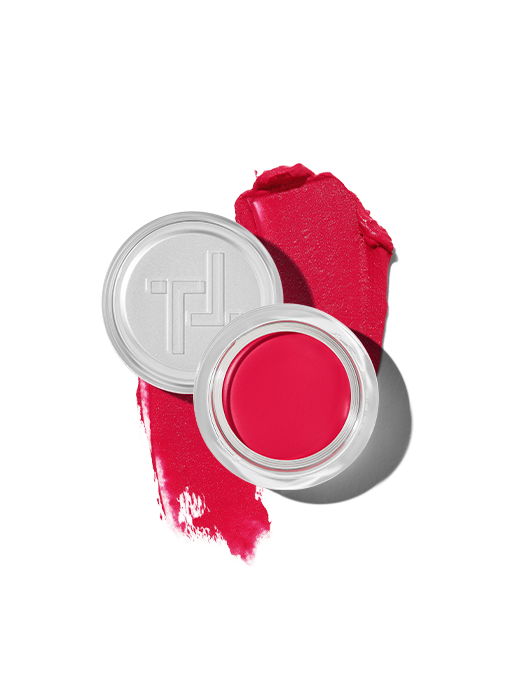
 10 shades
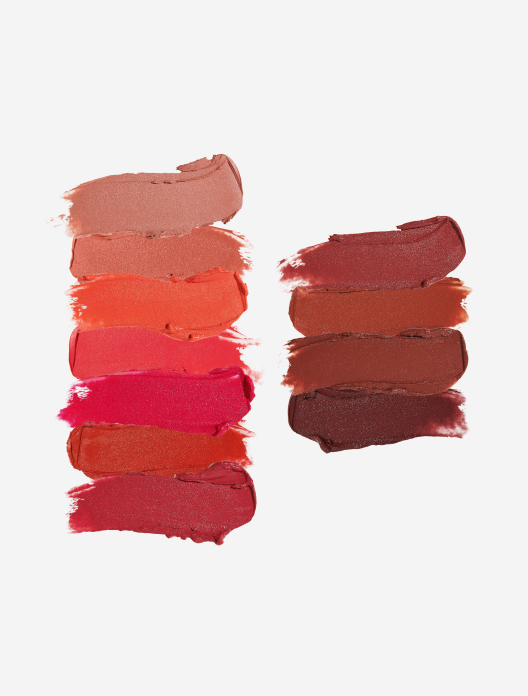

 2 shades

 5 shades
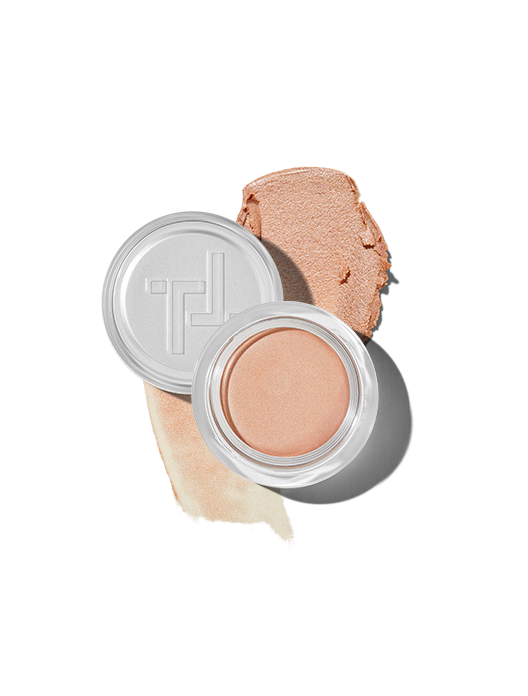
 4 shades
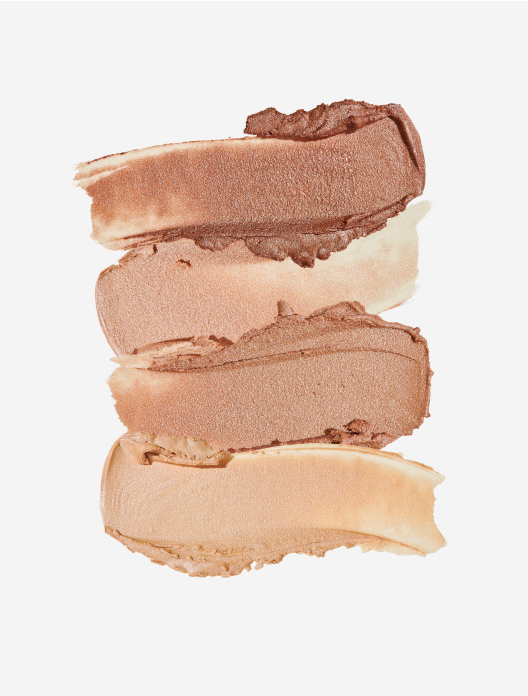
Subtly transformative cream-based highlighter
Choose shade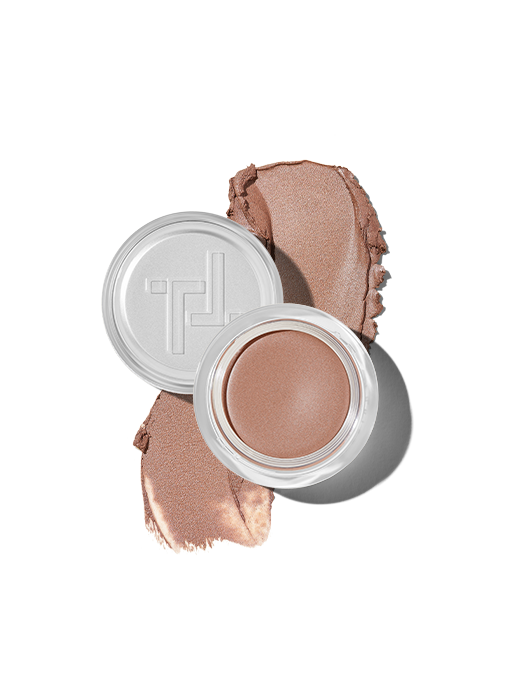
 23 shades