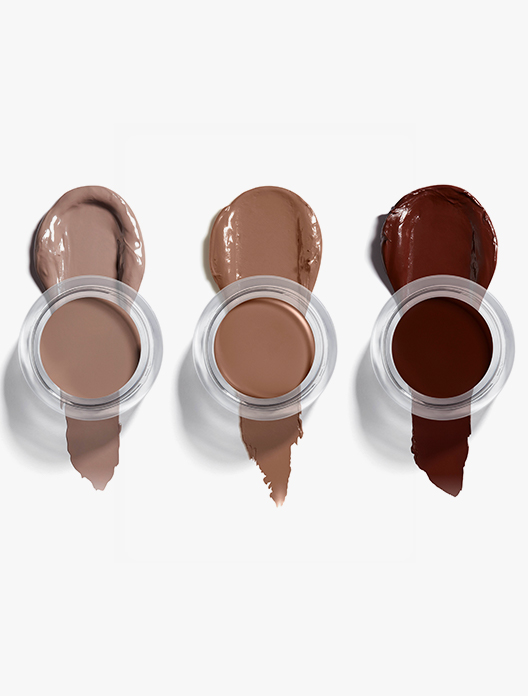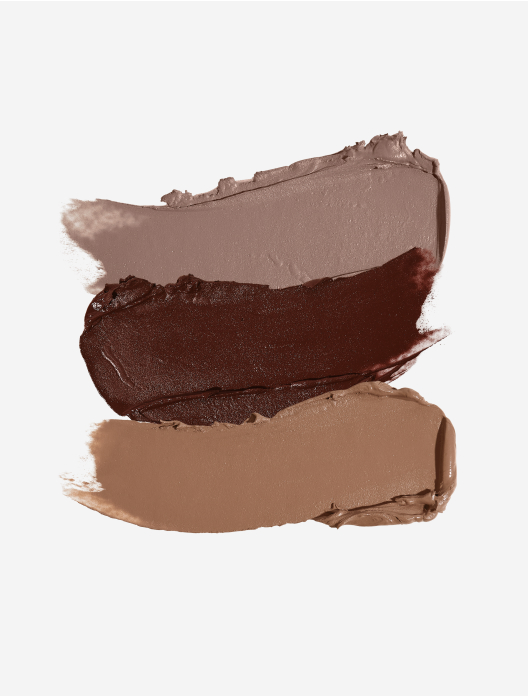

 2 shades
Free standard delivery on orders over $100

If you’re not sure what contouring is or how to contour, let us introduce you to the concept. Contouring is the art of sculpting and adding dimension to your face using a slightly darker shade than your skin tone – it’s all about mimicking the effect of shadow and light to define your face. Not sure where those shadows would be? Sit in natural light without any makeup on your face and try and spot where the shadows naturally fall on your face, these are the areas you’ll want to accentuate with contour.
Contouring products can come in a range of textures from powder to gel. For a speedy, natural-looking contour with no need for a brush, a cream-based formulation is our favourite.
Contouring is a great way to enhance your features and sculpt the face, so focus your contour on the areas you’d like to define – think your jawline, down the sides of your nose and your cheekbones. “Contouring is all about sculpting your face” says Katie, Pro Makeup Artist at Trinny London. “It can give you more definition in the areas where you don’t have that much. For example, if someone doesn’t naturally have an obvious cheekbone, we can sculpt it in to give the illusion – it also helps the cheek area to look more lifted. If someone wants a slimmer or longer nose, you’ll contour to change the shape and structure. Or, if someone has a bigger forehead, you can add shadows to the hairline to make it appear smaller”. Clever stuff, eh?
All makeup looks better when applied to happy, hydrated skin, so a great skincare routine is key. Double cleansing every evening not only gives the complexion a deep clean but also reveals a glowing, less congested complexion. Liquid exfoliation will whisk away dulling dead skin cells and your moisturiser will make sure your skin is deeply hydrated. Don’t forget a serum to target any specific skin concerns, such as fine lines or dryness, as this will change how your makeup sits on your skin.
SPF should always be the final step in your morning skincare routine, rain or shine. Once you’ve nailed your skincare routine, you can start applying your makeup. Go in with your foundation or tinted serum, and concealer if you need, to create a fresh-faced base before picking up your contour.
Whether you’re a novice or a contouring connoisseur, using a cream-based contour can be far easier than a powder formulation. Creams make it easier to achieve a natural, chiselled look and are effortless to blend and buff using a brush or your fingertips. They also won’t settle in lines or cling to any dry patches, helping to create a seamless finish – not to mention it’s far easier to blend away any mishaps with cream.
For the ultimate contour, opt for a shade slightly darker than your skin tone. To find the perfect contour hue for you (as well as spot-on matches for base, lips and eyes) input your skin tone, hair and eye colour into our Match2Me tool.
We told you contouring is as easy as one, two, three – still don’t believe us? Follow our expert-approved guide to master your contour…
Blending a natural-looking shadow in the hollows of your cheeks can create the illusion of higher, chiselled cheekbones. Before you begin, gently press your fingers around your cheeks to find your cheekbones, discovering where the fat pads are and where the hollows dip in.
Step 1
Visualise a straight, diagonal line down from the top of your ear to the outer corner of your mouth (if it helps, grab a ruler to help you picture it) – this is where you’ll need to apply your product.
Step 2
Swipe a wash of cream contour down the line you’ve just planned out, starting from your hairline. Take it all the way to the outer edge of your brow for the most natural look, and if you want to really lift your face, flick the end of the line gently up towards your eye (almost like a sideways J).
Step 3
Take a brush, or the chubby edge of your hand, just beneath your thumb and blend until the colour blends seamlessly into your base. Got a little carried away? Not to worry, blend a little of your foundation into your contour to help soften it. Repeat on the other side for a symmetrical look.
Contouring hairlines can help change the shape of our foreheads. The trick to making it look smaller, longer or narrower, is to work in rounded motions.
Step 1
To make your forehead appear smaller, dot your cream contour across your hairline from temple to temple. Then, use your fingers or a brush to merge the dots together by sweeping in a semicircle.
Step 2
Blend your contour so the colour is darkest around the hairline and gradually gets lighter and lighter as it moves inwards towards your forehead.
Step 3
If you have a smaller forehead, follow the same step-by-step but focus your contour on the sides of your head – the further you bring the contour in towards the middle of your forehead, the narrower it will appear.
Step 4
If you want to cheat your way to a lifted look, focus your cream contour on your temples and blend until it’s seamless with the rest of your base. If you want to go a step further, add a little cream-based highlight above your contour to help your eyes look wide awake – this works especially well to brighten up hooded eyes.
As we age, our faces start sloping downwards, creating jowls. For a sharper, more defined jawline, contouring will be your new best friend. Just like contouring your cheekbones, run your hand along the base of your face to find your jawline before going in with any product.
Step 1
With a little contour on your fingertips or brush, buff the colour along the jawline to create a subtle shadow, this will help your jaw look more defined. You can work more on the sides, or the sharp edge, depending on the amount of definition you’re after.
Step 2
Keep buffing the colour until it blends seamlessly with the rest of your makeup, and say hello to a defined jawline.
Applying contour around your eyes can help reduce the appearance of puffiness for a more sculpted, wide-awake look.
Step 1
Visualise a line travelling from the outer corner of your nose up to just above your brow bone, close to your temples – get your ruler back out if it helps.
Step 2
Follow this line and create a swoosh of cream contour from the crease of your eye up to your brow, then blend until the line looks soft and natural. If you want an even more lifted look, extend the line above the brow, blending the colour up towards the hairline.
Once you’ve mastered how to apply contour, you can head in with the rest of your favourite products to finish off your look. For some, reaching for the bronzer may seem like the obvious next step but, to keep your makeup looking the most natural, the pros recommend avoiding contouring and wearing bronzer at the same time. “It can look too made up, appearing too heavy and not balanced,” explains Katie, “it’s like someone wearing a heavy lip and a heavy eye look. Wearing both contour and bronzer is more of a glam, dramatic look rather than an everyday look”.
Instead, once you have your contour all blended, move onto cream highlighter to emphasise the high points of your face. Gently blend a small amount of product above the areas you’ve just sculpted (think tops of the cheekbones, brow bone, bridge of the nose), before adding some colour back to your face with a natural flush of cream blush – this combination will give your skin a fresh-faced boost.
It might be stereotypically seen as a younger technique, but contouring could in fact be even more beneficial as we travel down the path of life. “Age shouldn’t impact how we contour, but our face shape does”, explains Katie. Over time, our skin naturally loses collagen and elastin, causing our skin to change shape, with a loss of firmness, elasticity and bounce. “Contouring helps lift as we age, as the structure of our faces change.” says Katie. However, not everyone will need or want to contour. If you feel that your bone structure is already looking more prominent than you would like, you may want to give contouring a miss. Consider bronzing instead to give your face more subtle definition with the added benefit of a golden glow.
Shop the article


 2 shades