EUR | €
 SEK | kr
 NZD | $
 CAD | $
 EUR | €
 AUD | $
 USD | $
 GBP | £
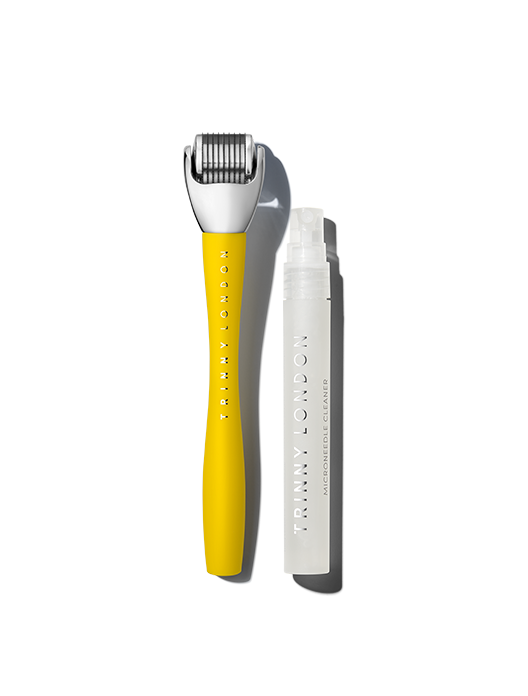
HAUTPFLEGE-TOOL
Plump Up Microneedle 0.5mm
Microneedle-Tool für zu Hause sorgt für straffe, glatte Haut
Let’s jump straight in and clear this up – dermarolling and microneedling are the same thing. Generally speaking, some people use dermarolling as a term to describe microneedling at home, but they work in exactly the same way. Much like a lift versus an elevator, flip flops versus thongs, the pavement versus the sidewalk – there are two different names for this very effective tool. Case closed.
Shop the article
Microneedle-Tool für zu Hause sorgt für straffe, glatte Haut
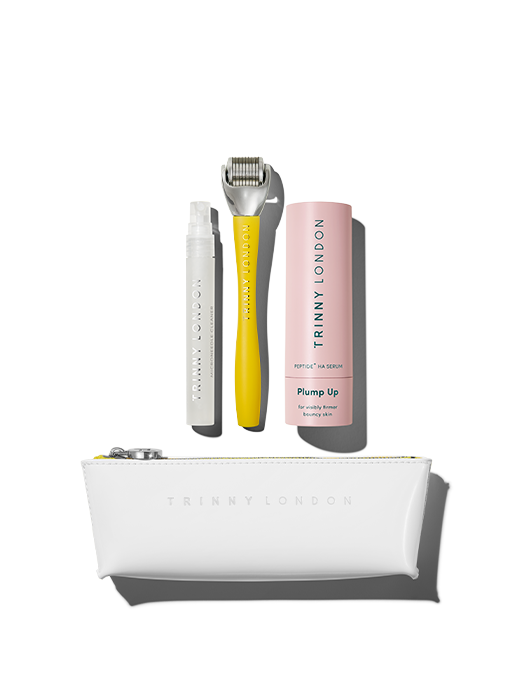
Microneedle, Peptid-Serum und Kosmetiktasche
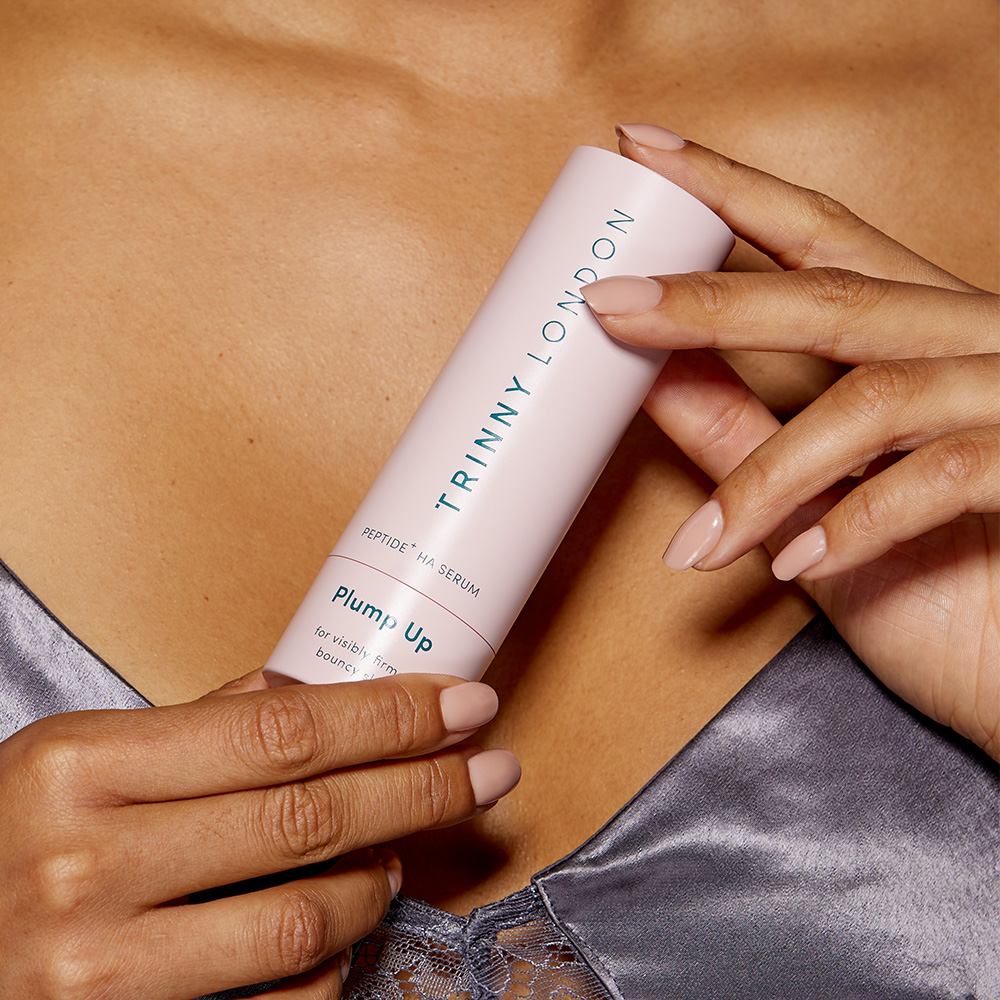
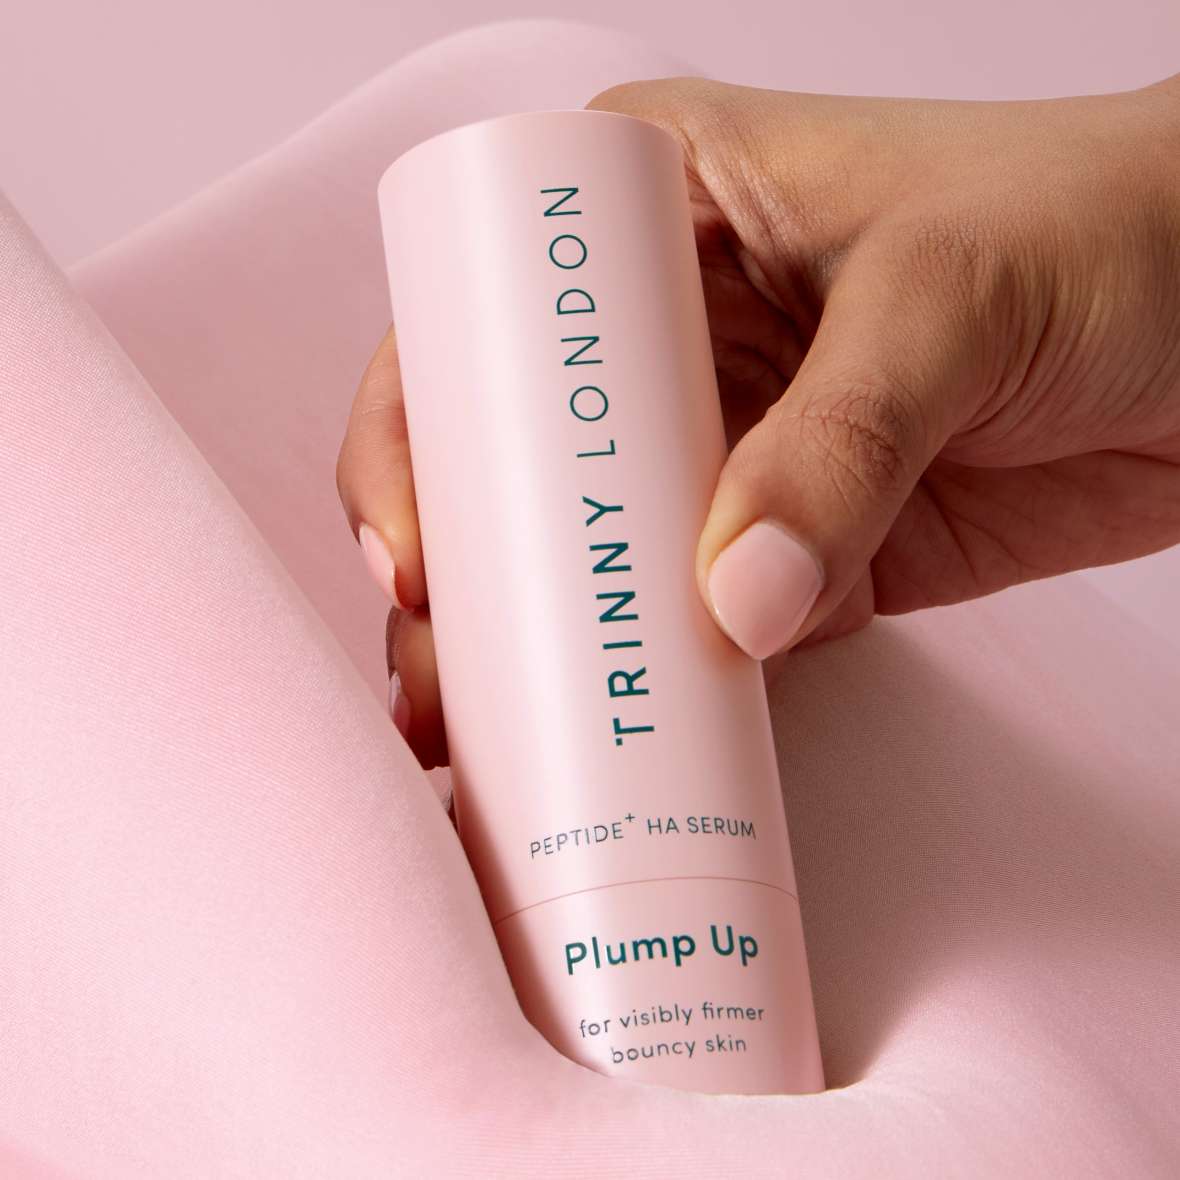
Peptid+ und Hyaluronsäure-Serum für sichtbar straffere, prallere Haut, für alle Hauttypen geeignet
We know a roller wheel full of tiny needles may sound intimidating, but fear not – microneedling is a minimally invasive way to achieve huge results (the kind typically reserved for pricey in-clinic treatments). Small but mighty, at-home microneedling can be a game-changer for improving your skin’s overall quality and tackling stubborn skin concerns. Speedy, easy and pain-free, microneedling is the best way to bring in-clinic results to your bathroom. And as any microneedling devotee knows, the skin-plumping, texture-smoothing results will keep those compliments rolling in…
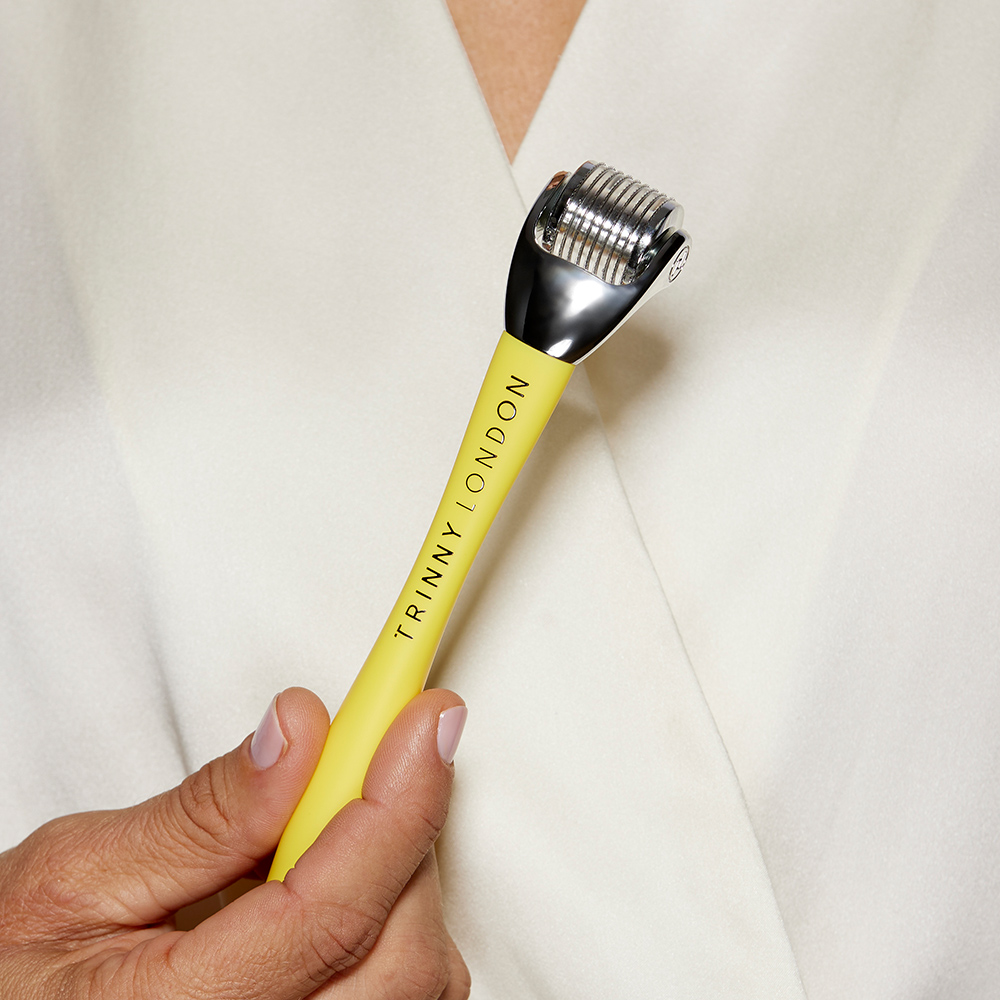
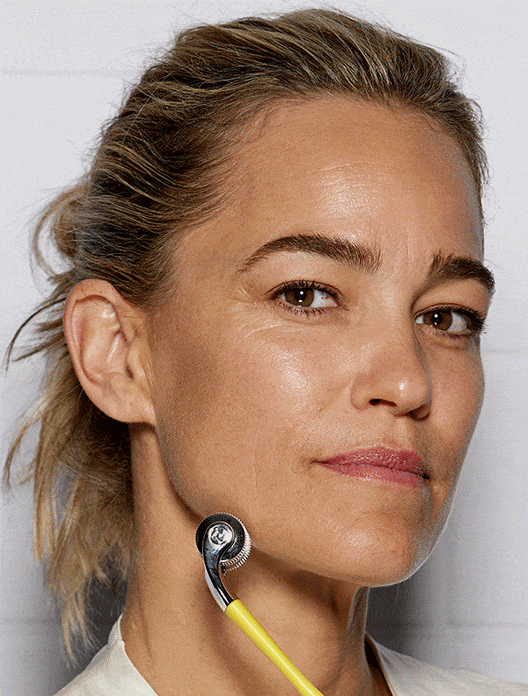
A microneedle (or dermaroller) uses tiny, super-fine needles to create imperceptible microchannels on the surface of your skin. This increases collagen production, supercharges the effects of your serums and improves the appearance of fine lines, wrinkles, pores and acne scars.
Microneedling is so effective because our skin is incredibly clever. “Skin is constantly in defence mode and repairing itself, especially when you go to sleep.” explains Fiona Brackenbury, skincare expert. The microchannels caused by microneedling triggers your body’s natural healing process, sending signals to your skin to produce more collagen and quickly seal up these tiny microchannels.
It’s time for the fun part – let’s microneedle. As part of your nighttime routine, always start by double cleansing your skin. “You want immaculately clean skin, with no SPF, dirt or makeup left behind.” explains Fiona. You also need to make sure that your skin is dry and that you haven’t used any retinoids or exfoliants at least 24 hours before microneedling, as they can make your skin a little more sensitive.
Once your skin is clean, make sure your microneedle is sparkling too – rinse it with hot water and shake off any excess. Pick up your microneedle by the base with your index finger resting on the handle for stability, and move it gently up and down, backwards and forwards, in small sections across your face. Use light, feathering motions and don’t exert any force or pressure. Avoid delicate areas where the skin is thinner, like around the eyes, and bony areas with less cushion, such as the forehead and nose.
As soon as you’ve finished microneedling, sterilise your microneedle with a few spritzes of a cleaning spray and pop it back into the protective cap. Use your microneedle three times a week on non-consecutive nights.
You’ll want to avoid exfoliating acids, retinals and vitamin C after microneedling, as these ingredients can irritate the skin. Wait 24-48 hours after microneedling before reaching for them. You’ll also want to avoid high heat or sweating before and after microneedling, such as saunas. Increasing the heat in your skin increases inflammation which can make your skin more sensitive. Waxing is another big no-no, as it removes the top protective layer of skin cells which means you’re microneedling over fresh, sensitive skin.
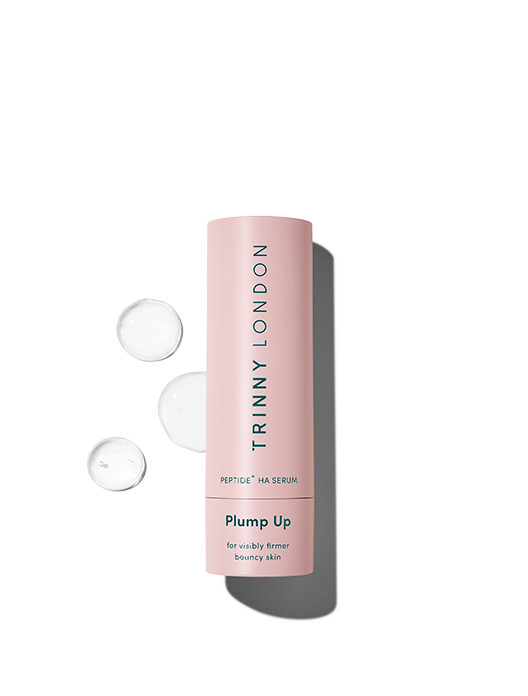
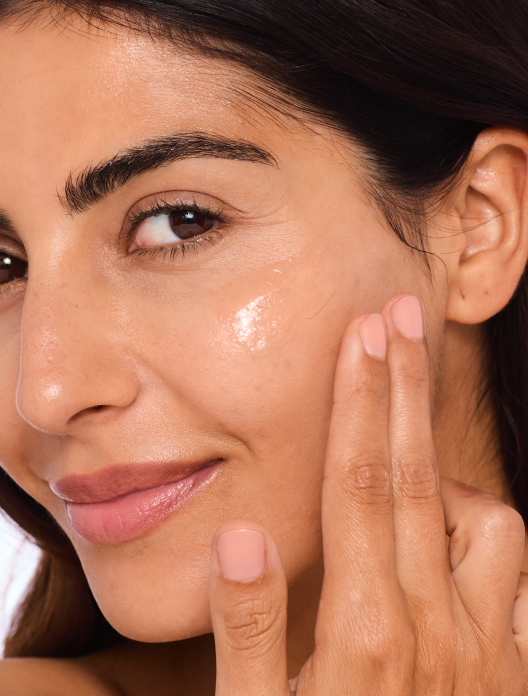
It’s important to be kind to your skin after microneedling and load up on skin-loving ingredients like hyaluronic acid. Try Plump Up, our advanced peptide and hyaluronic acid serum, to visibly firm skin, restore bounce and deeply hydrate. “Hyaluronic acid is your skin’s support system and gives that bounce and plumpness. Hydration really is the foundation of youth.” says Fiona.