 EUR | €
 SEK | kr
 NZD | $
 CAD | $
 EUR | €
 AUD | $
 USD | $
 GBP | £
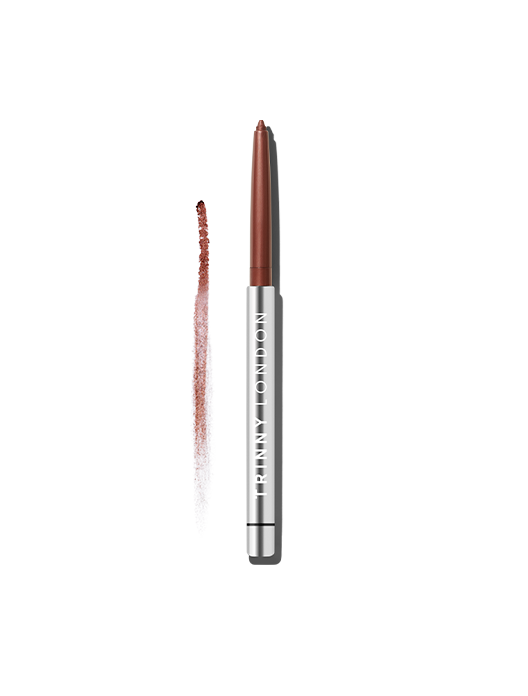
 5 Farbtöne
How to tell if you have hooded eyes?
Hooded eyes can be genetic, or they can make an appearance as you travel down the path of life. The easiest way to see if you have hooded eyes is to look in the mirror. Can you see your eyelids? Can you see the upper crease of your lid or is that obscured too? If the answer to both questions is no, then your eyes are hooded.
Why is eyeshadow so challenging for hooded eyes?
Applying eyeshadow and eyeliner is tricky if you have hooded eyes as your lids are harder to reach. Instead of focusing on your actual lid, concentrate your efforts in the area above your lid and below your brow. “When working with hooded lids, the aim is to use your eye makeup to make your eyes look bigger, brighter and more open,” says John Corcoran, Chief Makeup Artist at Trinny London.
Why cream eyeshadow is the best choice for hooded eyes
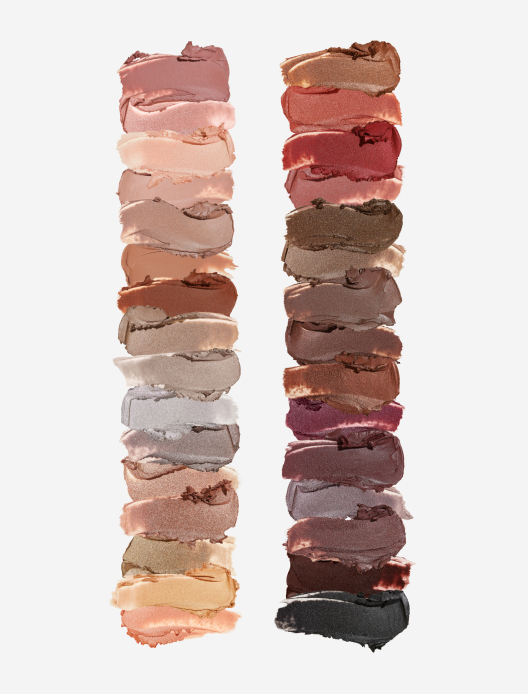
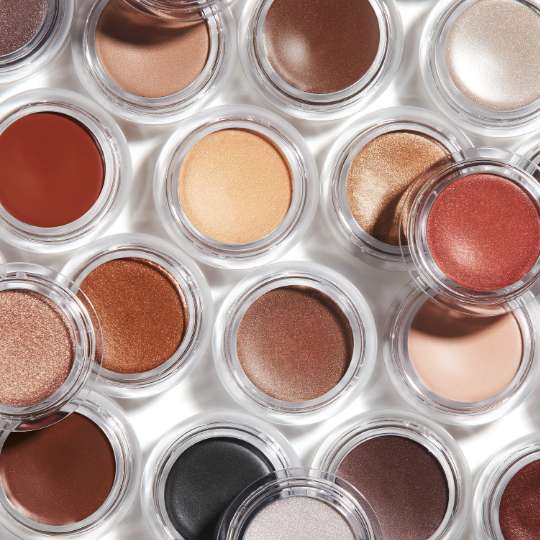
Cream eyeshadows are brilliant for hooded eyes. They can be applied seamlessly with your fingers or a brush, while the moveable texture makes them easy to blend. Unlike powders, creams won’t crumble through the day, or amplify creases, making for a softer, more flattering finish.
How to apply cream eyeshadow: Best brushes and tools
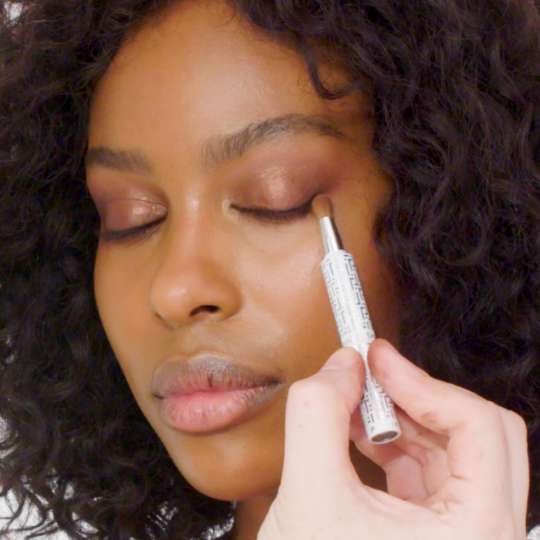
If your lids are particularly hooded, you might find that your fingers are too wide to place your cream eyeshadow where you need it. In this case, you’ll need a tapered brush to help you get to those hard to reach areas. For an eye look that creates a fake crease in the space beneath the brow, you’ll also need two eyeshadows – one darker and one lighter.
Step 1: Ensure your lids are clean and free from any product or moisturiser. If needed, you can prep the lids with a wash of a mattifying primer.
Step 2: Using either your fingers or a brush, apply eyeshadow across your eyelid, focusing on the inner corners to brighten. The lighter the shadow you choose, the brighter your eyes will look.
Step 3: Next, use the slightly darker shade to create a faux crease. Using a small eyeshadow brush, take the colour from just beneath the start of the brow, across and out towards the outer edge of the brow. You want the line to be relatively flat, curving up slightly at the end. This will add definition and lift to the eye area.
Step 4: As a final step, you can use the pointed end of your brow mascara wand to, depending on the shape of your brows, add in or amplify the arch. This will again draw the eye area upwards, making it appear bigger and brighter.
Shop the article
5 Farbtöne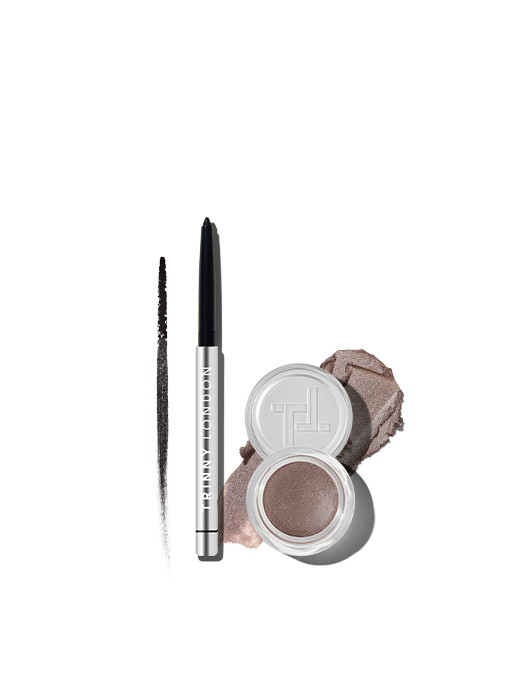
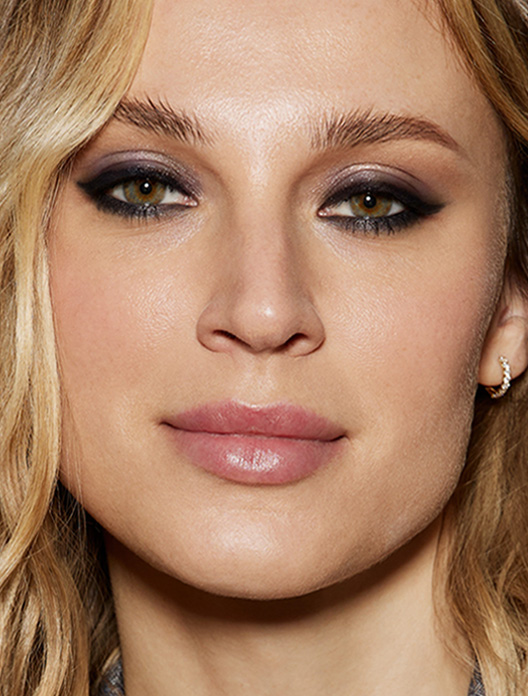
Schwarzer Eyeliner und bronzefarbener Lidschatten für moderne Smokey Eyes
Farbton auswählen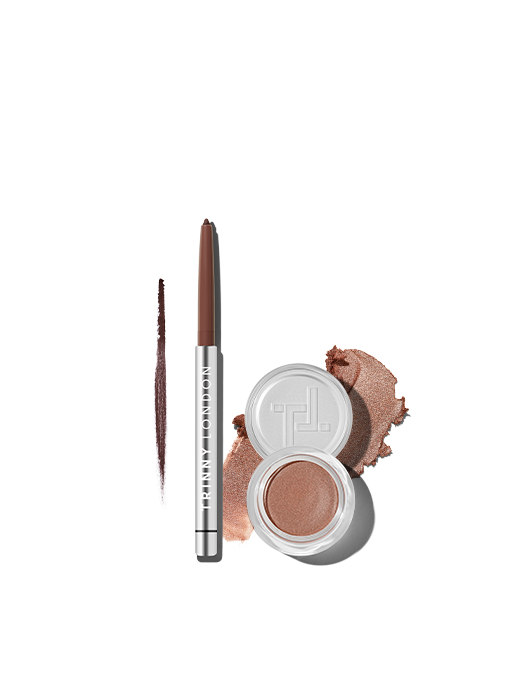
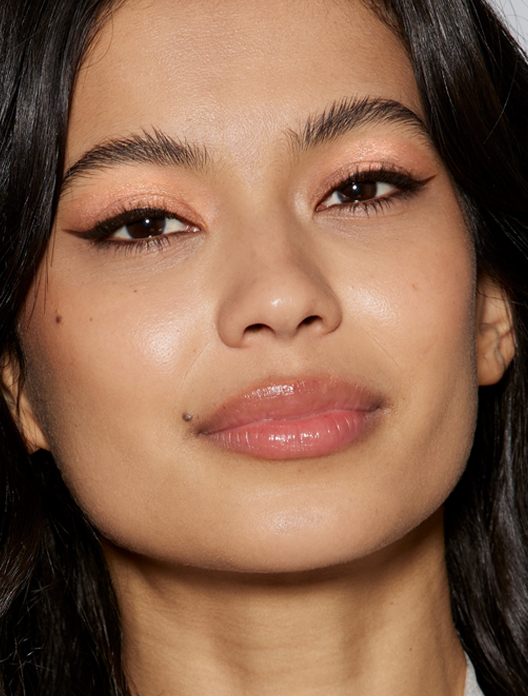
Intensiv brauner Eyeliner und Lidschatten in Roségold für ein softes und dezentes Ergebnis
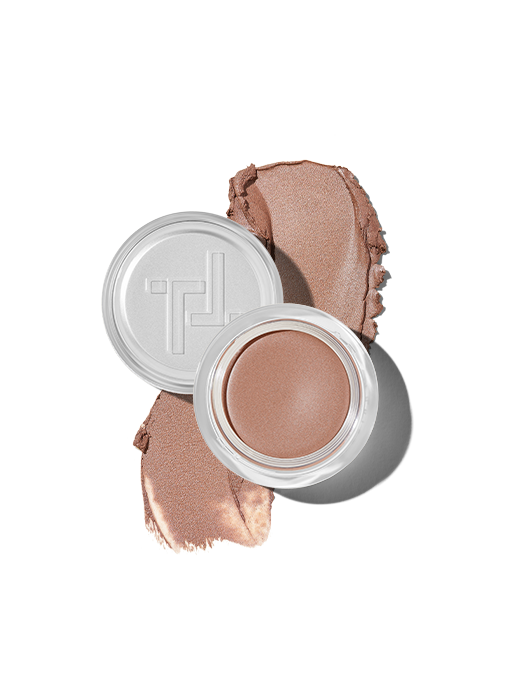
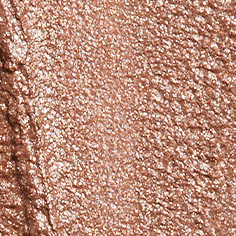
 21 Farbtöne