EUR | €
 SEK | kr
 NZD | $
 CAD | $
 EUR | €
 AUD | $
 USD | $
 GBP | £
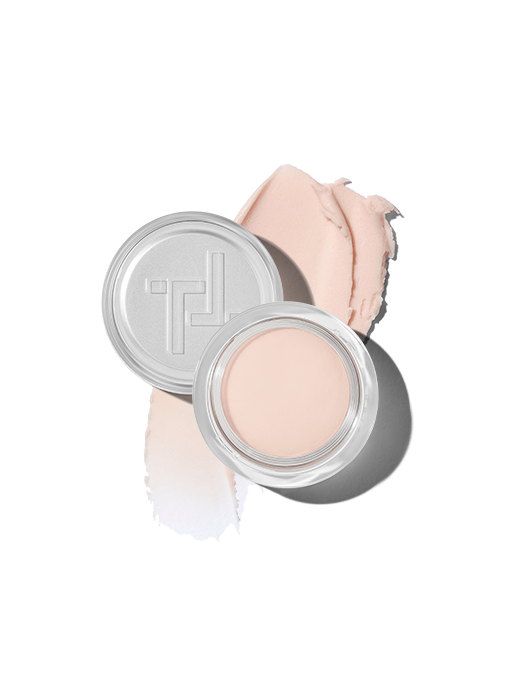
 Miracle Blur
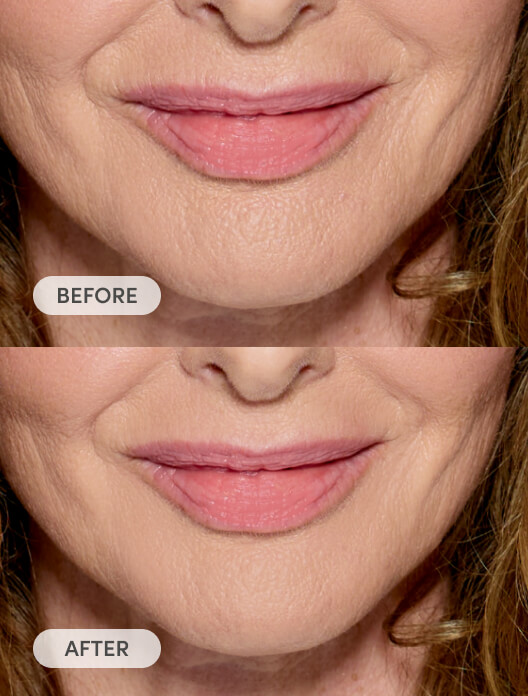
Line Filler
Miracle Blur
Skin-smoothing, pore-blurring line filler
The problem when you’re shaking up the makeup space with an innovative product is that it makes it tricky to categorise. People often ask if Miracle Blur is a primer, and while the answer is technically no, it does still deliver in that area.
Miracle Blur is our little multitasking pot of wonder. It’s a creamy, colourless formula that works like a real life filter. Fine lines? Visible pores? Pitted scars? All can be evened out and filled in with the help of Miracle Blur. We like to think of it as polyfilla for the skin, except this won’t crack or flake, and a super-smooth finish comes as standard – without the need for sandpaper. As the formulation is matte, it will also dial down shine, which comes in especially handy across the forehead and down the nose. Miracle Blur won’t fade your fine lines or fill in deep pores for
good, but what it will do is diffuse their appearance in the short term.
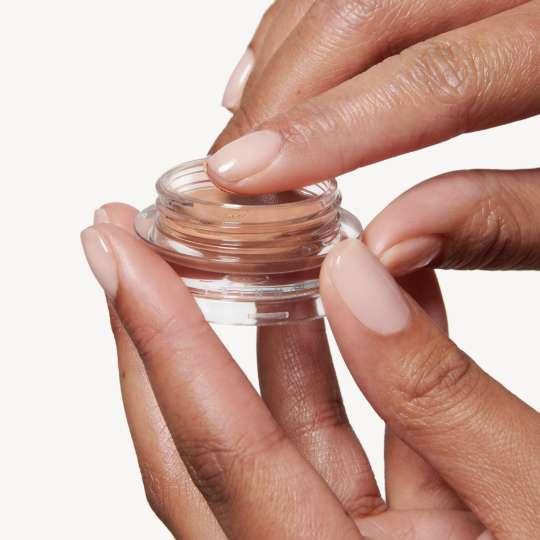
The spongy texture makes Miracle Blur easy to manipulate and work with. How much you need, and how best to apply, will depend on which complexion bugbear you’re hoping to soften and diffuse.
Scars form when there has been a trauma to the skin. They could be caused by things like surgery, accidents or picking spots.
Step 1
Take a pea-sized amount of Miracle Blur and warm between your fingers.
Step 2
Pat onto the area, pushing it into the skin with the aim of filling the gaps so the surface level of your skin is even. This technique can be used for deep-set individual scars as well as pitted texture from spot scarring.
Step 3
Once you feel you have packed the products into any gaps in the skin, use a clean finger and a light touch to gently blend the product.
Fine lines can develop for a myriad of reasons, from dehydration to facial movement, sun exposure to smoking. They become more prominent as we travel down the path of life.
Step 1
Smooth a little Miracle Blur between your fingers to warm the formula. How much you need will depend on the depth of your fine lines. To avoid overdoing it, start with a little and build in light layers.
Step 2
Stretch the skin ever so slightly around the fine lines, allowing you to place and pat the product onto them.
Step 3
Use flat fingers with a light touch to blend into the area and beyond for a seamless finish.
Everyone has pores, but some are larger, or more visible, than others. Prominent pores are a common gripe for those with an oily skin type.
Step 1
Pores tend to be most prominent around the nose and forehead, as this area has the highest concentration of sebaceous glands. Warm a generous amount of Miracle Blur between your fingers, keeping in mind that you might need more, or less, depending on the depth of your pores.
Step 2
Gently spread onto the area, before using your finger to tap and pat into the skin. This motion, as opposed to rubbing, will prevent you from wiping away the product, or any existing base, in the process.
Step 3
If needed, build more in particular areas (the creases at the side of the nose are a common spot).
Fine lines across and around the lips can impact the finish and appearance of your lip colour.
Step 1
Before applying lip colour, make sure your lips are clean, dry and free from any balms which could cause your Miracle Blur to slip and slide.
Step 2
Massage a small amount of Miracle Blur between your fingers and smooth a light layer onto the skin using light tapping motions. Focus either on the lips, or around them, depending on where your lines are most prominent.
Step 3
Blend with your fingertips to melt the product into the skin.
Whether you use Miracle Blur under or foundation or over it is completely up to you. The product has the benefit of being able to work seamlessly in both scenarios. You may find that you take a different approach depending on where on your face you’re using Miracle Blur, or you might even want to double-down and apply it both before and after your base. It depends on your skin type too. For example, applying Miracle Blur after foundation will give a more mattifying effect to the surface of the skin, which is especially handy if you suffer from oily skin across the t-zone or are prone to sweating in these areas. Both of these scenarios are amplified by warmer weather, so you may also find that you tweak your application depending on the seasons. On the flip side, if you have skin that is consistently dry or dehydrated, you might not favour such a matte finish as a final touch, but equally, it’s more likely to be areas like the corners of your eyes, between your brow and around your lips where you’re focusing your application.
The same approach applies to lip colour. If you find that your lipstick has a frustrating tendency to escape past the boundary of your lip line via the channels of fine lines, Miracle Blur is a great way to keep it in check. Applying Miracle Blur before your lip colour will create a nice even canvas to paint your colour onto, while applying afterwards will help to create a smooth, pillowy finish.
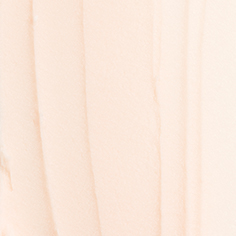
Miracle Blur is only available in one shade. The aim is not to act as a foundation or concealer, which would need to be colour-matched to your skin, but rather as an additional product to help to blur and mattify. It does have a slight pink hue when sitting in your T-Pot, but this is diffused on contact to the skin and melts into a translucent finish. If you are concerned about it showing on your skin tone, try applying beneath your foundation or base to reap all the blurring benefits without worrying about the finish.
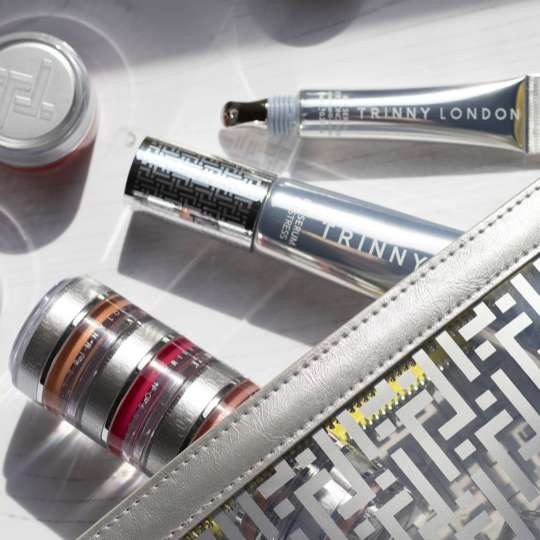
Shop the article
Miracle BlurSkin-smoothing, pore-blurring line filler