EUR | €
 SEK | kr
 NZD | $
 CAD | $
 EUR | €
 AUD | $
 USD | $
 GBP | £
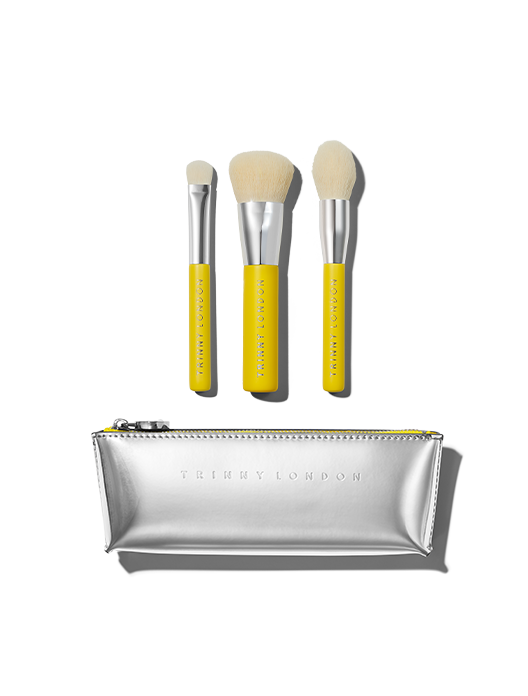
Worth $128
Makeup Brushes Set
T-Brush Set
All three of our essential T-Brushes in a chic beauty bag worth $20
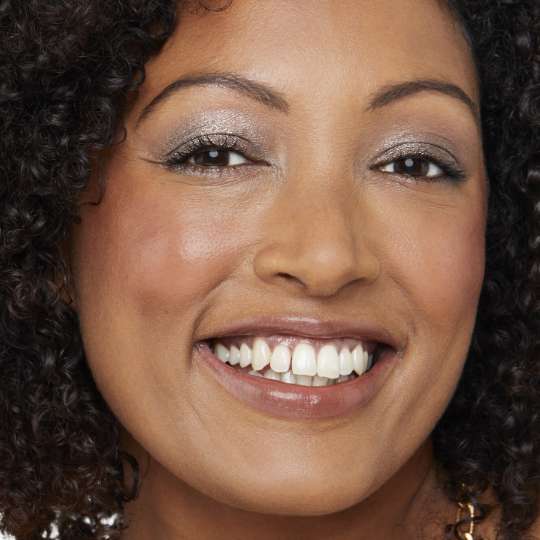
We’re all different, so it makes sense that we don’t approach things in quite the same way. Some people will nibble the chocolate off a biscuit bit by bit, while others will crunch straight in. Some people pair up their socks before they put them in the wash, while others are happy to play roulette with their odd socks once the spin cycle has finished. It’s the same for makeup application, which only drives the debate of whether you’re best to apply with your fingers or brushes further. There are pros and cons to each, relating to the product you’re using, the look you’re creating and the finish you’re hoping for.
“Whether you use brushes or your fingers is really down to personal preference,” says Alex Phillips, Pro Makeup Artist at Trinny London. “There’s no right or wrong. For me, personally, if I’m on the go I would tend to use my fingers, but if I’m spending more time on my makeup then I love to use a brush.”
“If you’ve always applied your makeup with your fingers but feel it could look better, then try a brush – or vice versa,” continues Alex. “That’s a nice way to get people to experiment. Just remember that if you’re applying a product in a way that could be considered ‘wrong’, but you love how it looks, then don’t stop doing it. Only mix it up if you feel there’s room for improvement.”
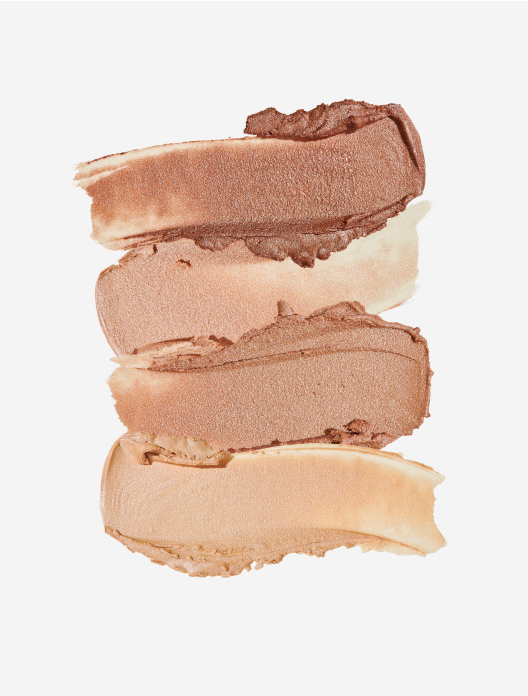
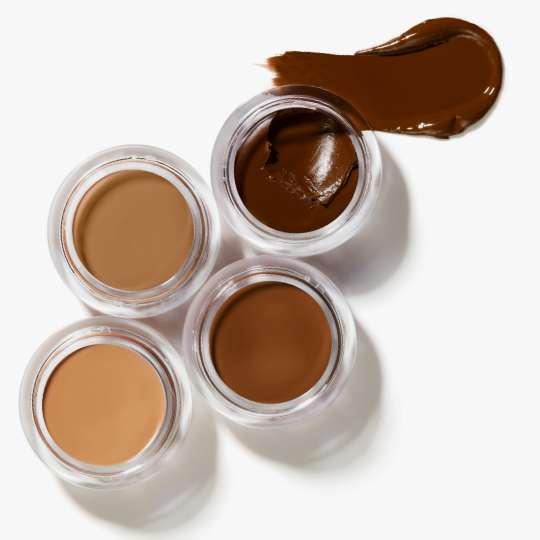
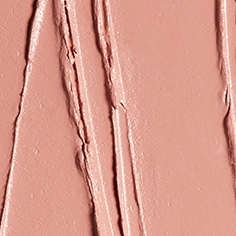
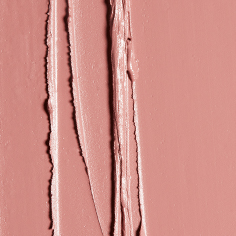
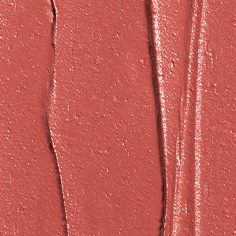
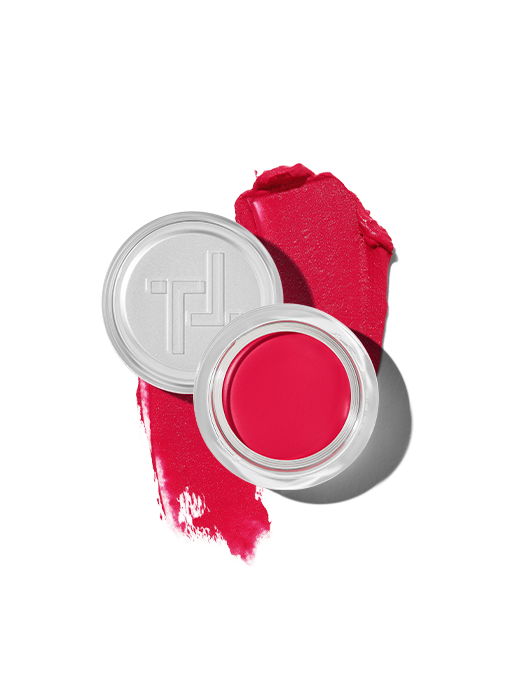
For the purposes of this piece, we will be focusing on cream-based makeup. Why? Because the beauty of creams is that, unlike powders which require a brush to pick up and place the pigment, their consistency is compatible with both fingers and brushes. Cream makeup is also super easy to blend, making it well-suited to novices and experts alike.
It’s also worth noting that whether you’re using your fingers or a brush, the most important thing is that they’re clean. Grubby brushes or unwashed fingers can at best leave you with a lacklustre, patchy finish, and at worst transfer unwanted grime and bacteria onto and around your complexion. Wash your hands before applying makeup with soap and water, and clean your brushes regularly.
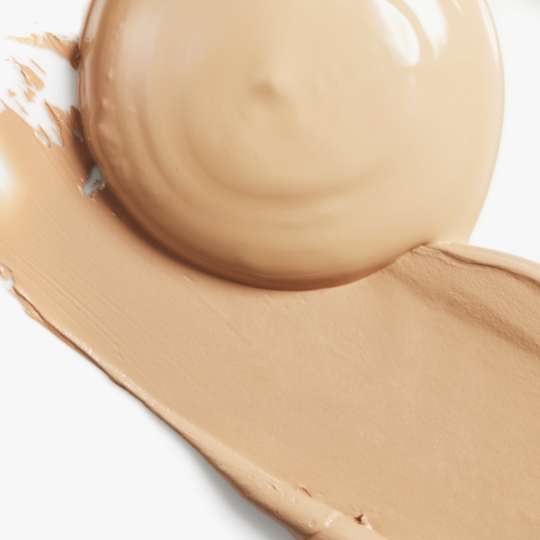
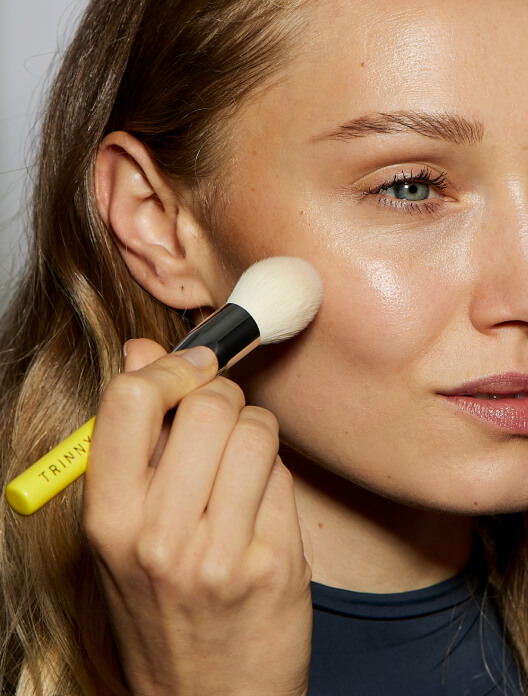
Your foundation forms the base of your makeup, and covers the largest surface area of all your products. This means time, naturally, is a key consideration, as well as the finish you’re after. “To start, think about whether you would naturally go in with your hands, or be happier with a brush,” says Katie Levy, Pro Makeup Artist at Trinny London. “Application can take a bit longer with your fingers because you need to keep layering and blending to get what you want. If you’re in a rush, and want your foundation application to be quick and polished, then I’d use a brush.” For the best of both worlds, you could use your fingers and a brush in tandem. “Apply with your fingers first to get an idea of all the areas you need coverage,” advises Katie. “Then you can blend and soften with a brush to tidy up any streaks or fingerprints.” Teamwork at its finest.
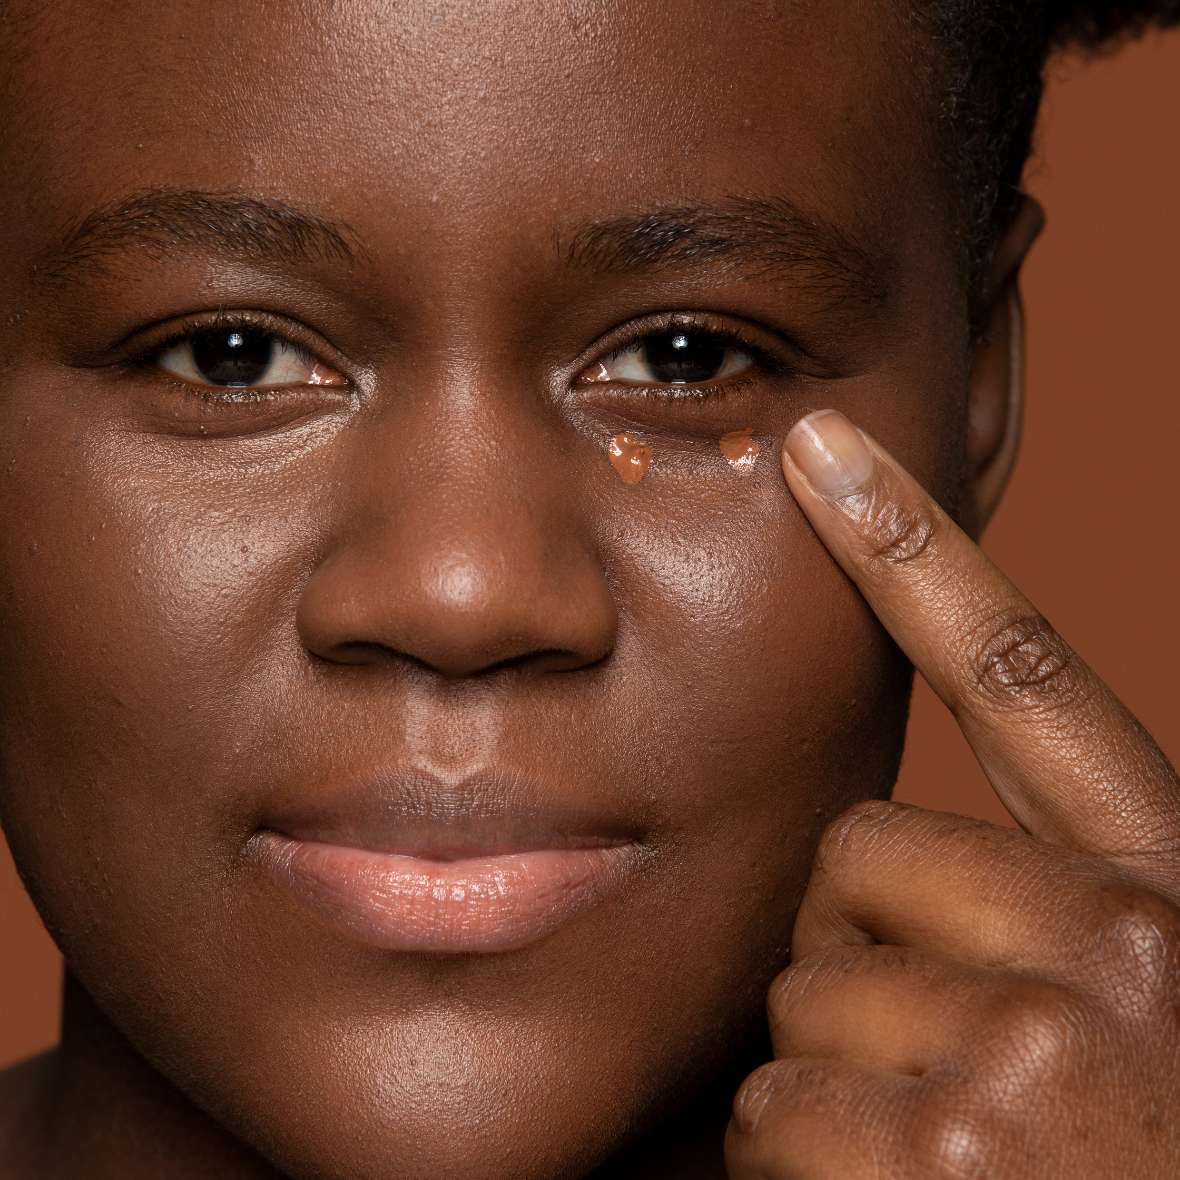
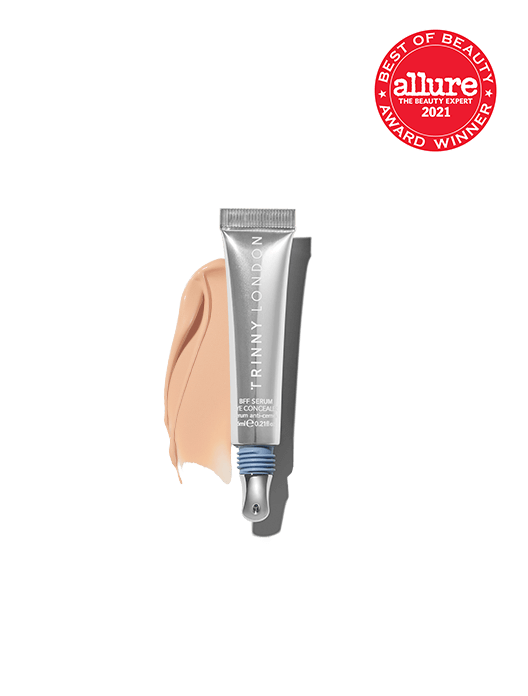
Where you place your concealer will very much depend on what it is you’re hoping to conceal. For example, blurring dark circles requires a slightly different approach to disguising an angry red blemish.
“If you’re using a lightweight under-eye concealer, the warmth of your finger will help it sink into your skin really nicely,” explains Katie. “But if it is a heavier concealer, I would be worried that it would look cakey or you’d add too much by just using our fingers. In that case, put it on with your finger and then blend it off with a brush for a softer finish.” Adding too much product beneath the eyes can cause them to appear heavy or amplify any puffiness, so be sure to work in light layers.
With spots, there’s not just the finish, but also the risk of transferring bacteria to consider. “As with foundation, I’d apply as much coverage as I want onto the spot with a clean finger, and then use a clean brush to softly blend. This will help the area to look more in-line with the rest of your face. Blend around the spot in tapping motions as opposed to rubbing and swiping back and forwards, otherwise all you’re doing is moving the product around and won’t build up the coverage you need.” After use, wash your hands and your brushes. Be careful not to transfer dirty brushes back into product pots too, as this can cause bacteria to breed.
“If you just wanted a very sheer wash of colour on the lip, then you’d have no problem applying this with your fingers,” says Katie Levy. “To add a hint of tint to the lip, just tap it on with either your fingers or a brush.” The difference comes when you’re choosing a bolder shade or opting for a more stand-out look. “If you really wanted to define your lips, so you’re either creating a statement lip colour, a fuller-looking lip or changing the shape of your lip, then you’re going to need a brush. Your fingers are way too big, and you’ll get more steadiness and precision with a brush. Think of it like this – the bolder you go with your lip look, the more you need a brush.”
The best tools for applying your blusher will depend firstly on the formula. “I think blushers that are glossy or wet in texture are best to apply with your fingers,” says Katie. “It will mean that it blends and dries that bit quicker, whereas with a brush it can get quite messy.” As for cream blusher, you can use your artistic licence. “You can either build up and tap into the skin using your fingers or a brush,” adds Katie. “It might just take a bit longer with your fingers.” The amount of pigment matters too. “If you’re going quite dramatic with your blush and choosing a strong colour then you’ve got to make sure it’s really worked and blended into the skin. On these occasions, you may find that using a brush to soften off and blend is best.”
Whichever you’re using, just be considered in your technique to avoid driving unwanted redness in the skin. “Focus on gently patting instead of rubbing – it’s when you really swipe at the skin with brushes or your fingers that it starts to go red. Being that bit softer means your natural colouring isn’t going to start to come out.”
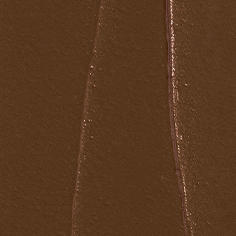
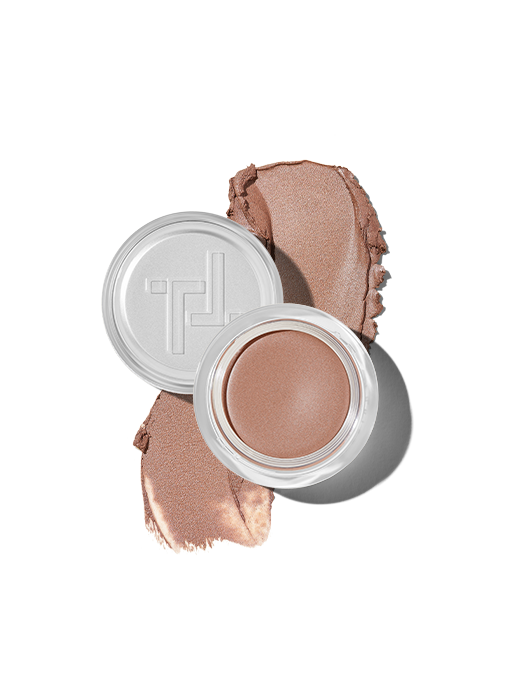
Skin feeling a bit “meh”? Cream bronzer is just the tonic. Placed correctly, it will mimic the places the sun naturally tans your skin, creating the illusion of a sun-kissed glow. For it to be believable as the real deal, the finish should be seamless, and never patchy. “If someone wanted to pat bronzer on to show the shape and placement, and then blend off with their fingers, that’s fine,” says Katie. “But I personally still think it can look a bit patchy and take longer to perfect. If you did the same thing with a brush, by dotting it into place and then blending, it takes seconds to create a seamless golden glow. Either way, start on the forehead close to the hairline as this is the largest area to work into, and then work it round into the cheekbones. If you started on say, the cheekbones or the nose, you’d end up with way too much bronzer in these areas.”
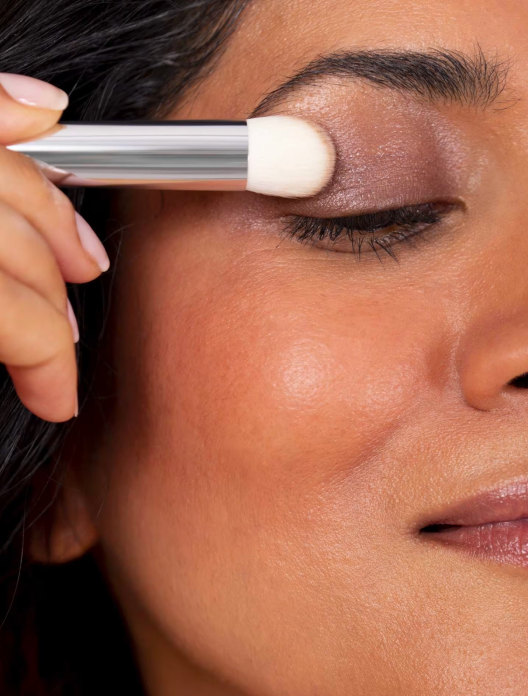
Highlighters are designed to draw attention to the high-points of your face, like the top of your cheekbones, brow bone, nose and cupid’s bow, and can also be used to brighten the inner corners of your eyes. By adding a little light-reflective pigment in these areas, they’ll catch the light when you move. Ideally, your highlighter should be seamless, with a barely-there finish. “It’s really easy to get the right angle for creating the “C” shape along your brow and cheek bones with your little or ring finger,” explains Katie. “It’s quick, easy and the warmth of your finger means the highlighter sinks in really nicely.” A brush will create a lovely diffused finish, but whether or not the shape or size will work for the areas you want to highlight is a different matter. “Some brushes are way too big for areas like your brow bone, inner corner and cupid’s bow,” continues Katie. Try a small, tapered brush or simply dot and blend with your fingers.
There are a myriad of different looks you can create with cream eyeshadow. You might be building three complementary shades into a smoky eye, or just using a single shadow to create a light veil of colour. Whether it’s best to apply eyeshadow with a brush or fingers depends on your preference, as well as how heavy-handed you are. “If you start with a brush, the shadow can build too much and look too heavy which is hard to correct,” explains Katie. “Instead, get the colour where you need it using your fingertips, blend it with your fingers and then with a clean brush.” Repeat the process to build the product pay-off in light layers. These layers are key, as applying too much at once won’t increase staying power, but will increase the chance of creasing. Eyeshadow made easy.
Shop the article
All three of our essential T-Brushes in a chic beauty bag worth $20
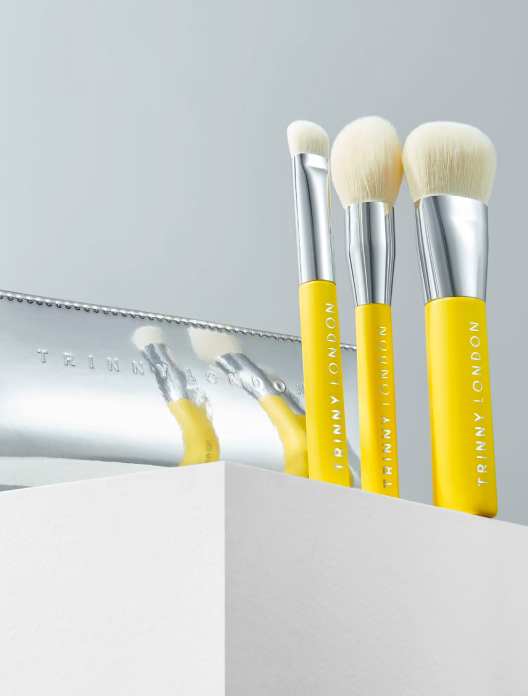
Portable, stackable, travelling 3-in-1 brush set

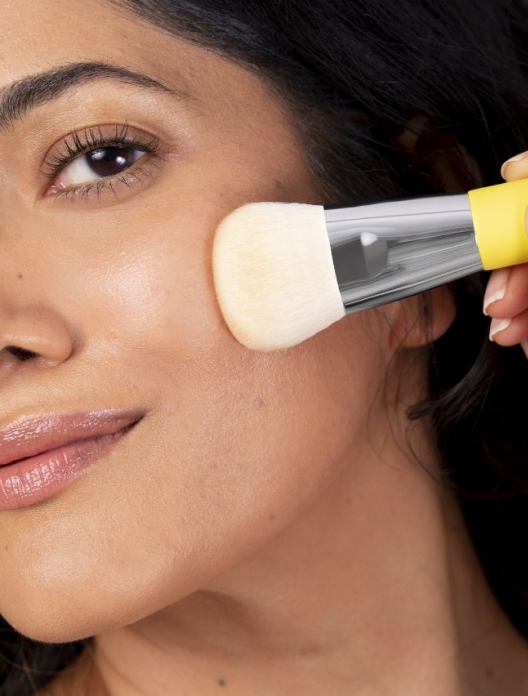
Dome-shaped, base-perfecting brush for a seamless finish
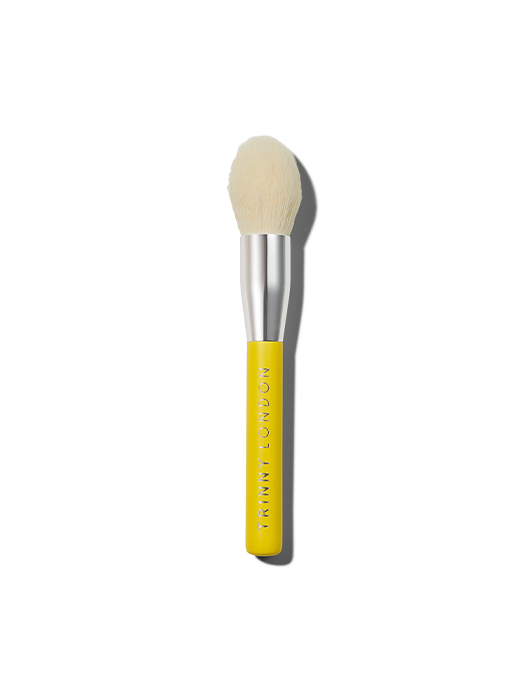
Subtly tapered brush for diffused colour and a fresh-faced glow

Multitasking slanted brush for effortless concealing and blending
 12 shades
 12 shades
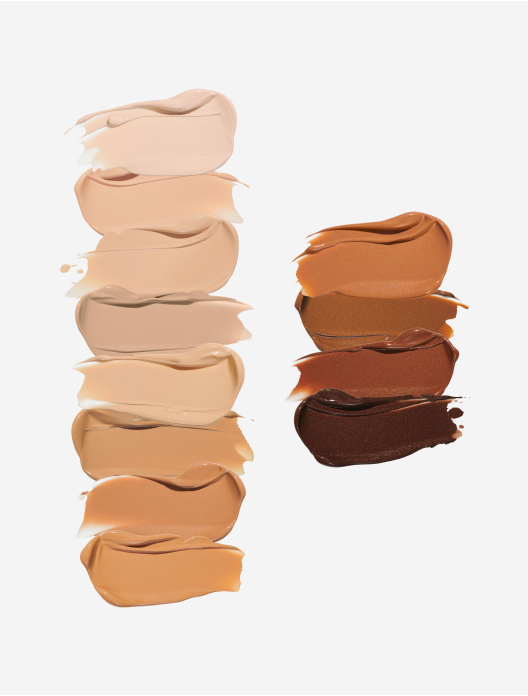
 25 shades
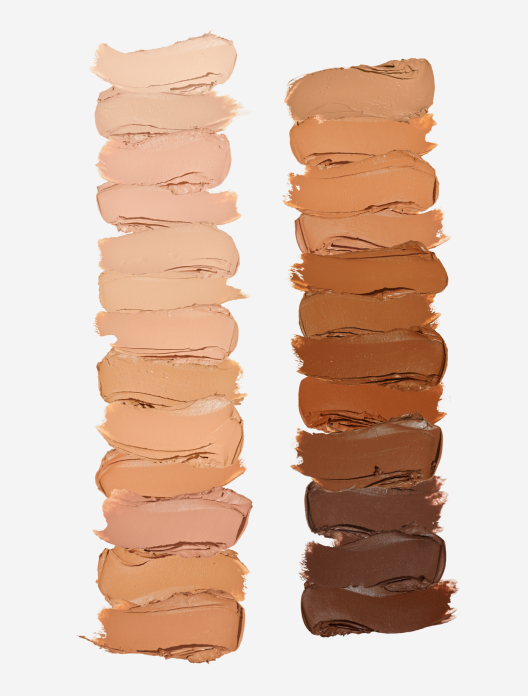
 21 shades
 5 shades
 8 shades
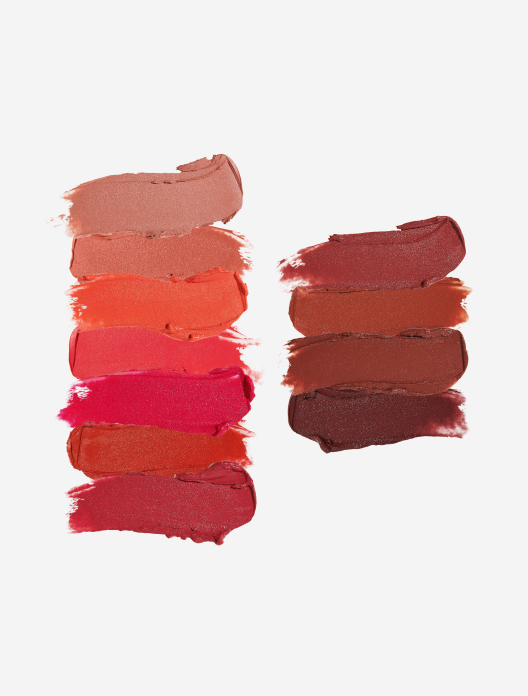

 4 shades

 4 shades